Spacer

Stuffed Stocking Cake Pops (and a giveaway)

Stuffed Stocking Cake Pops

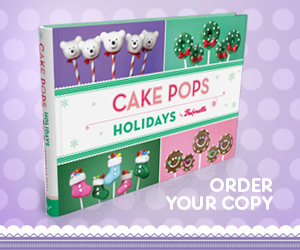
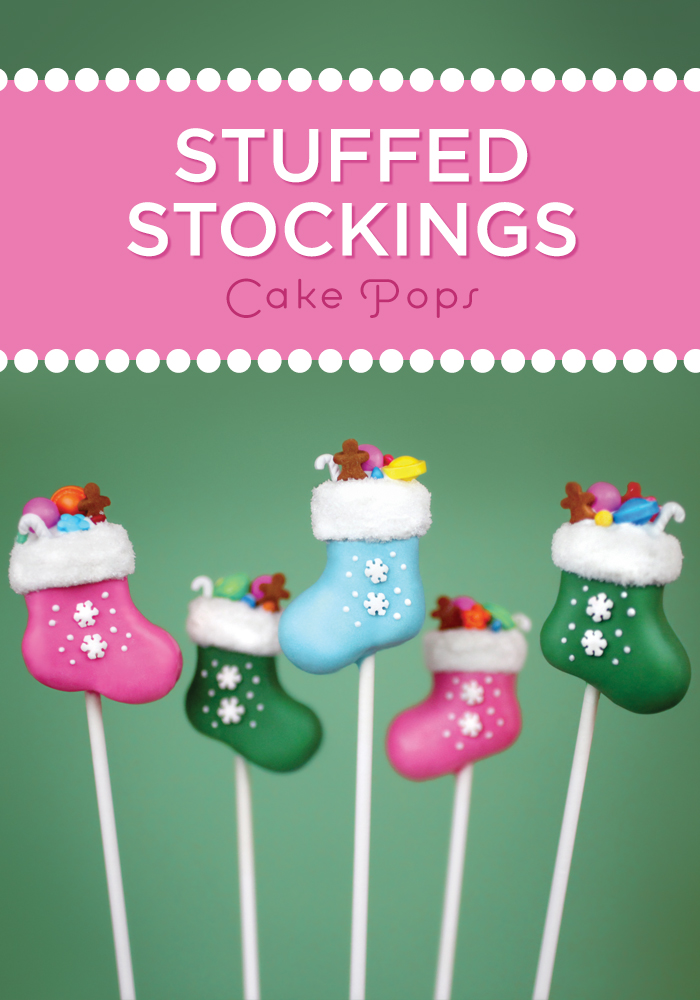
I’m sharing these sweet stuffed stockings from my book, Cake Pops Holidays with you guys today. (Plus, there’s a holiday giveaway at the end, too!)

These stockings are one of my favorite designs in the book and they’re actually easier to decorate than the look.

candy wafers

You start out by shaping the crumbled cake and frosting into thick socks – the stockings – and then you dip them in melted candy coating.

You can coat the stockings with any color candy wafers that you like, but I went with dark pink, green, and light blue. Still fun and festive without being straight up red and green. After they dry, dip them in melted white coating for the cuffs and then you can start bringing them to life with random sprinkles and decorations.

Or you could leave them toyless, but they’ll be way happier stuffed with toys inside.

Plus, that’s the most fun for me. Playing and finding fun candies to decorate with.

decorations

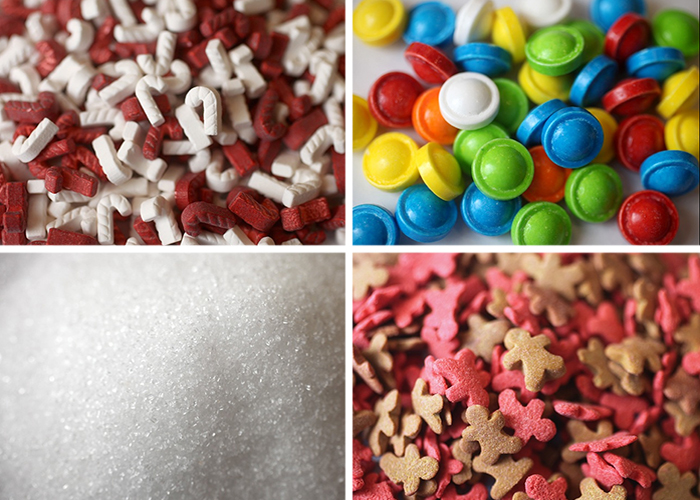
These are a few of the shapes I used. Candy canes, gingerbread men, candy snaps … plus, my can’t live without sprinkle – white sugar crystals.

But there are tons of sprinkles that would work. You just need to find simple shapes since the stockings are so small.

Here’s the full how-to from my book.

Stuffed Stocking Cake Pops
Yield: 48 stockings

Stuffed Stocking Cake Pops

Ingredients

  • 9 X 13 cake, cooled
  • Frosting
  • Wax paper
  • Baking sheet
  • 48 oz colored candy coating
  • Deep, microwave-safe plastic bowl
  • 48 lollipop sticks
  • Styrofoam block
  • 16 oz white candy coating
  • Small, microwave-safe plastic bowl
  • Assorted sprinkles for toys, such as candy canes, gingerbread men, and flowers
  • Toothpicks
  • Sanding sugar
  • 96 snowflake sprinkles

Instructions

  1. Crumble cake and mix with 2/3 - 3/4 container of ready made frosting or about 1 cup equivalent homemade until completely combined. Roll into 48 balls and place on a wax paper covered baking sheet.
  2. Shape them, one at a time, into stockings. You can use wax paper to aid in shaping the sides. After starting the shape, take one side of your stocking shape and slide it on a wax paper covered baking sheet. Flip and repeat for each side to help create a flat surface while continuing to shape by hand.
  3. After shaping, put the shaped cakes in the freezer for about 15 minutes to firm up for dipping. Once they are firm, transfer them to the refrigerator.
  4. Melt the candy coating in the deep microwave-safe bowl, following the instructions on the package. The coating should be about 3 in deep for easier dipping. When you are ready to dip, remove a few shaped stockings at a time from the refrigerator, keeping the rest chilled.
  5. One at a time, dip about 1/2 in of the tip of a lollipop stick into the melted candy coating and insert the dipped end straight into the bottom of the stocking shape, pushing it no more than halfway through. Dip the cake pop into the melted coating. Gently lift the pop out of the coating and tap off any excess. Let dry completely in the Styrofoam block.
  6. Melt white candy coating in the small microwave-safe bowl. Dip the tops into the white coating to make the cuffs. While the coating is still wet, place several of the “toy” sprinkles on top. Return to the Styrofoam block and let dry completely.
  7. When dry, use a toothpick to apply more white candy coating on the surface of the cuffs. Sprinkle with sanding sugar over a large bowl so you can reuse it. Use the edge of a clean toothpick to straighten any rough edges by gently pressing it along the bottoms of the cuffs.
  8. To decorate the front of the stockings, attach 2 snowflake sprinkles on each using melted candy coating as glue and dot on more coating for extra detail. Let dry completely in the Styrofoam block.

Notes

Source: Cake Pops Holidays by Bakerella

Frosty Friends Mini Kit

And today, because the holidays are fast approaching, I’m giving away a copy of my book along with the Frosty Friends Mini Kit.

PLUS…

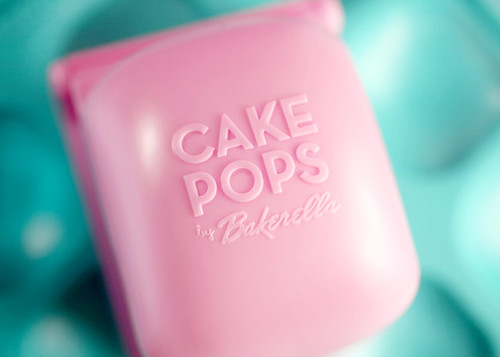
I’m also giving away my Cake Pops Toy to the lucky winner!

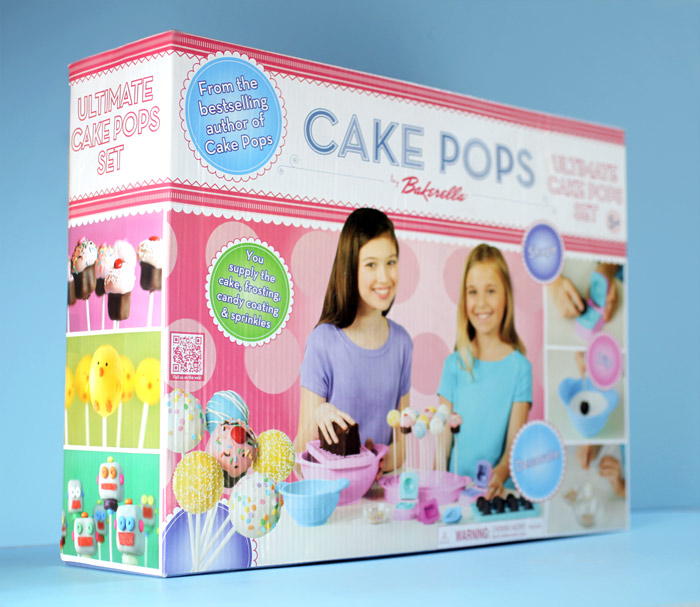
Here’s a few pics of the toy since I haven’t posted them in a while.

Cake Pops by Bakerella Toy

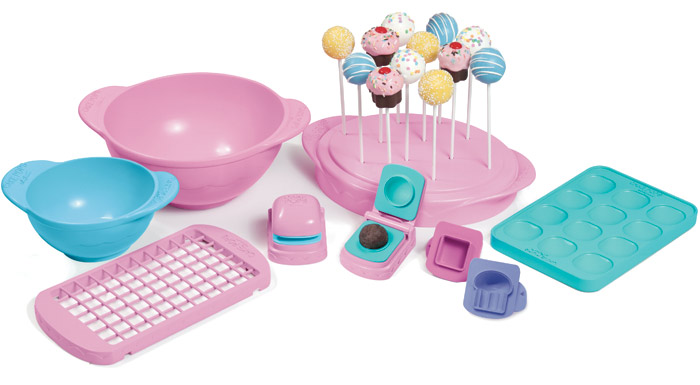
Cake Pops Toy

It would totally make a sweet present for someone that loves baking and decorating. It’s still available at Toys R Us in the US and Wal-Mart in Canada if you need a gift idea.

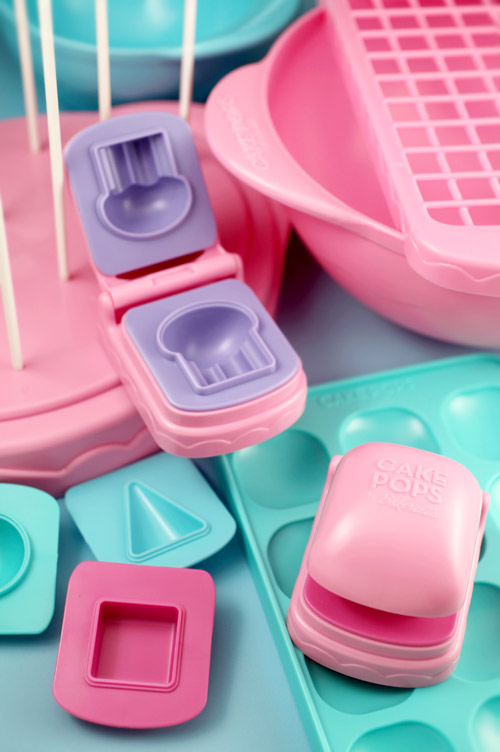
Cake Pops Toy

The molds that come with the toy could also help make many of the pops in the book, like the presents, Christmas trees, holly, jingle bells, nutcrackers, elves and much more.

Cake Pops Toy

Enter for a chance to win a copy of Cake Pops Holidays plus the Cake Pops Toy and Frosty Friends Mini Kit.

  • To enter, just leave a comment on this post and tell me what you’re looking forward to baking or tasting this holiday season. What’s your favorite festive treat?
  • Deadline to enter is Wednesday, December 11, 2013 at 7:00 pm ET. Sorry, time’s up. Winner announced below.
  • One winner will be chosen at random and announced sometime Wednesday evening.

Good luck!

P.S. – I’m having a book signing Tuesday, December 10 at Chef Central in Paramus, NJ. If you’re in the area, come say hi… I’d love to meet you!


::::::::::::::::::::::::::::::::::::::::::::::::


I just picked the winner and it’s comment #301!

I think Debra is going to be pretty excited. Congratulations! Hope you enjoy the book and toy!
Leave a Reply

Your email address will not be published. Required fields are marked *

Leave a Comment »