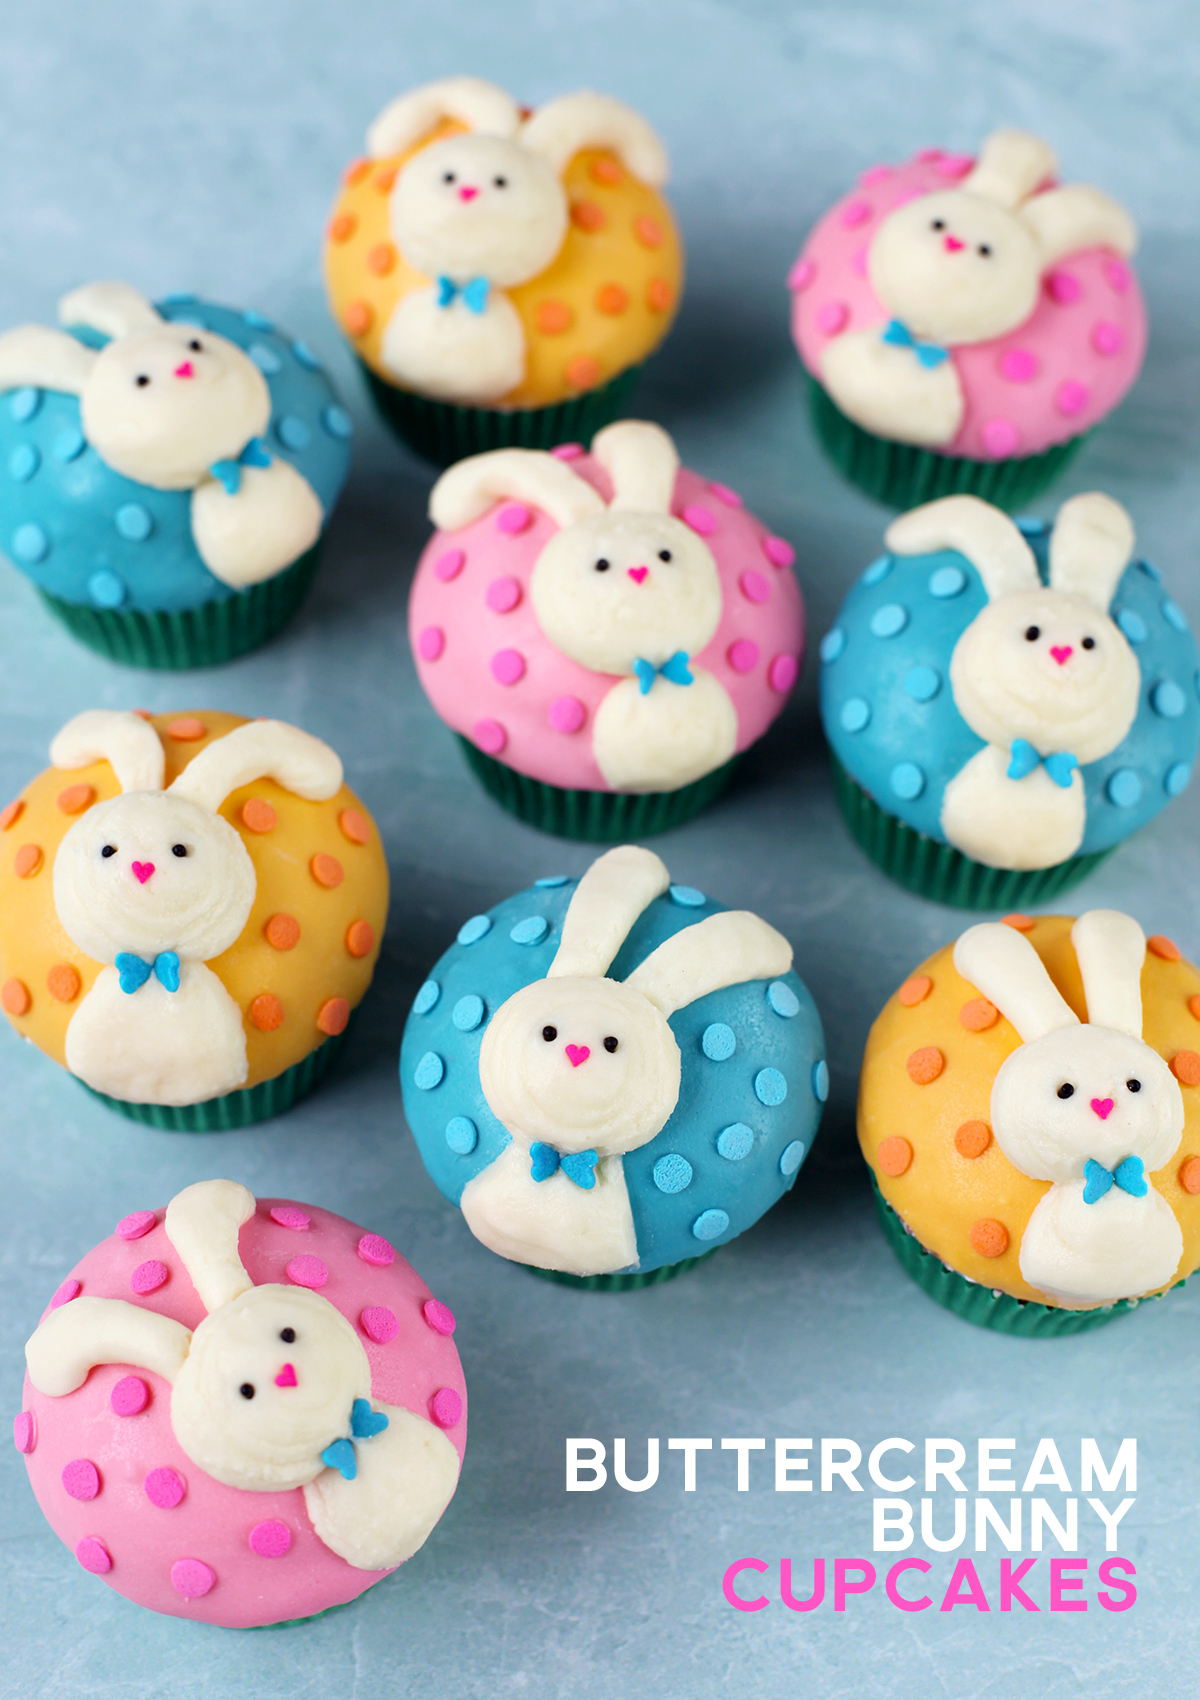
Bunnies in buttercream on bright and happy colored cupcakes. These floppy eared-friends are super cute and pretty easy to decorate, too. I used melted candy coating for the pretty pastel colors and vanilla buttercream frosting to make the little bunny bodies. Let me show you.
Go grab some cupcakes and let’s hop to it.
Before covering the the tops of the cupcakes in melted candy coating, I wanted to make sure they had nice smooth domes made of buttercream. That way there was something soft underneath the hard candy shell when you bite into them.
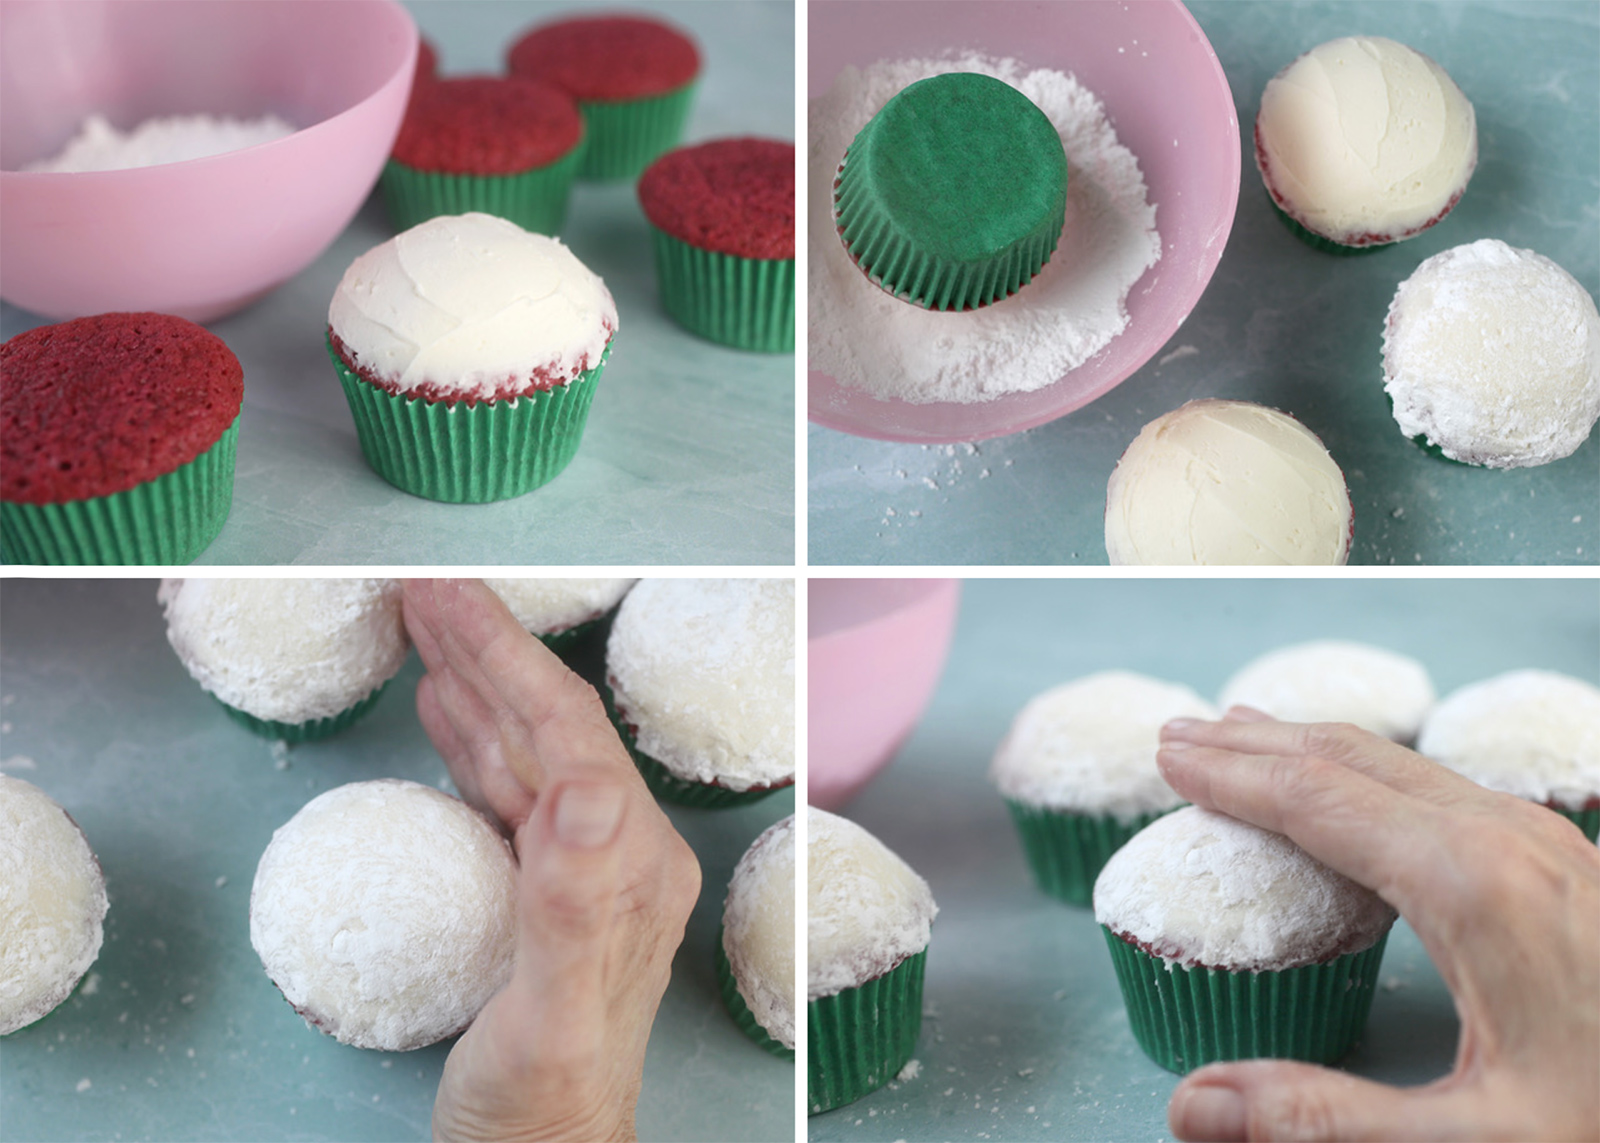
First, frost the tops of the cupcakes using an offset spatula to make them as smooth as you can.
Then gently dip the tops in a small bowl of confectioners’ sugar. The sugar will create a thin barrier so you can shape the frosting without it all sticking to your hands. Just use your palms and fingertips to gently shape the frosting into a nice and even dome.
See, nice and smooth curved tops.
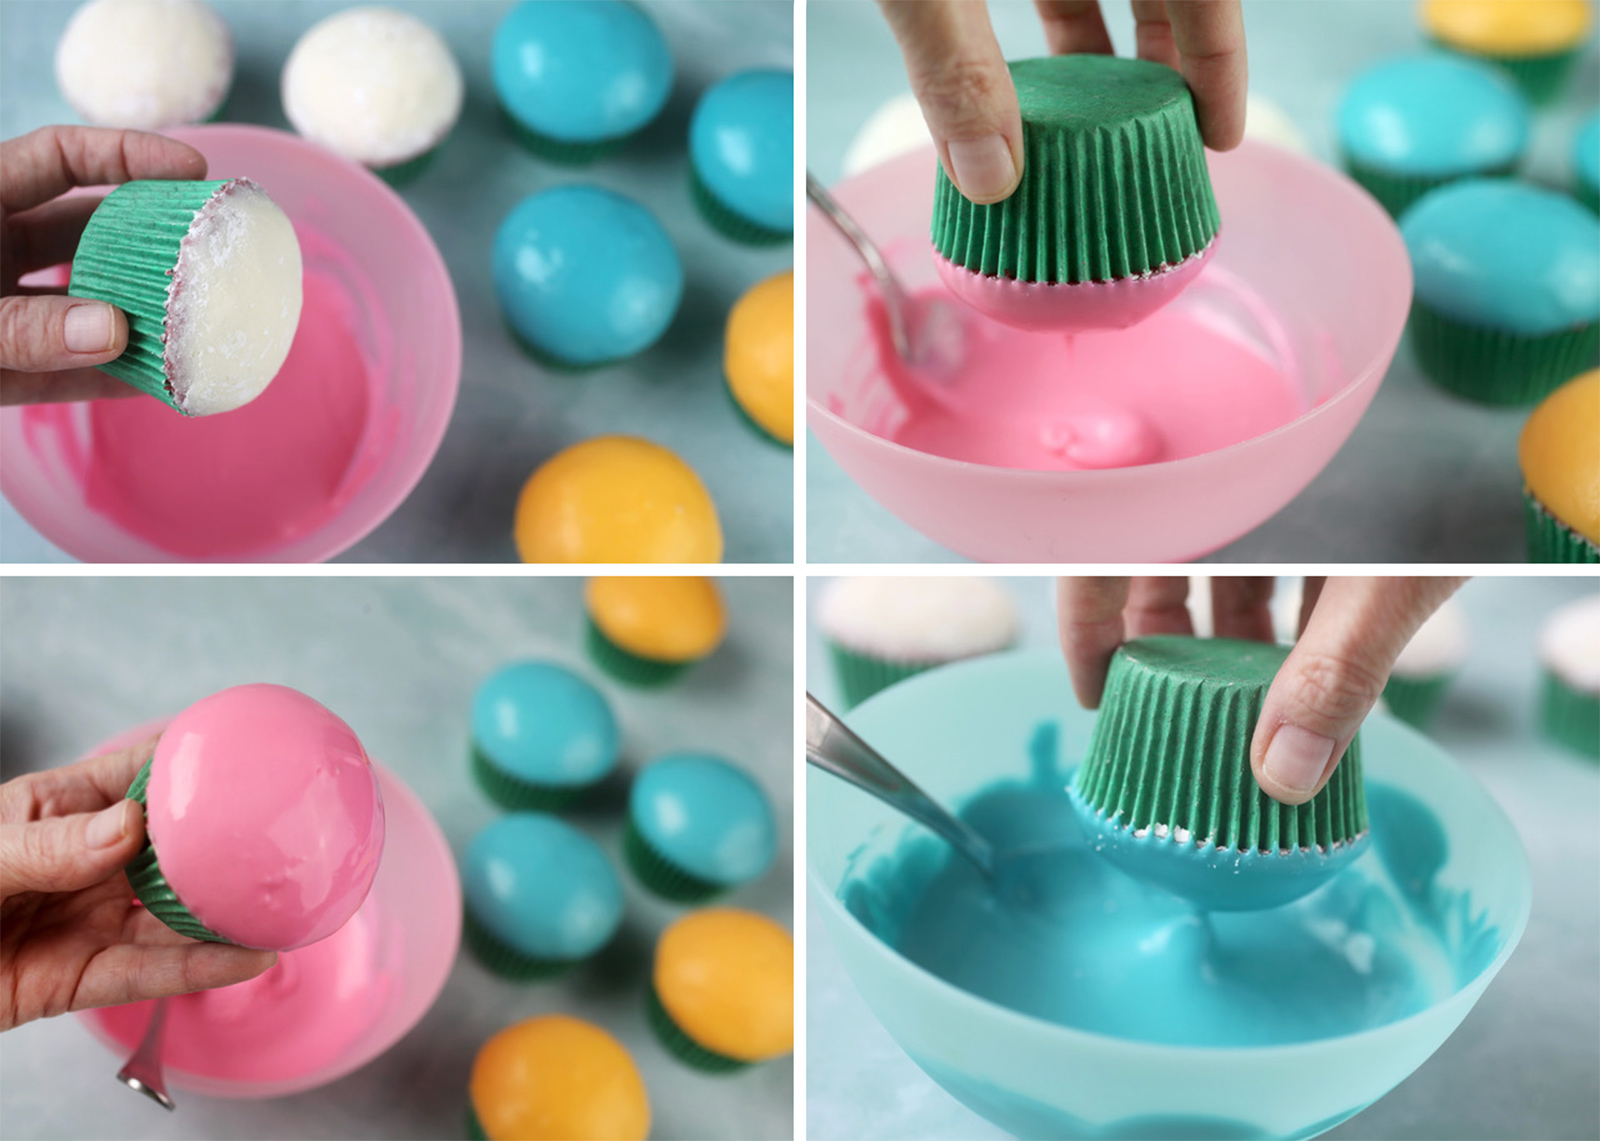
The next step is to dip them in colorful, melted candy coating. When they dry, the tops will have a hard exterior shell. This will make it easier to decorate the bunnies so you don’t have to worry about messing up the tops.
Dip them in smooth and fluid melted candy coating and then lift them out, turn them over and gently swirl them around to allow the coating to settle evenly.
Let them dry completely and fill two piping bags with buttercream frosting using decorating bags – one fitted with an Ateco #804 tip and another with a Wilton #12 tip.
Use the smaller tip (Wilton #12) and pipe two straight or curved lines for bunny ears.
Use the larger tip (Ateco #804) and pipe a ball of frosting at the bottom of the cupcake for the body, leaving space in the middle for the head.
Use the same tip again to pipe a larger ball of frosting in position for the head, so that it just overlaps the bottom of the ears and connects to the top of the body.
Pat the bunny!
Coat your finger with a thin layer of confectioners’ sugar and then gently pat the buttercream down to shape. Simple. Don’t worry, the buttercream will gradually absorb the sugar and make it disappear.
To complete the look, you just need a few fun sprinkles.
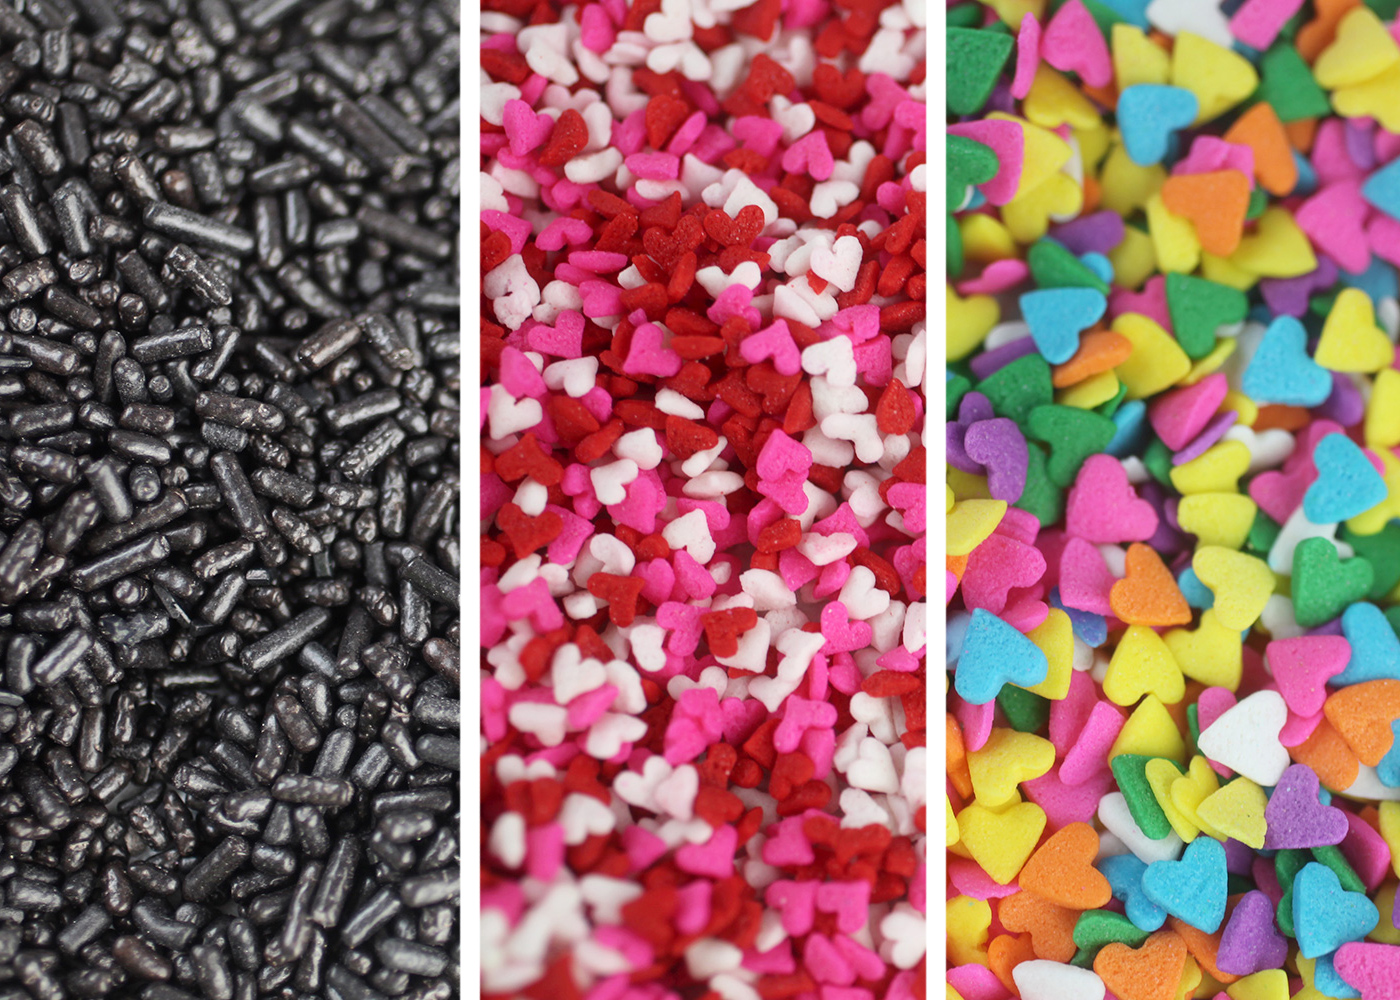
Push black jimmies into the buttercream for tiny eyes and use miniature pink heart sprinkles for noses. That’s all you really need.
…Unless you want to dress them up.
I mean, look how dapper they look with blue confetti heart sprinkles for bowties.
They are so pretty just like this and I love how the floppy ears give them so much character even though they are decorated super simple!
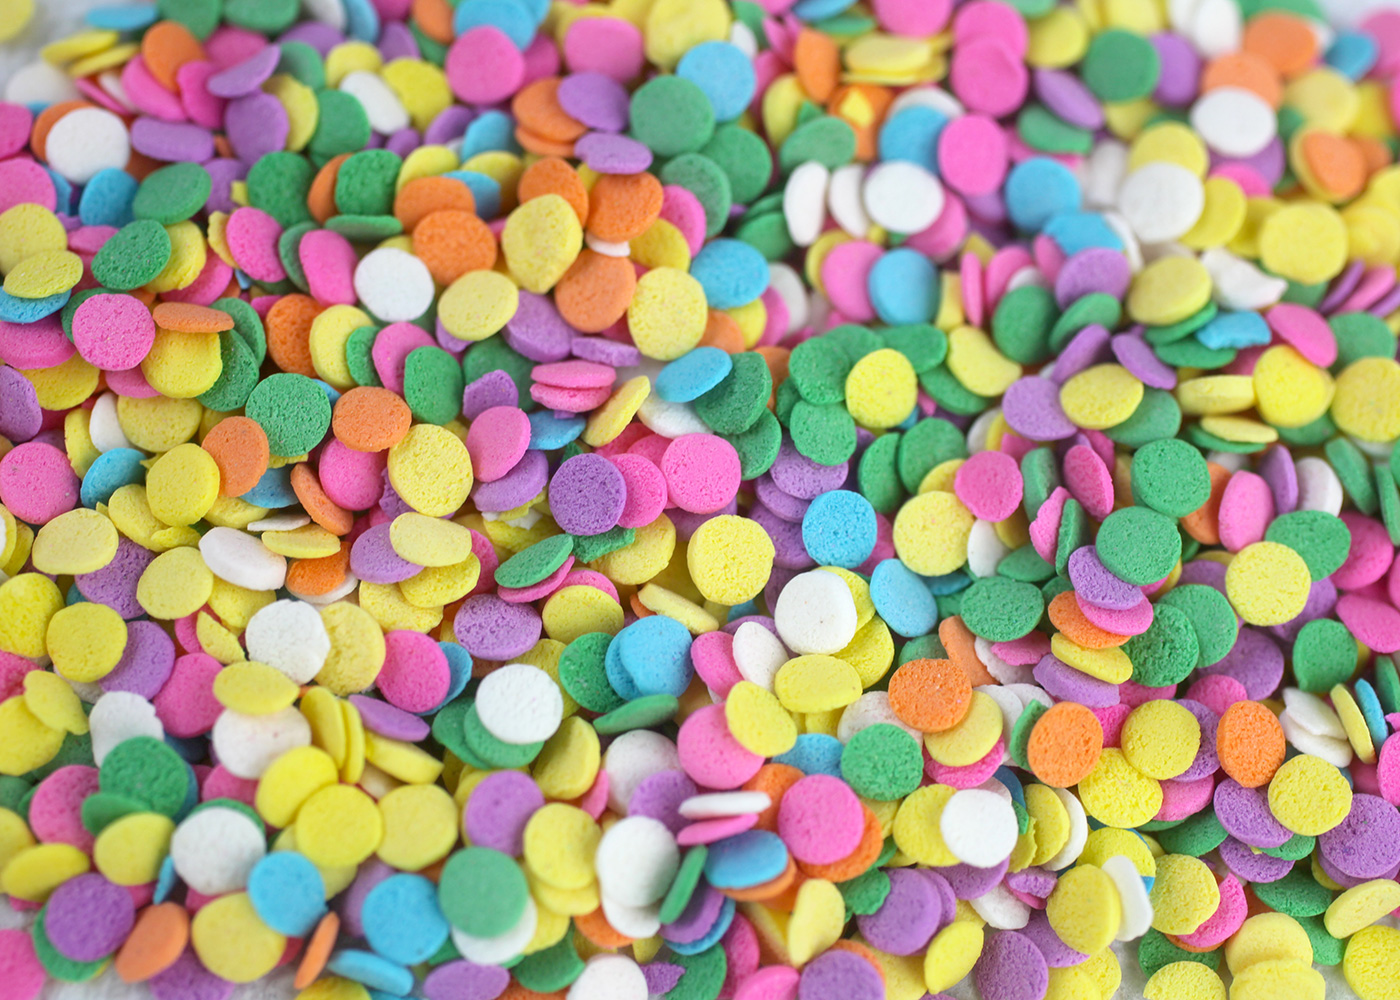
But you know I like to give you options. These confetti sprinkles are an easy way to create polka dots.
To attach the sprinkles, just dot melted coating on the tops of the cupcakes using a toothpick and place a confetti sprinkle right on top to dry in place. That’s it!
Hope you enjoy these happy, hoppy little Easter bunnies.














This blog is very amazing
These are super cut! Mine won’t be as cute as yours but I will give it a try.
Delicious!
i wish i could do it as perfect as you have
These cupcakes are so cute and I am amazed at how easy you made it look to decorate with buttercream. I pinned these to try! Thanks.
These are super cute!!! Happy Easter!!!
Love the ears!
These are seriously some of the cutest Easter cupcakes I’ve ever seen. Thanks for all the great tips too!
So extremely cute and simple.
These are precious Angie! I haven’t been by in a while and I can see you’re still creating magic with your cakes.
Just curious…how do these cupcakes taste with that candy coating?
Fun project that I will definitely try.
These cupcakes are adorable! Looks so delicious!