I’m a little behind on posting this week. I started making the sweetest cake pops on Sunday and had to detour from photographing them so I could work on my taxes. Boring! But I had to get ready for an appointment the next day which meant diving into a big stack of paperwork that I’ve been building on… all year. And avoiding. Yuck-o-rama! And definitely not as much fun as cake pops.
But I finally finished taking pictures last night and yay, here they are.
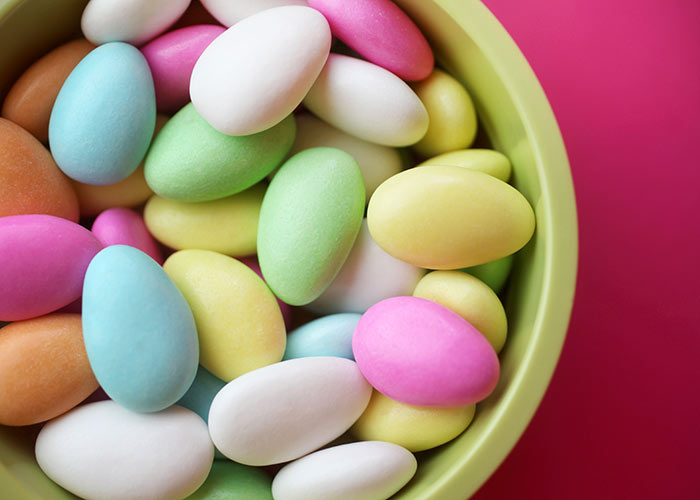
The cake pops I made were inspired by these pretty jordan almonds.
Well, mainly just the white ones.
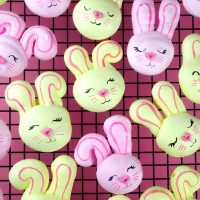
They make the best bunny ears. Like perfect.
I’ve made bunny cake pops before with pastel candy corn and also with pipe cleaners (really, really cute), but oh my – these jordan almonds bunnies are too much. I think these might be my favorite ears, but let me know yours if you look at the other bunny links.
So, I used only the white almonds for these, but you can certainly make them with the other colors as well.
Bunnies are like snowmen to me. I want to make them again and again and again. There’s so many ways to make them look different and still super cute.
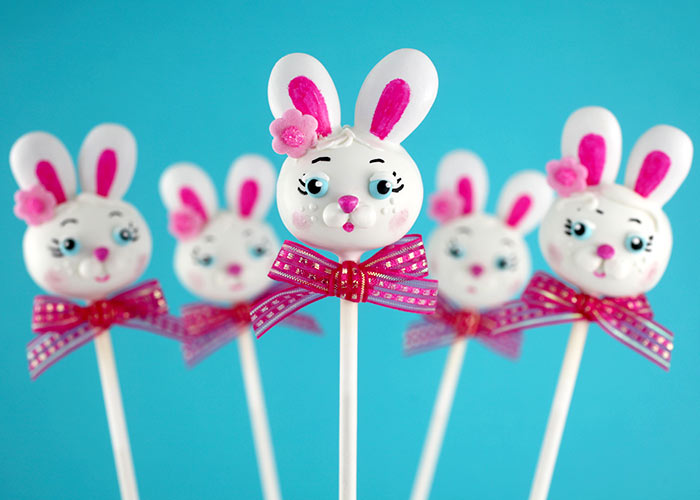
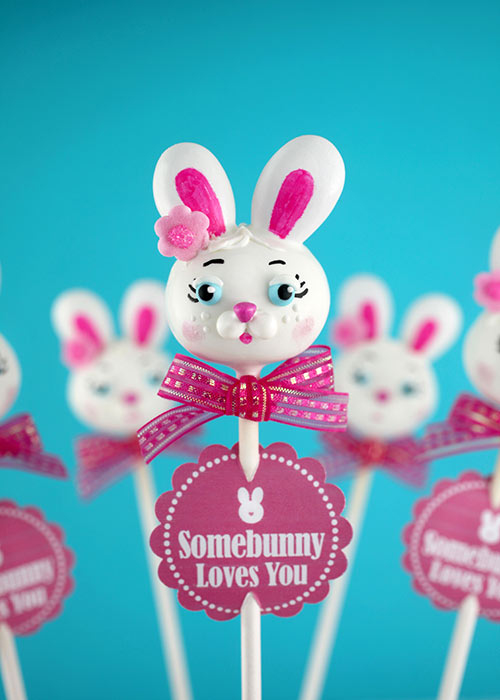
I totally glammed them up too – with blue eyes, big eyelashes, blush, barrettes and bows!
They’re dressed up for Easter you know.
But you can always dress them down, too. The ears alone create a fun canvas to decorate on.
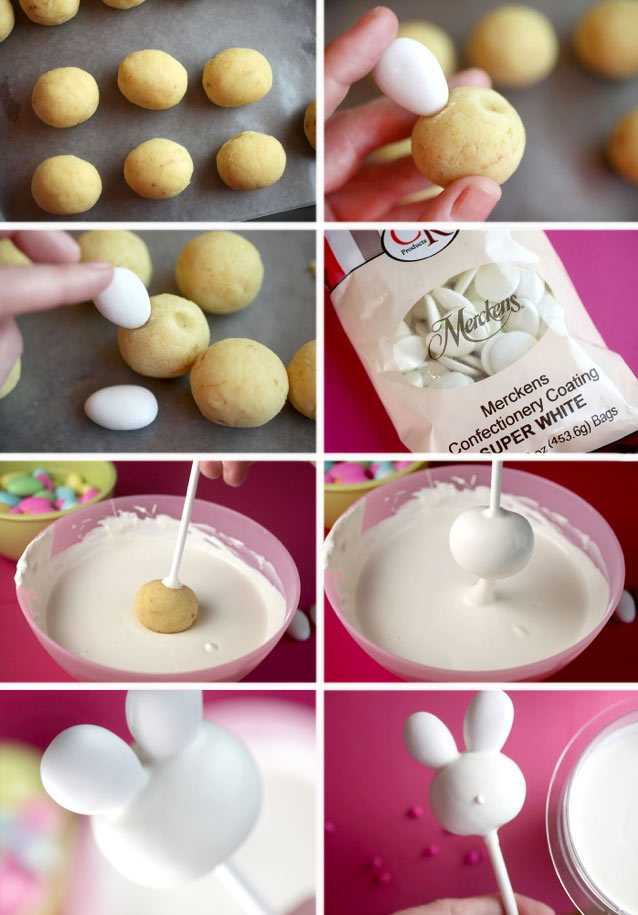
I made the bunny heads with more of an oval shape. And before I chilled the balls, I used an almond to make impressions on the top. That way when you dip, the ears will look like part of the head instead of sitting on top of it.
Here are some basic instructions for generic cake pops.
- Follow the directions on the link and then shape the balls into ovals.
- Make impressions in the cake balls for the ears using the pointed end of a jordan almond.
- Dip the pops and before the coating dries, place the almonds in position for ears.
- Hold in position for a couple of seconds so they don’t fall over.
- Let dry and then you can add all of the decorations on.
- Or just a few … dress your bunnies in any number of ways.
- To decorate, dot on a small amount of candy coating and attach sprinkles in position.
Speaking of candy coating. I love the Merckens Super White. Try it some time.
Glam bunnies.
I used a few sprinkles for the faces, but keep in mind you can also just pipe them on with candy coating for a simpler approach.
I just couldn’t stop.
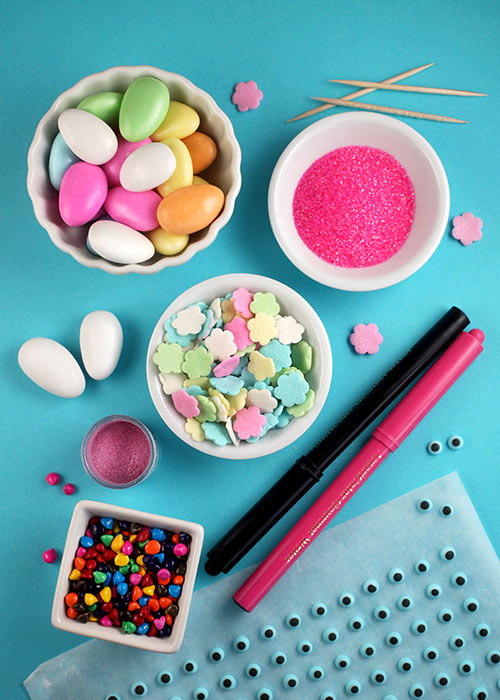
Here’s what I used…
- Jordan almonds and a pink Americolor Gourmet Writing Pen for the ears.
- Jumbo flower sprinkles for barrettes – dotted with melted candy coating and sprinkled with sanding sugar for the centers.
- Blue icing eyes for … well, the eyes.
- Pink rainbow chip sprinkles for noses.
- Pink luster dust applied with a dry brush for blush.
- A black edible ink pen for eyelashes and eyebrows
- And more white candy coating, dotted on for freckles and drawn on for hair.
- Oh, and toothpicks. I can never have too many.
Hey there hunnybunny!
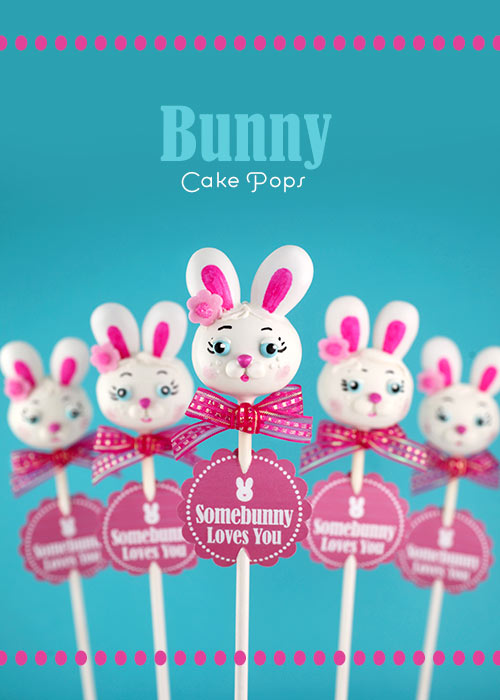
Oh yeah, I made cake pop tags for you too if you’d like to download them for your pops or even for cupcake toppers.
Somebunny Loves You Cake Pop Tags
But that’s not all.
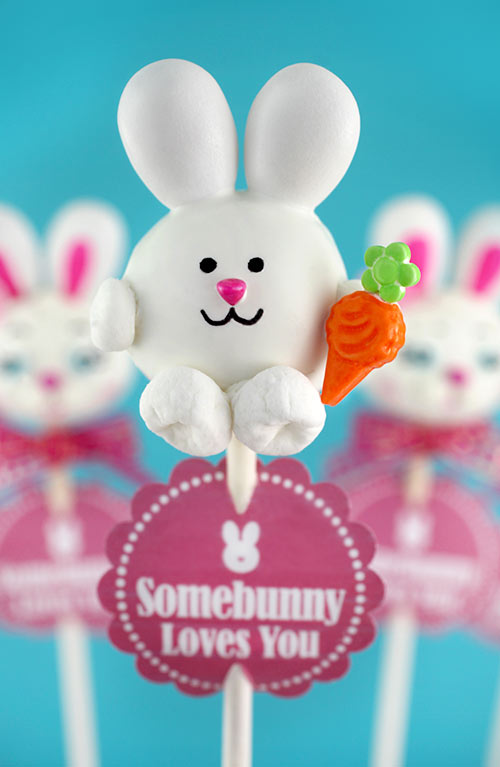
I have another bunny to show you. A little bit simpler. Not as fancy but just as fun.
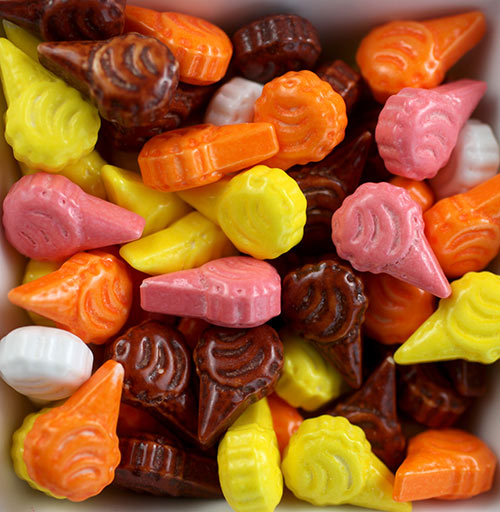
This bunny was inspired by these ice cream cone sweet tarts. These are the kind of unique candy/sprinkles I like to snatch up as soon as I see them. I usually have no idea at the time what I’ll use them for but I know at some point they’ll come in handy for something.
And the orange ones above totally did … literally. Know where I’m going?
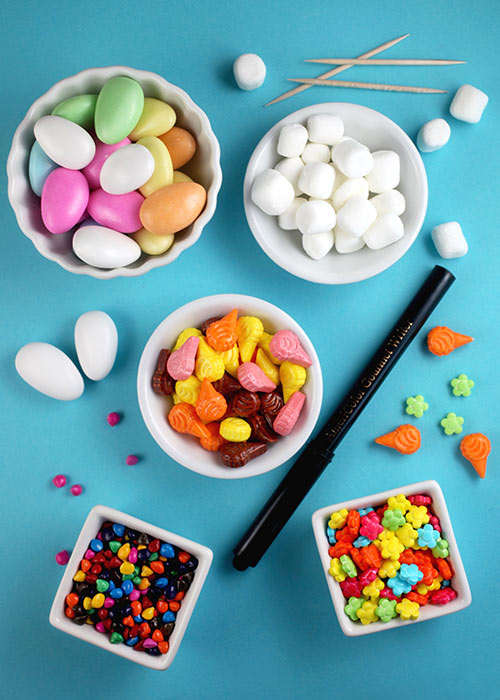
I used the almonds again for ears, the pink rainbow chip sprinkles for noses, mini marshmallows for feet and arms, green daisy sprinkles and orange ice cream candy… you guessed it … for carrots.
Same ears, but a totally different lovable, huggable little bunny?
Hugs and hope you like these little guys.
