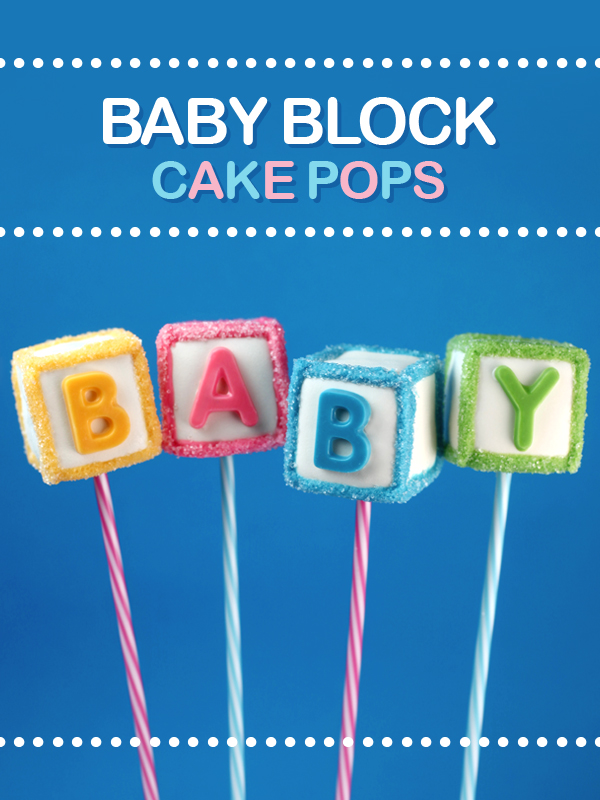
These Baby Block Cake Pops are just too sweet. How Sweet you ask? Sweet enough to help surprise my internet friend Jessica of How Sweet Eats with for her very yummy virtual baby shower. There’s going to be a ton of yum happening today so check out these other friends’ food posts, too and get it on the fun.
To make baby blocks, follow my basic instructions for making cake pops.
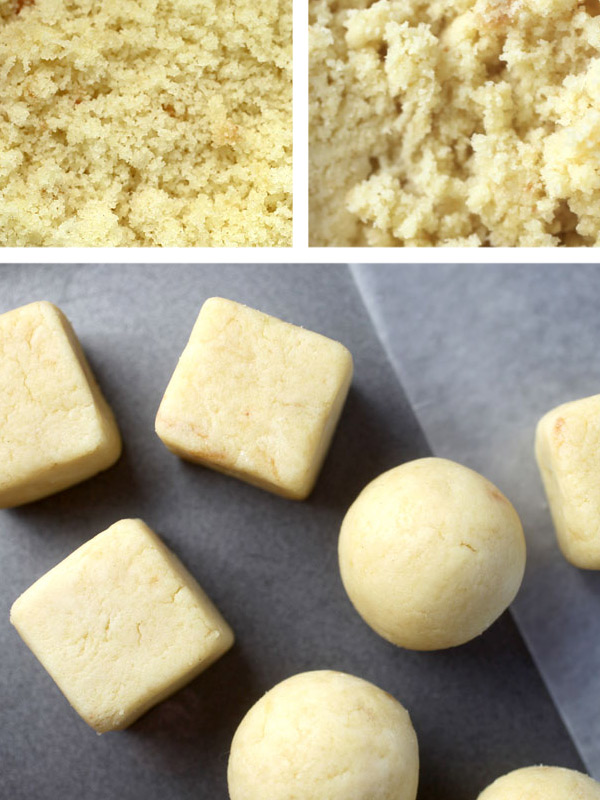
Then shape them into squares before dipping. For shaping, I roll into balls first to help ensure that I get the right amount. If I start shaping as I go, I tend to get all different sizes. But by rolling first, I can count out how many I need and also re-proportion any that are a little too small or too big by pinching off or adding dough and then re-rolling. I made these slightly bigger than my normal round pops to make sure the letter shapes would fit on the flat surface, so the dough will yield fewer pops.
To make the blocks, take a cake ball and start shaping it into a rounded square by rotating and pressing with your fingers using both hands. Then pinch a bit of the dough out on all 8 corners to a form a sharper point. It will look a little wonky at first, but then take your shape and slide it on a piece of wax paper on the counter, pressing down slightly as you do. Rotate and repeat with each side. Continue shaping until all four sides are smooth with defined edges.
Since Jessica loves sparkly and neon, I decided to go bold and bright on the blocks instead of paler pastels. I think she’ll heart them.
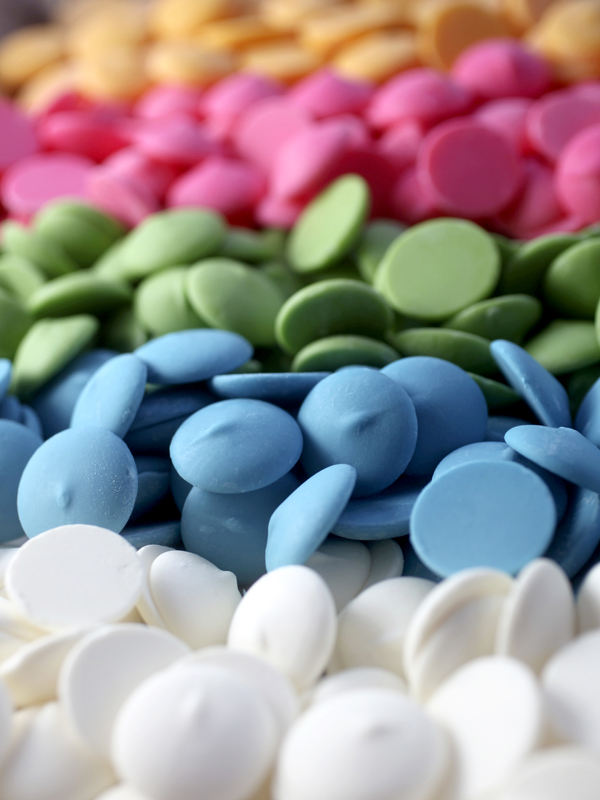
But if you want them to be light pink for instance, just melt and mix in white candy wafers to create lighter colors. Easy!
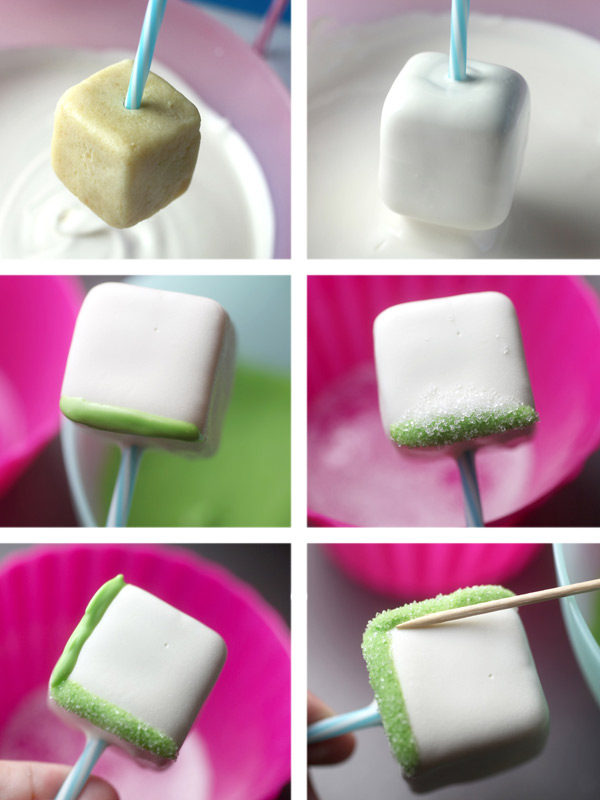
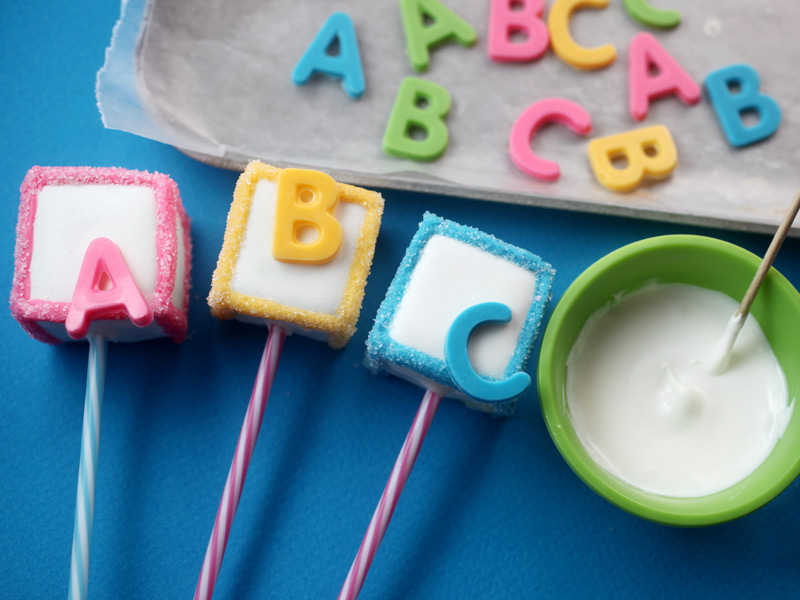
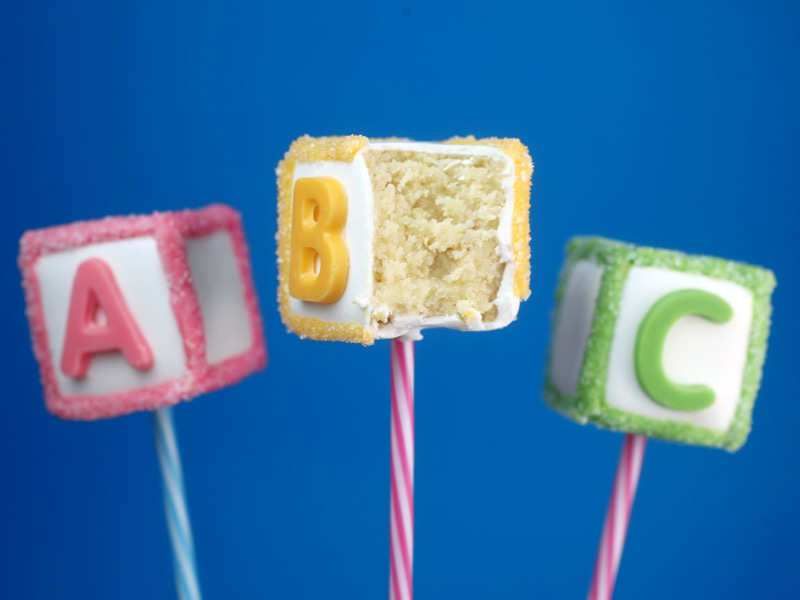
To decorate the blocks, dip in melted white candy wafers first and let dry. When dry, melt a second color to highlight the edges with.
You can decorate these as much or little as you like. You can pipe and outline just the fronts of the blocks or outline each edge. I didn’t pipe the melted wafers on though because I have a harder time controlling the coating that way. I like to just use a toothpick to draw it on instead.
Draw the coating one edge at a time and then sprinkle white sanding sugar on top before it dries. Repeat with each edge until they are outlined and sparkly. The other great thing about using toothpicks and sanding sugar is that the sugar will create a barrier and allow you to gently straighten up any lines with your toothpick and without messing up the melted coating. SO helpful!
Now for the letters! Oh, baby… too cute!
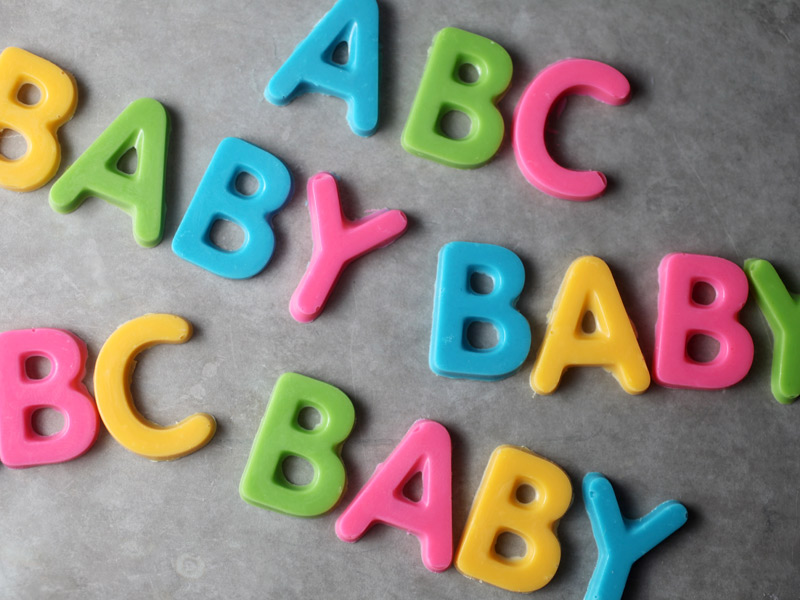
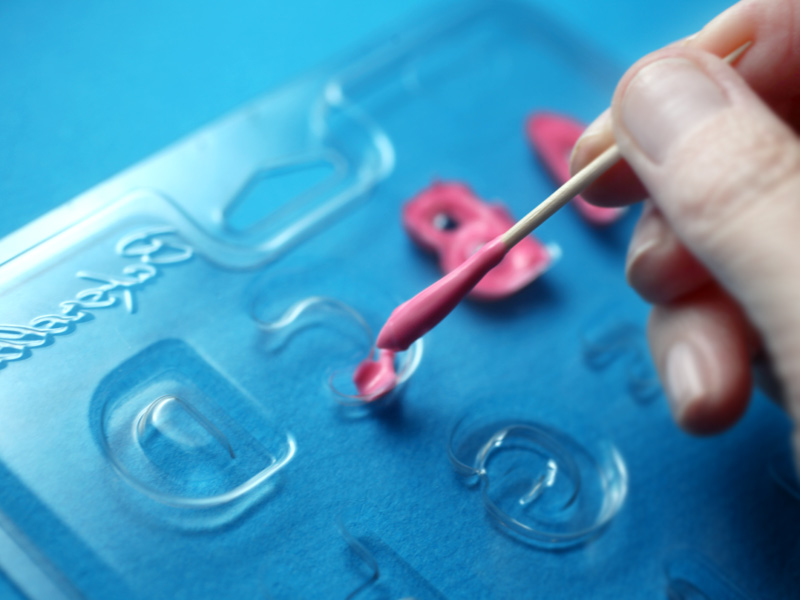
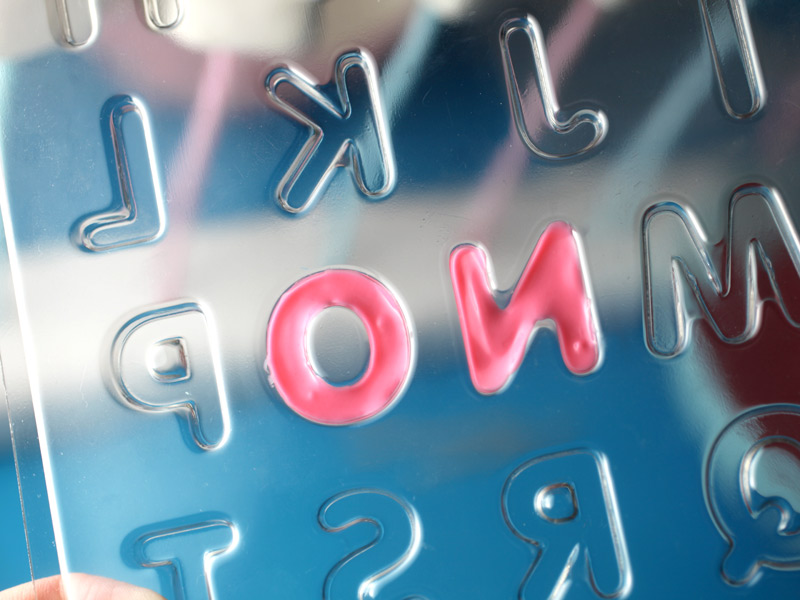
I used the letter candy mold in my new line for these and it worked out great. But if you are good at piping, you can totally just pipe A B C letters on the blocks, too. To use a candy mold, fill cavities with melted candy wafers and tap the mold on the counter gently to settle the melted coating into the cavities. Then place the mold in the refrigerator for a few minutes to help set and dry quickly. To remove pieces, gently twist the mold or press from the back gently to help remove the letters and you’re ready to go.
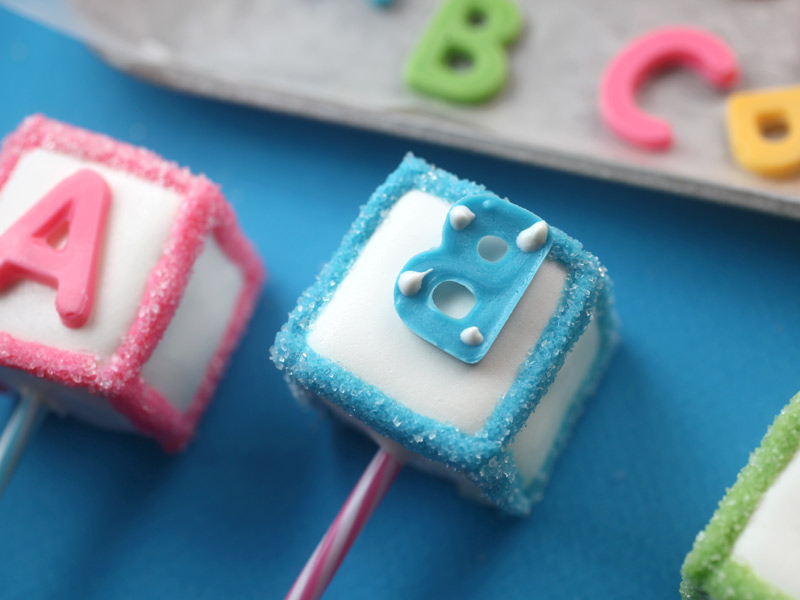
To attach the letters, just add a few dots of melted white candy coating to the backs and “glue” them on. I just did letters on one side.
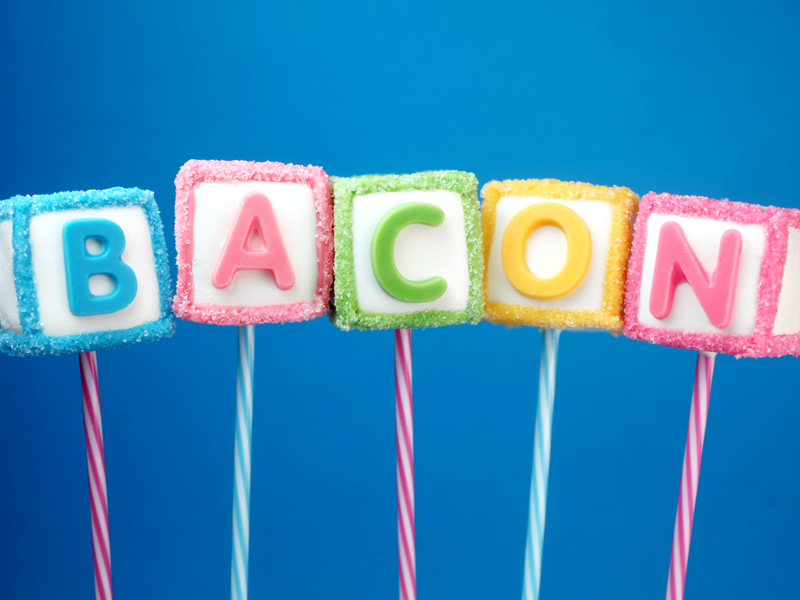
If you create these for a friend’s shower, have a little fun with the letters and make unexpected words.
For instance, I don’t think we should stop at just A B C for Jessica?
NO… I don’t think so.
Add an O and N and now we’re getting somewhere… spelling the important things in life. Jessica would agree.
Place them in a stand to serve and display …
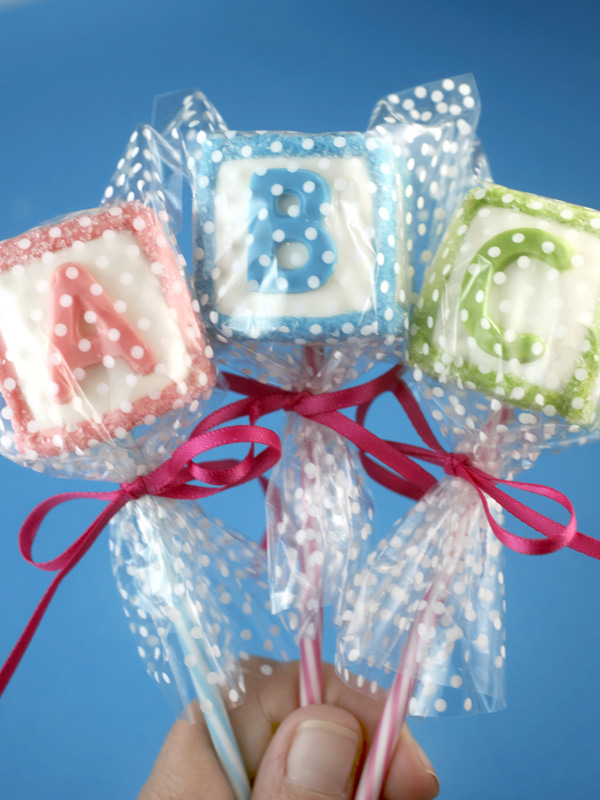
or you can wrap them in treat bags for fun baby shower favors, too.
Now, if you don’t know Jessica yet, then you are totally missing out on some amazing food, photos and fun over on her blog.
Hop on over to visit or you can check out her brand new book for some Seriously Delish food, too.
And don’t forget to check out what else everyone made to help celebrate!
>> Here’s the links to all the other How Sweet Eats Virtual Baby Shower Posts. <<
Enjoy!
Also, below are the Bakerella for Make’n Mold products I used to make these cake pops.
You can find them all in stores at A.C. Moore Crafts right now. And, if there’s not a location in your area, you can also order online from Make’n Mold.





Wow, Love the designs, Thank you for sharing
Hey,
Very nice cakes colors and pictures. i completely liked it.
Designer cakes Pune
Thanks!!
These are so great for a baby shower!
These are so awesome! I actually made some of them, and they turned out amazing! My 8 year old niece loved them! Thanks for sharing this awesome and easy recipe!
Absolutely love these adorable little baby block cake pops!
wow amazing
Quick & Easy CustomCookie Cutters!
http://www.cucook.us/
That’s really smart!! And cute!!
Really mouthwatering
I’m amazed that you wrote a post in addition to hitting up all of the honky tonks in Nashville with your new cowboy boots (KIDDING!!!). Bakerella, you impress as always with your gorgeous craft-meets-food art and creativity. Love you!!!
These are the cuuuutest ever!!! And delicious, I’m sure. Thanks so much for joining the party! :)
Oh my gosh! The blocks are AH-dorable….but then to spell out BACON?!?!??! PERFECT!
Thank you SO MUCH for an “old style” post with all the pictures and great step-by-step instruction. LOVE LOVE LOVE these posts!
Adorable!
Absolutely the cutest! Can you imagine these at a Baby Shower?
I want to have a baby just so I can have these at my shower!
These are so sweet. How thrilled Jessica must have been when she saw these! The dotty treat bags are the perfect packaging. :)
Que lindos!
These are magical! What more beautiful thing could a person bring to a baby shower? You might be a wizard.
I think my mouth was hanging open the whole time I was scrolling through this post. You are so stinkin’ talented, Angie!
You are just beyond talented and amazing. Thank you so much for being a part of this, Angie!
Those are super sweet. I would completely make those. So awesome!
I definitely need that letter mould in my life!!
Rxx
http://www.peppermintdolly.wordpress.com
oh my goodness, these are adorable!
ADORABLE. absolutely adorable. LOVE the sweet details! :)
Stop it! I can’t get over how cute all your stuff is!!
ANGIE! THANK YOU!!!
these are perfection. so freaking cute.
xoxoxo
Your creations still surprise me. Very cute.
I love how you made them spell “BACON”. That is clever.
I’d love to make these for a baby shower- the colours are so cute.
These are the cutest ever Angie! Soooo glad I got to see you the last few days in Nashville :) xo
Adorable!
These are the cutest! I love them!
How cute and simple :))