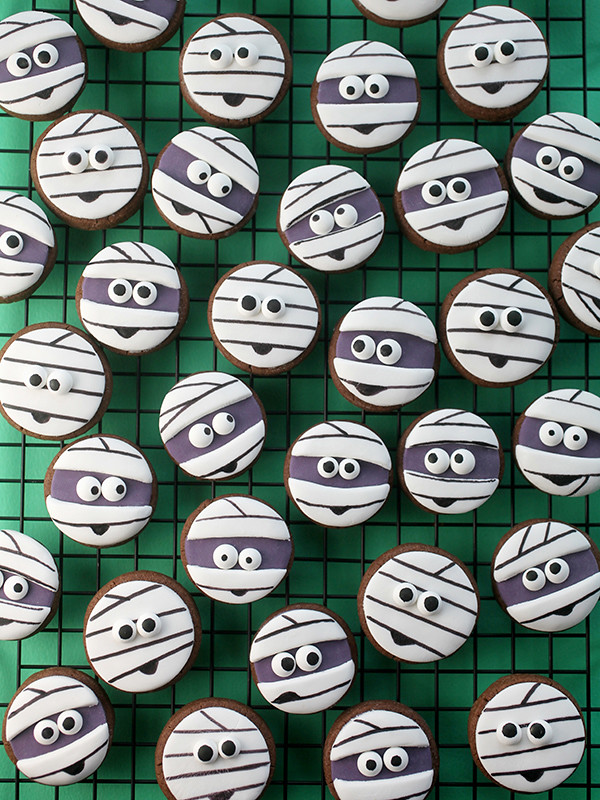
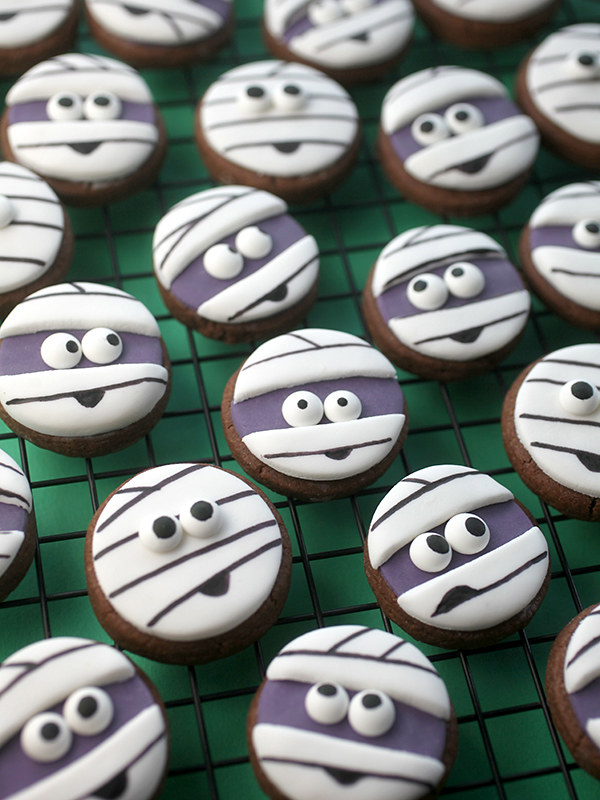
Mini mummies! And a bunch of them. I was inspired to make these little guys by the Mummies in my new Cake Pops Halloween Book.
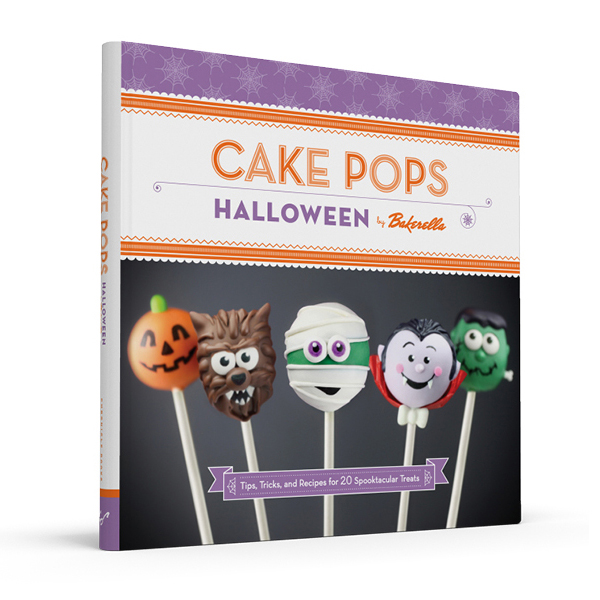
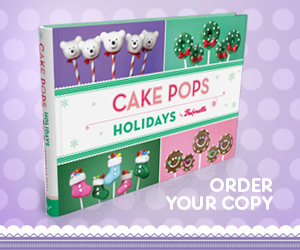
Here’s the cover for reference.
But instead of cake and melted candy wafers, I had fun using fondant to decorate these tiny chocolate sugar cookies.
Decorating them is pretty easy and a quicker alternative to using royal icing … which worked out perfect for me this weekend.
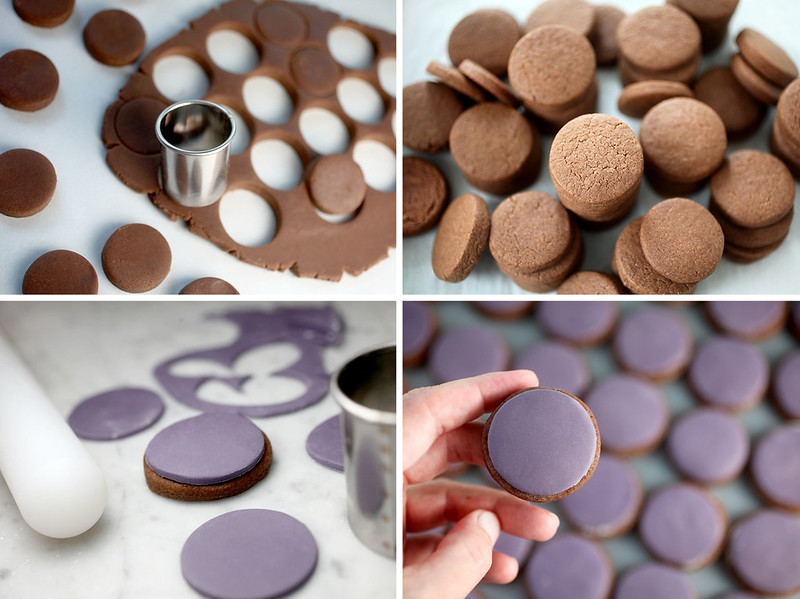
1. Make sugar cookies using a 1.5 inch round cutter. (You can use this recipe and swap out 1/2 cup of flour for 1/2 of unsweetened cocoa powder.) It makes several dozen 1.5 inch cookies. I think I ended up with like 72. Maybe more but I can’t remember how many I ate before decorating. Oops.
2. Tint fondant purple… or green. Cut circle shapes out of the fondant using the same size cutter and attach to cookies using a thin layer of frosting in the center of the cookie. Work with a dozen or so circles at a time so the fondant doesn’t start to dry out before attaching. Then cut out more and repeat. Also, if your cookies spread some during baking, then you can gently roll the cut fondant circle a little thinner and they will increase in diameter. When rolling, make sure your work surface and roller is clean. Sprinkle a little cornstarch or powdered sugar on the surface and rolling pin to keep the fondant from sticking.
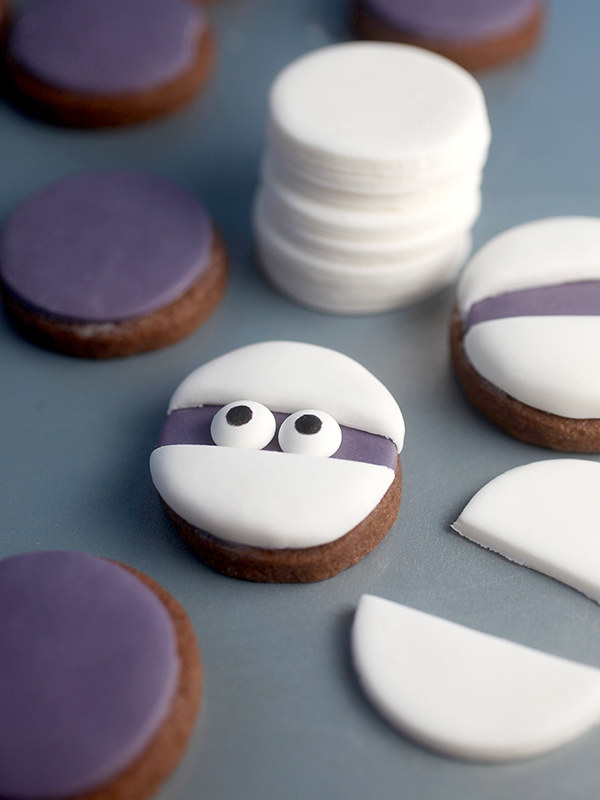
3. Roll out white fondant and cut more circle shapes. Then cut the circles into thirds, removing the center piece. Attach the top and bottom pieces to the cookie with more frosting… allowing the purple center to show in the middle. You want to leave enough room for the eyes you are using.
You can also skip the purple fondant underneath and just use the white fondant for one color mummies.
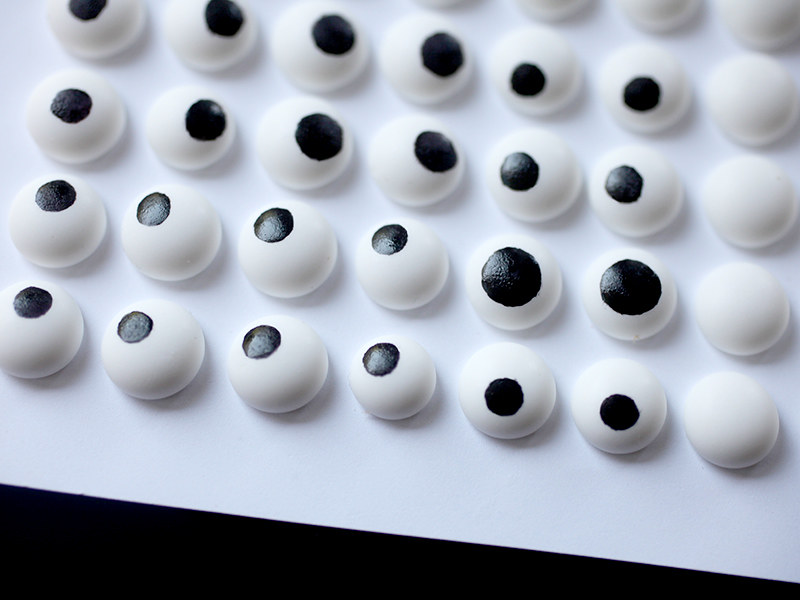
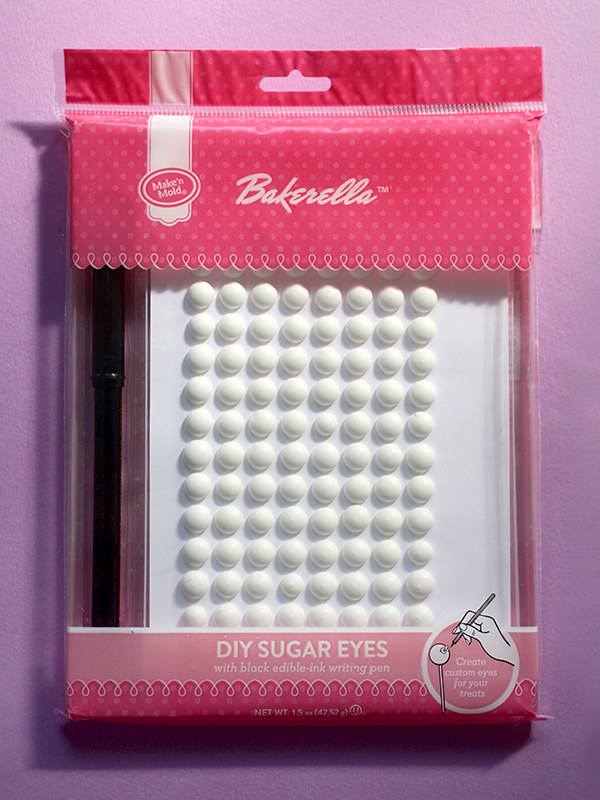
4. I used my DIY Sugar Eyes so I could customize their expressions with different size pupils looking in different directions to give them more character.
You can find the eyes at A.C. Moore craft stores and online right here from Make’n Mold.
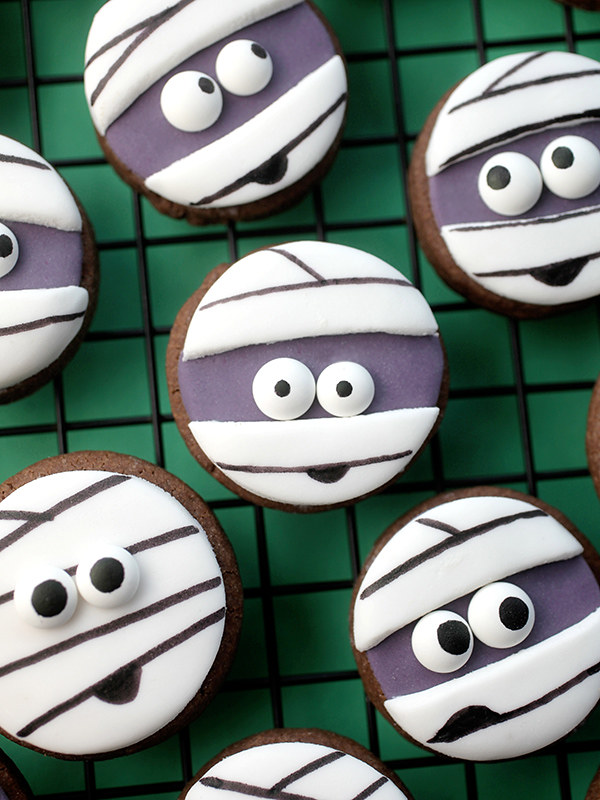
5. Using the black edible ink writing pen, draw lines on the mummies so they look wrapped up.
And attach eyes to the cookies with a little frosting or melted white chocolate.
Eeek!
These guys look a little paranoid.
And so they should be. Get in my tummy… you yummy little mummies!







The most cute mummies I ever seen!
Wat een leukerds!
Aww how cute, a shame these are not avaible in my country!
It’s all in the eyes so cute
I love the DIY Sugar Eyes! Your products are amazing and just we need.
The mummies are soooo cute, perfect for my little one.
Thanks, always have the right recipe for any occasion. Halloween is coming, yay!
they’re too cute!
thanks for sharing your tutorial! i set a link and hope you agree.
best wishes, doro von Hand zu Hand
I had no idea you came out with the DIY eyes. I am loving them! I tried making royal icing eyes last year and they were all different sizes. Your way is right up my alley! Thanks, Bakerella!
These are adorable! They look relatively simple to put together as well. Perhaps something I can actually pull of this Halloween! :P
Cute and funny Mini Mummies.Love them all!
Oh come on! These are ridiculously cute!
So cute! They look startled!
They are SOOO cute!! I may cook these for my work colleagues for halloween :)
Awwww! It is super cute! The taste good and look good!:D
Plain circle cookies turned into the cutest mummies! You never cease to amaze us. This is a fantastic idea. The idea of using fondant over royal icing to decorate the cookies is great. Thank you for the ideas!
Adorable! Love them!
Funny! Cute! And yummy… :-) Nice recipe!
Gorgeous
Wow! They look so simple but so effective! OMG, so cute!
Darling
even my mummy would appreciate these cuties
Cheers
These are so cute! I love the create your own eyes too, great for so many things.
Thank you guys!!!!
Marilyn- you can totally do these!
Hi Wendy – I’m so sorry to hear that. I need to find out if they can offer more/better shipping options to Canada. Thank you for the feedback.
Also – this time of year you should be able to easily find pre-made candy eyes if you want them to all have the same expressions.
Cakespy – haha. You’re too cute. thank you my sweet friend.
HOORAY for Bakerella!!! Mummy’s the word today with these adorable sweets. I am so excited to receive your book. Love-love-love!
I love these! I jumped immediately to the Make n’ Mold website to order the DIY eyes. I put two packages into my cart and started the checkout process. Imagine my surprise to find that the ONLY shipping option was UPS Worldwide Express for a charge of $92.38!!! My total bill for the eyes would have been over $100. There are further instructions that let me know there could be more charges upon delivery (duties and taxes) that “can be expensive” (though admittedly, this is beyond the control of Make n’ Mold). Needless to say, I was VERY disappointed that as a Canadian fan, all of your great products are unattainable for me. I just thought you should know.
#disappointedinToronto
These are so cute. I don’t know what I like better the cake pops or the cookies.
These are so cute! Can you imagine a little collection of these in a cello bag with a spooktastic label and tie? Even great for special friends at the office or to hand out at a mom’s group meeting. I hope there’s a nanny out there making your treats to earn special brownie points. (Sorry, I just could resist. Ha!) Happy Monday! Thanks Bakerella!
Adorable, Bakerella! Thank you for making me smile this morning!
You are amazing! I see things you have made and think, “there is no way I could do that.” Then you break it down and then it’s “I think I can, I think I can!”
Thank you for sharing such talent and creativity with us!
Sooooo cute!
i love these! My 6 yr old twins would love to help me make these!! You’re truly the best!! ????????
These are so cute! I love the expressions on them- you make them look so full of character :)
Hehehehe and awww :D
These are so cute !
Super cute!
These are so funny! And the perfect cookies for Halloween.