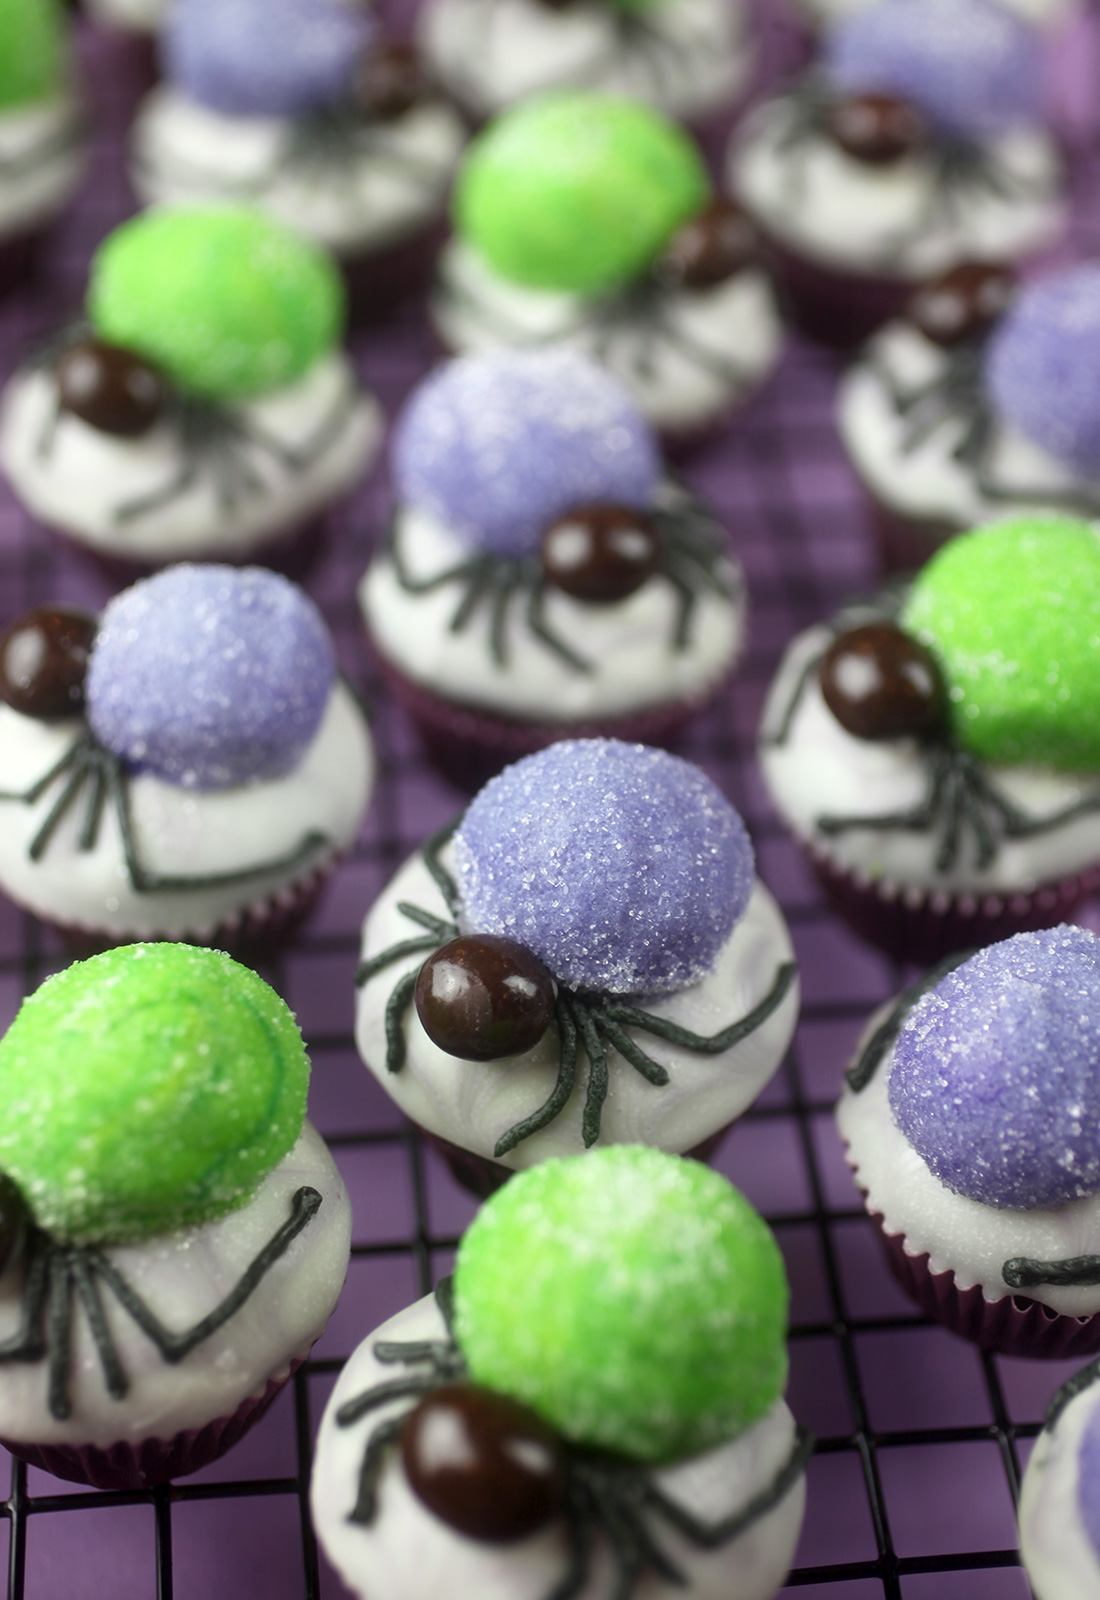
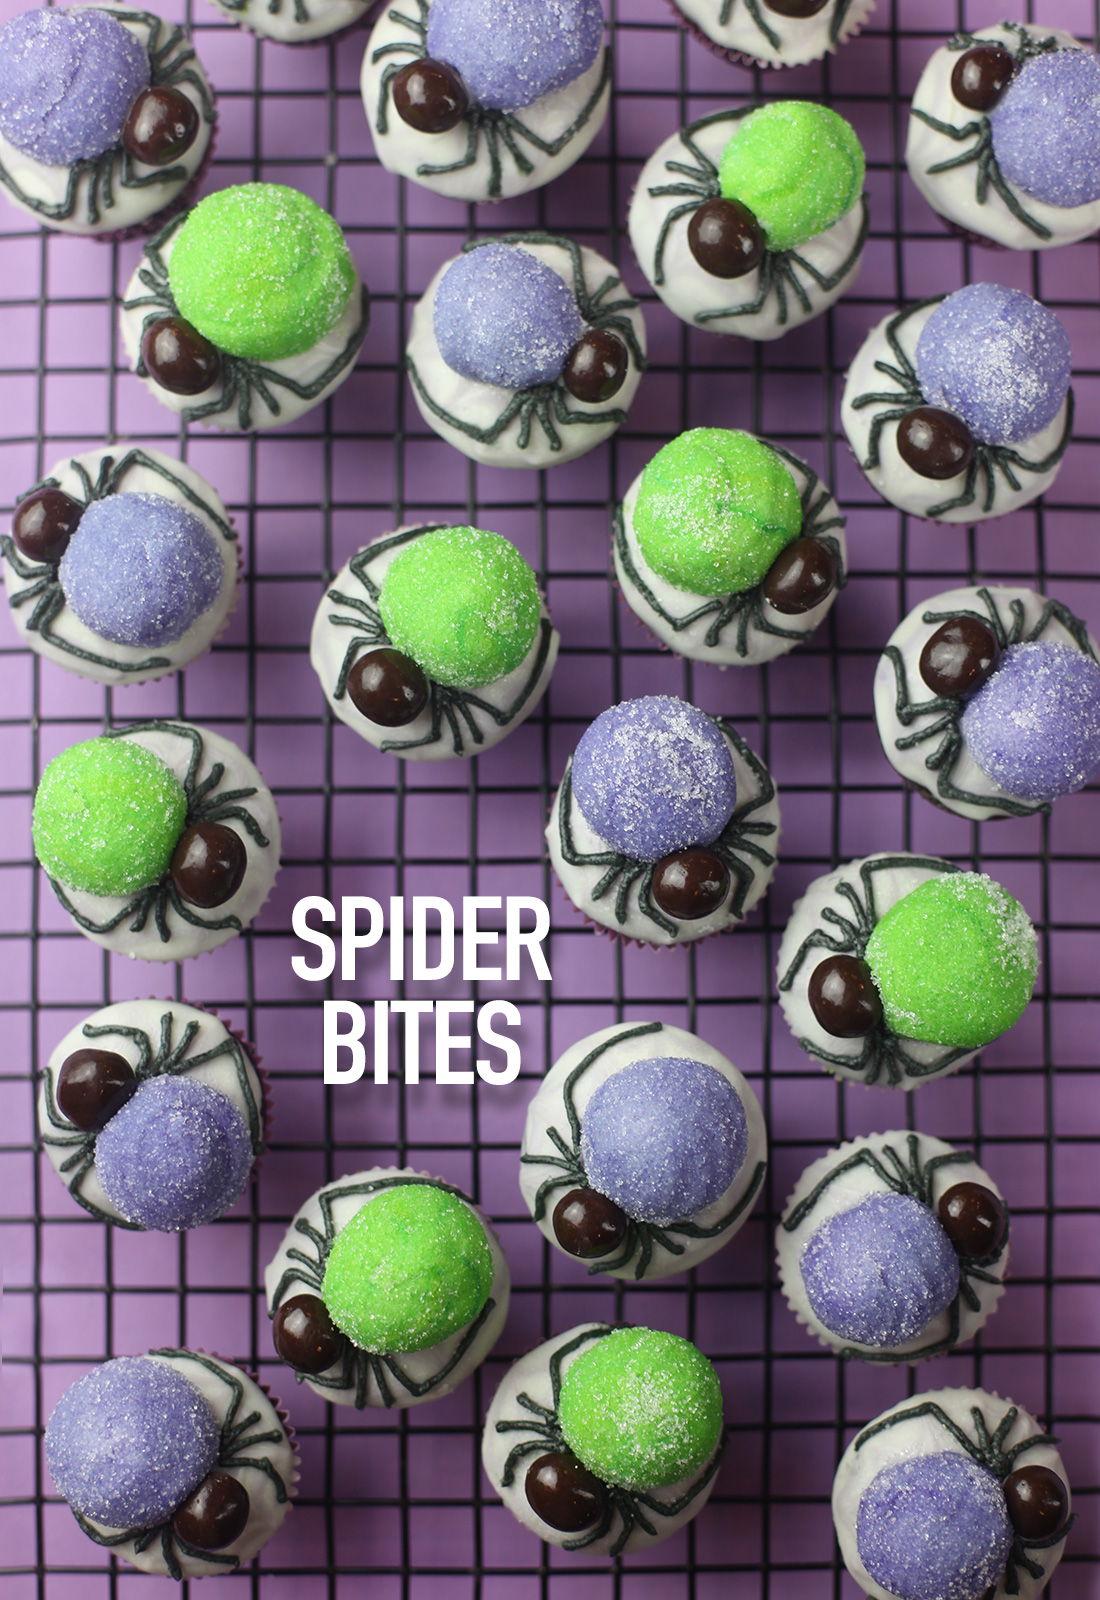
Creepy, crawly and cute. These bite-size spider cupcakes are a perfect little treat for Halloween. And they are pretty easy to decorate, too.
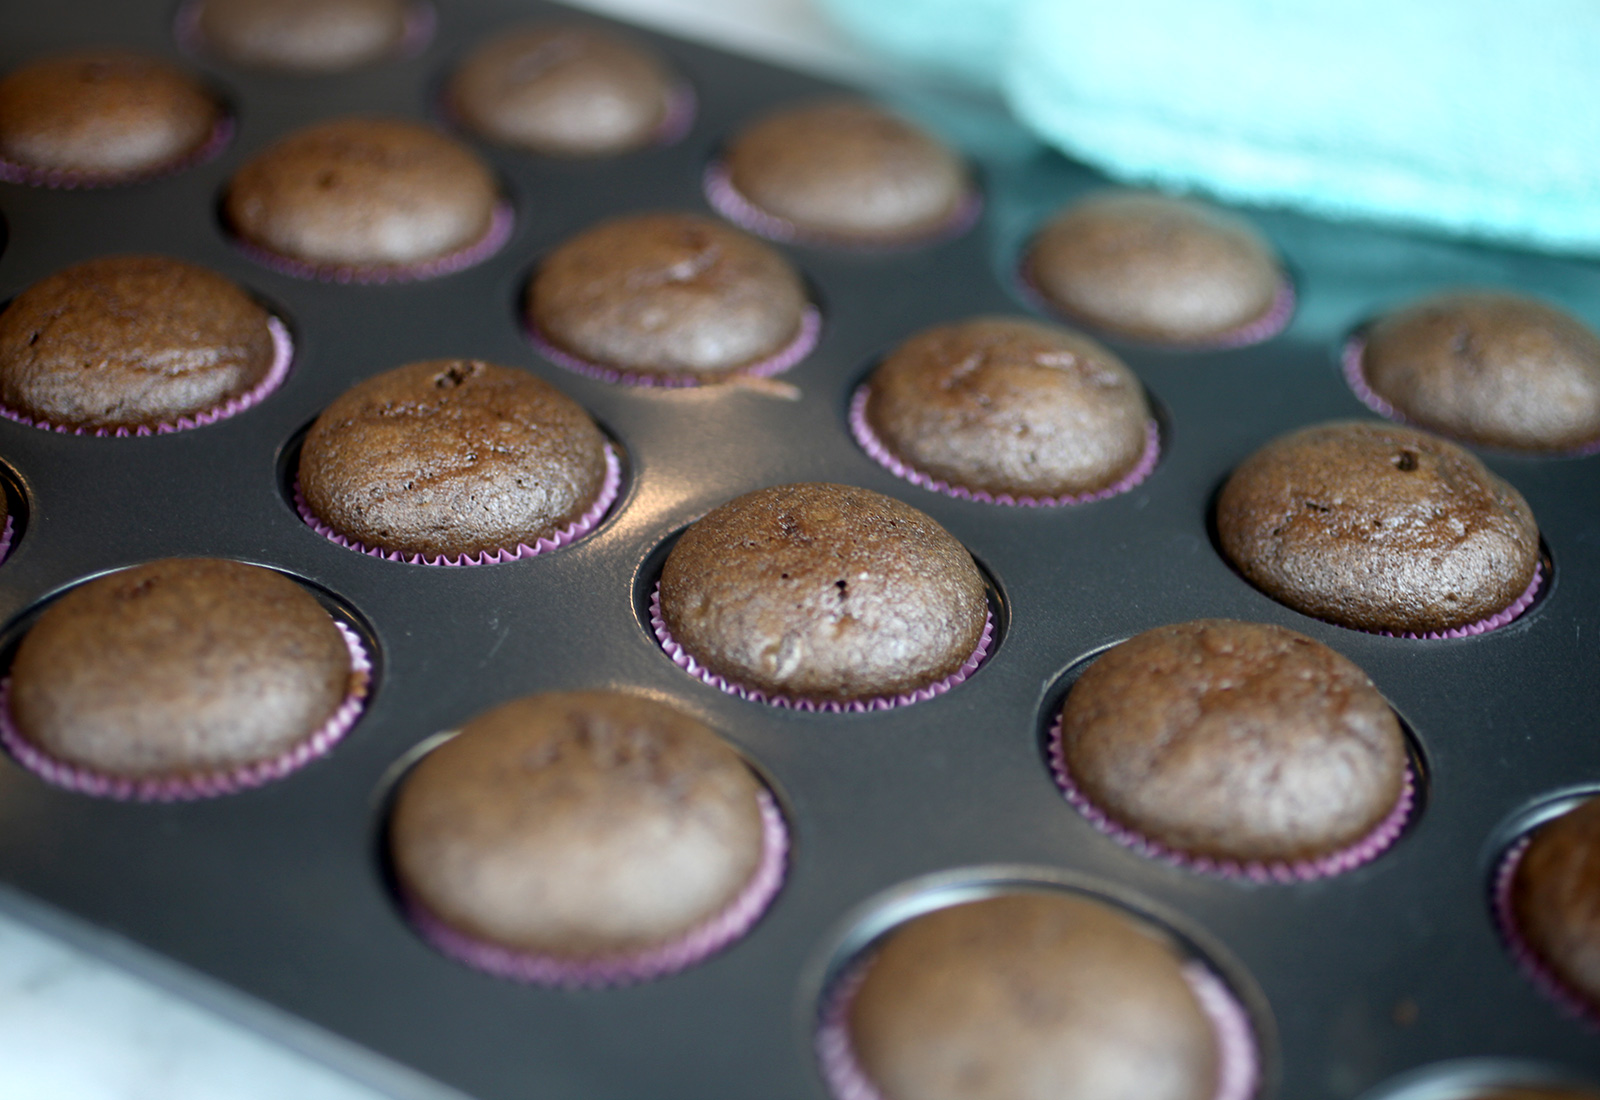
They are mini in size, so you’ll want to have a 24-cup miniature baking pan handy.
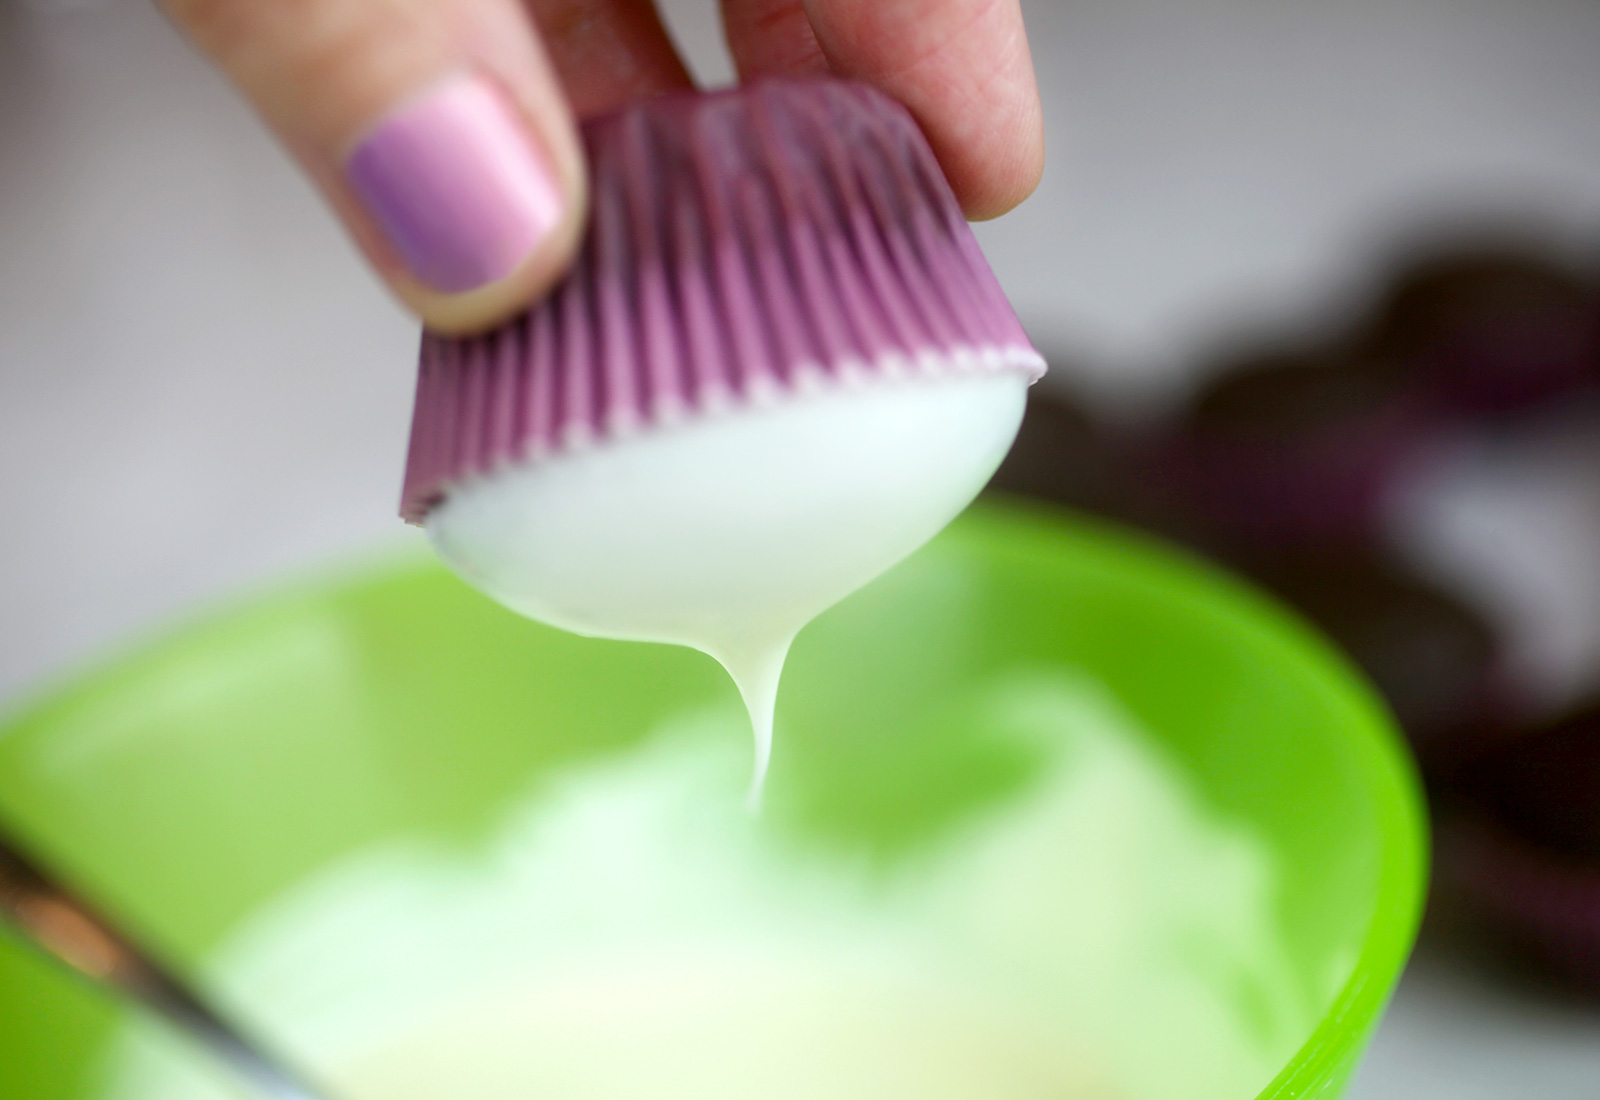
After the cupcakes are baked and cooled, start decorating by covering the cupcake tops.
Not with butterceam, but with melted candy coating for a smoother canvas to aid in making the spiders later on. Don’t worry, I’ll show you.
I love this because it’s a quick little trick to get all your cupcakes covered without a lot of mess. Just dip them in melted candy coating right up to the cupcake liner. Flip them over gently and give them a little swirl to settle and that’s it.
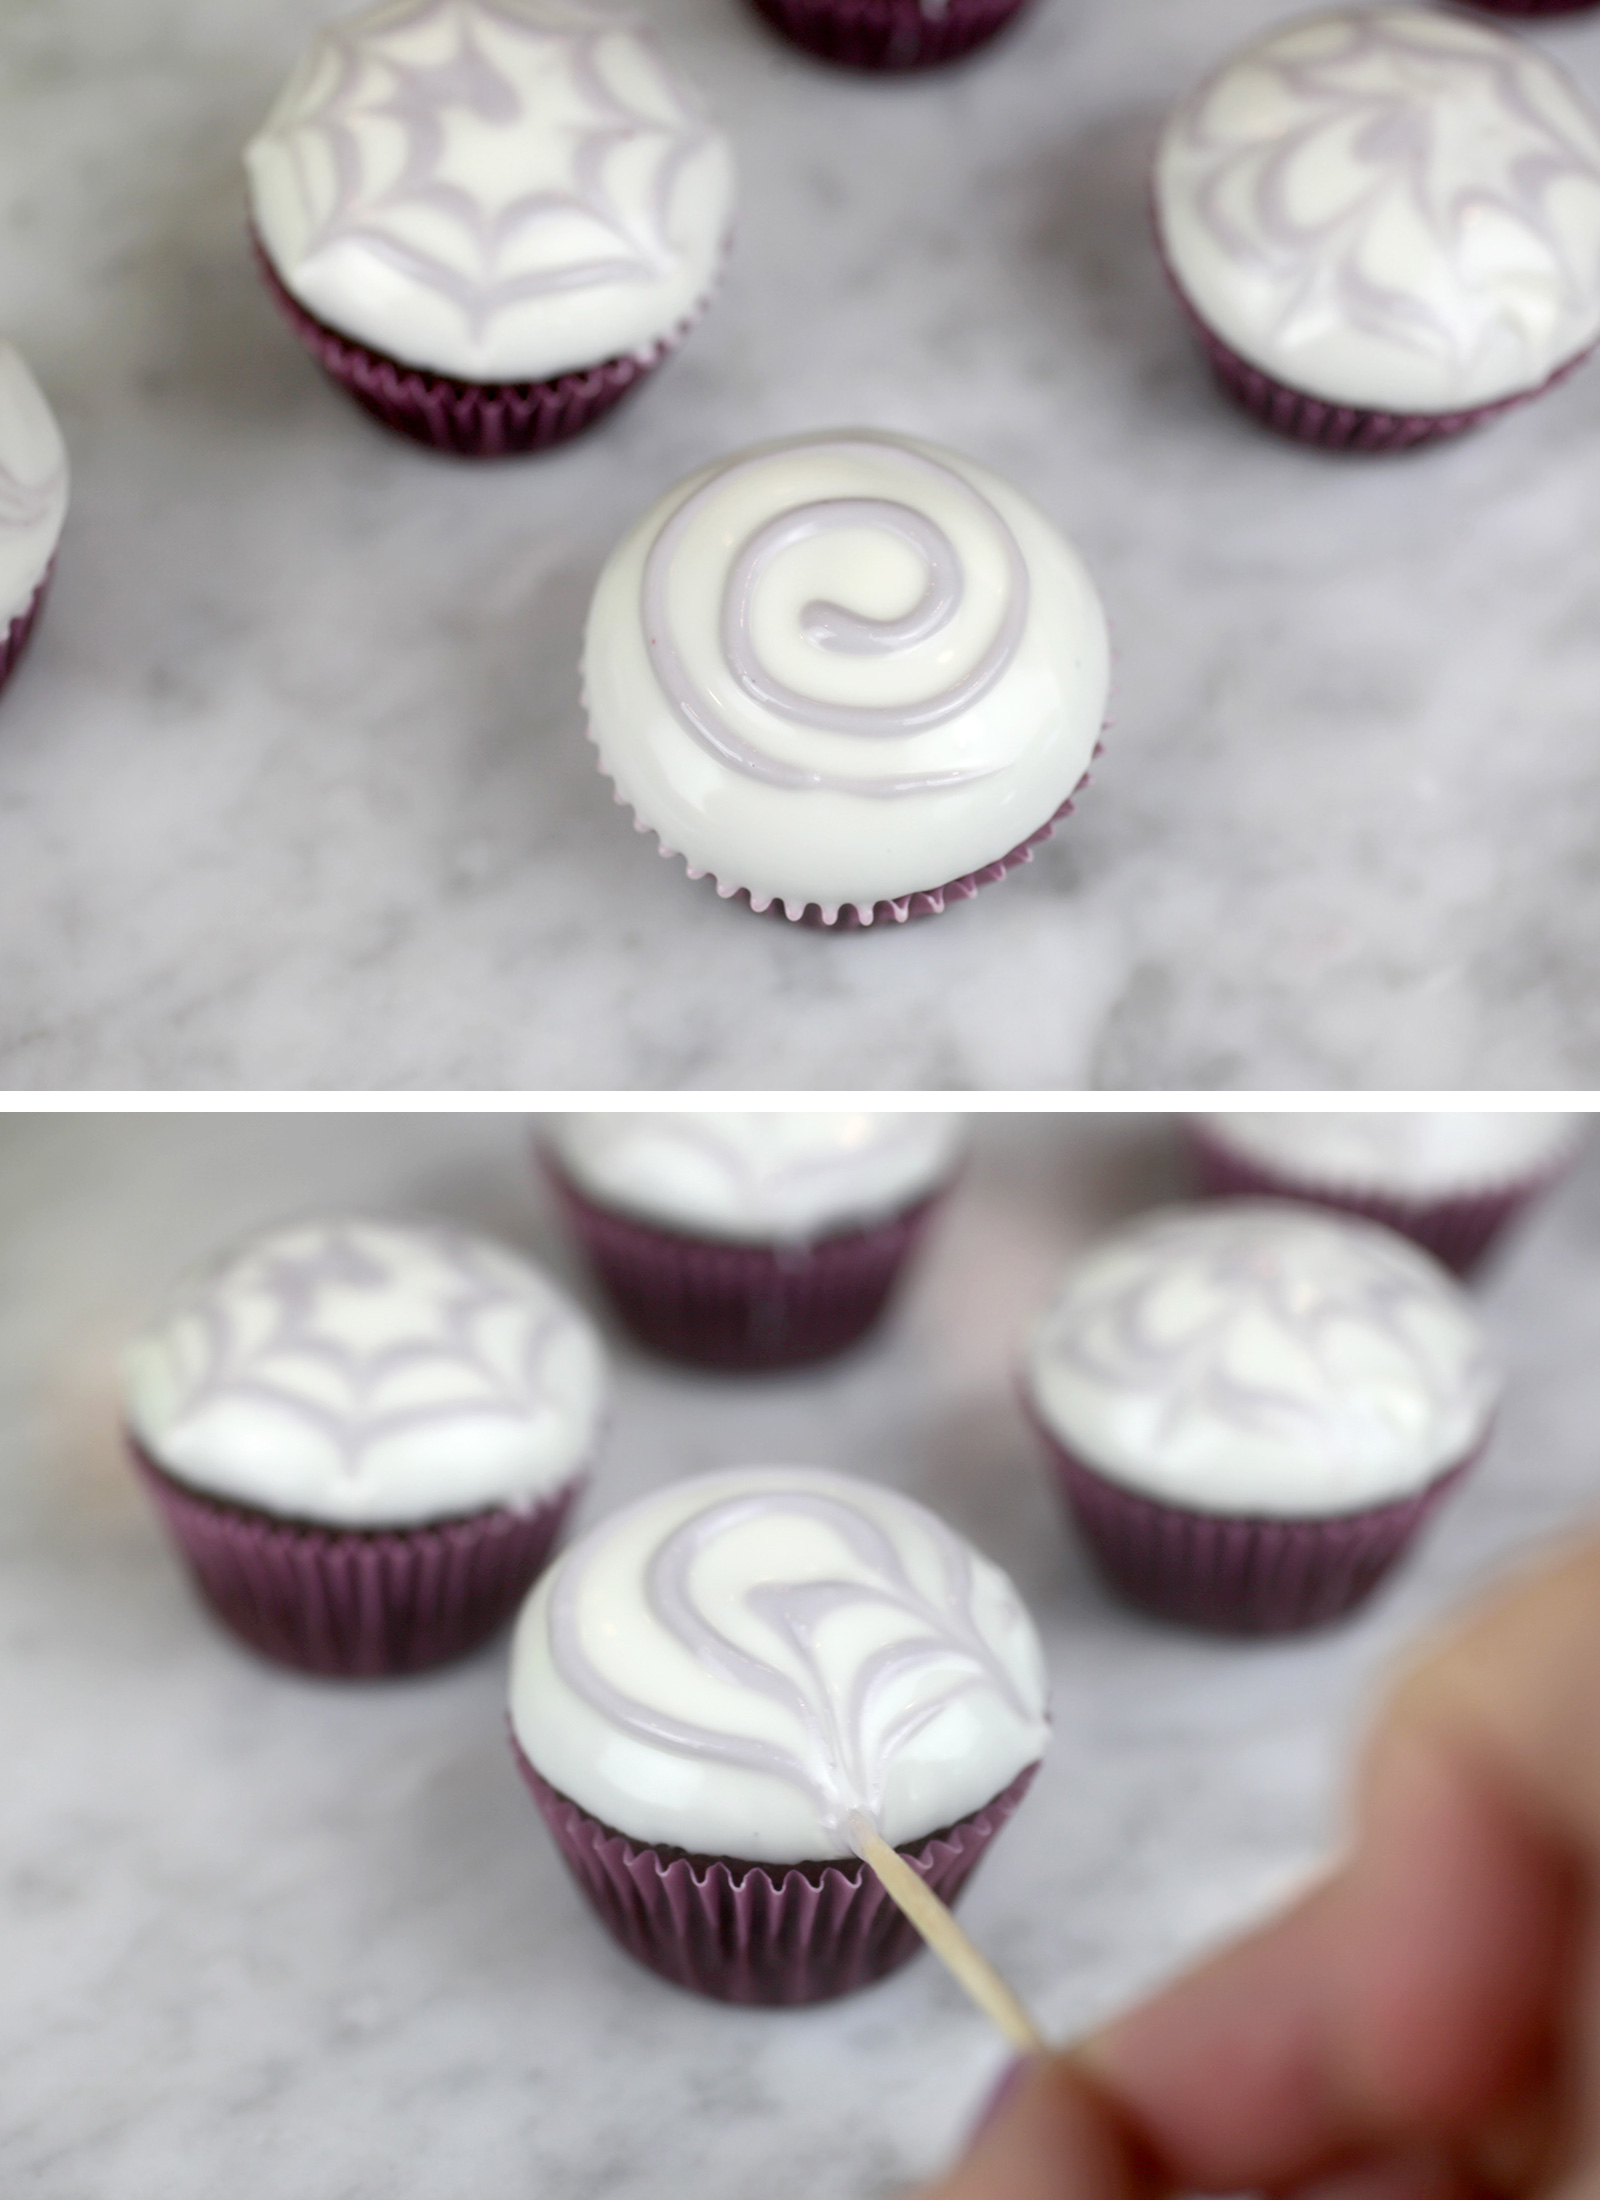
Okay, this step is pretty but actually completely unnecessary as I discovered by the end of decorating these cupcakes. But, I want to show you anyway in case you can find a use for this method.
I had wanted to make spider webs with the melted candy coating – so the webs could be as smooth as the surface of the cupcake tops. In theory these work and look cute. But as you’ll notice once the spiders are added on top – well, you can’t really see the webs. So this ended up being a wasted effort on my part.
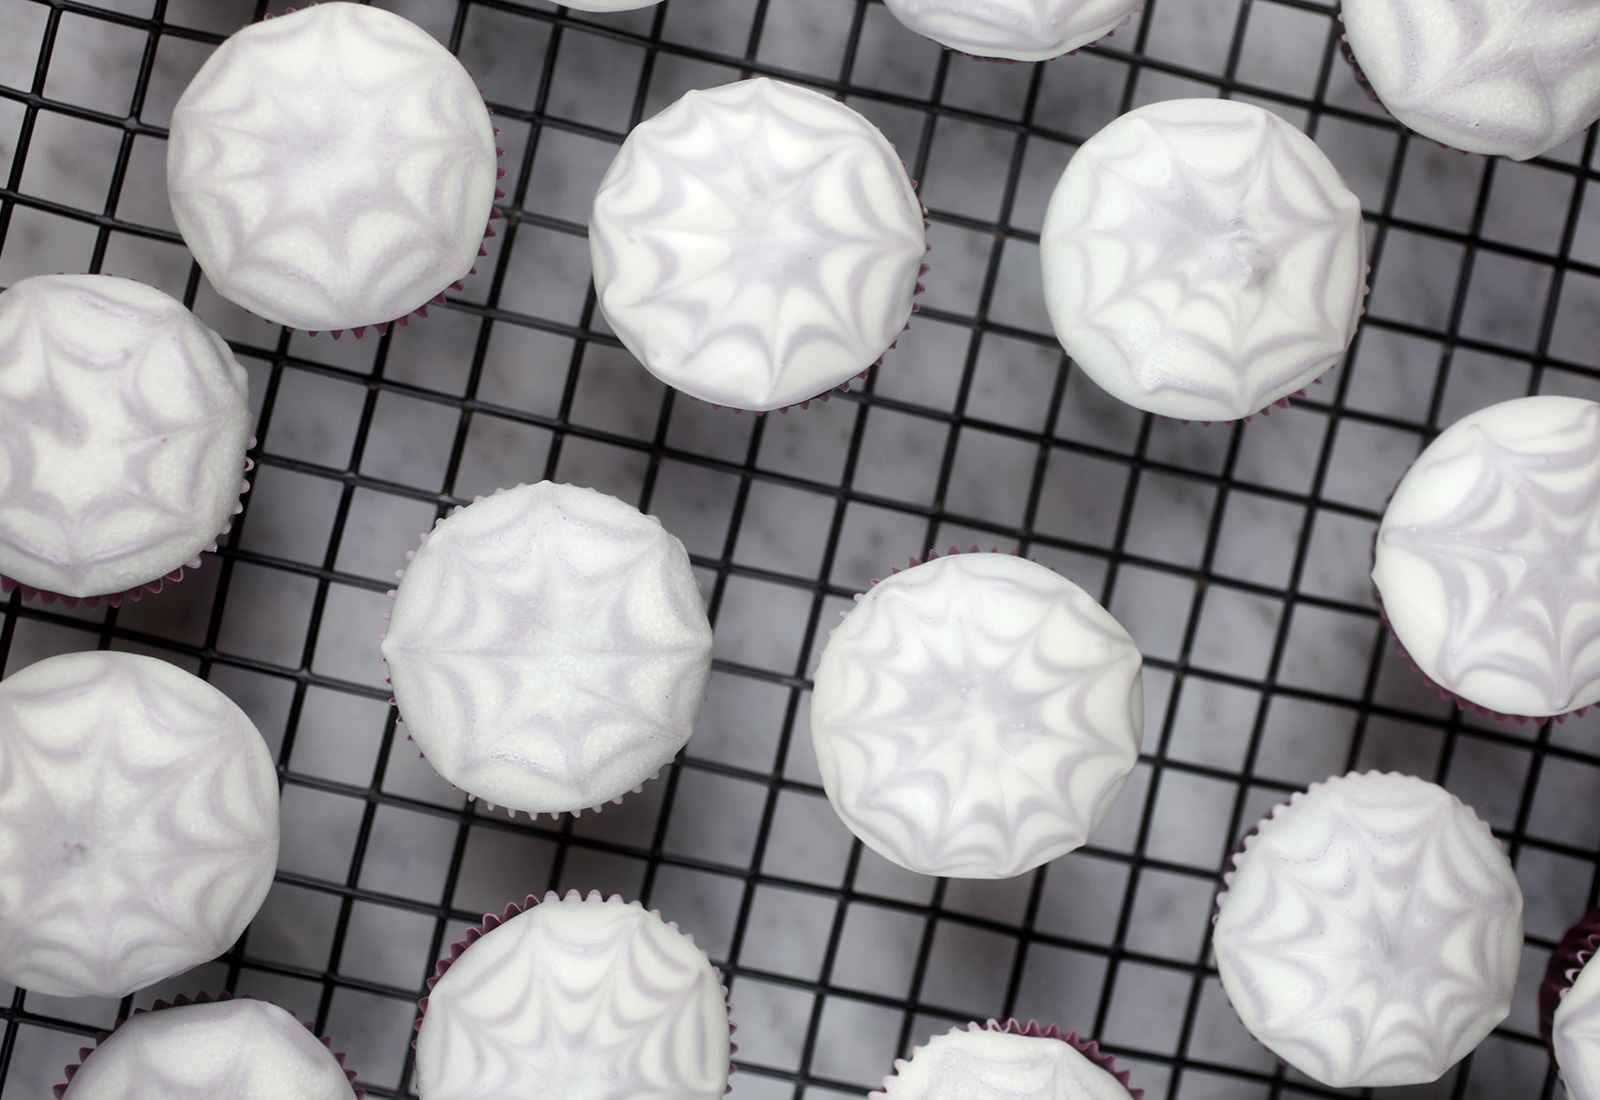
Any who. If you want to do this for another purpose. Dip the tops of your cupcakes in melted and fluid candy coating. Then use a secondary color of melted candy coating in a small squeeze bottle to pipe swirls on top before the first color sets. Immediately drag a toothpick just on the surface, starting from the center and pulling to the edge in several strokes. Don’t insert too deep or you can pull too much of the base candy coating down and over the edge.
Voila. Cute.
Sidenote: You could do these and make tiny, tiny spiders on top with a single candy and tiny piped legs. That would work and allow you to still see the webs underneath as well.
Okay let’s keep going and make the spider bodies.
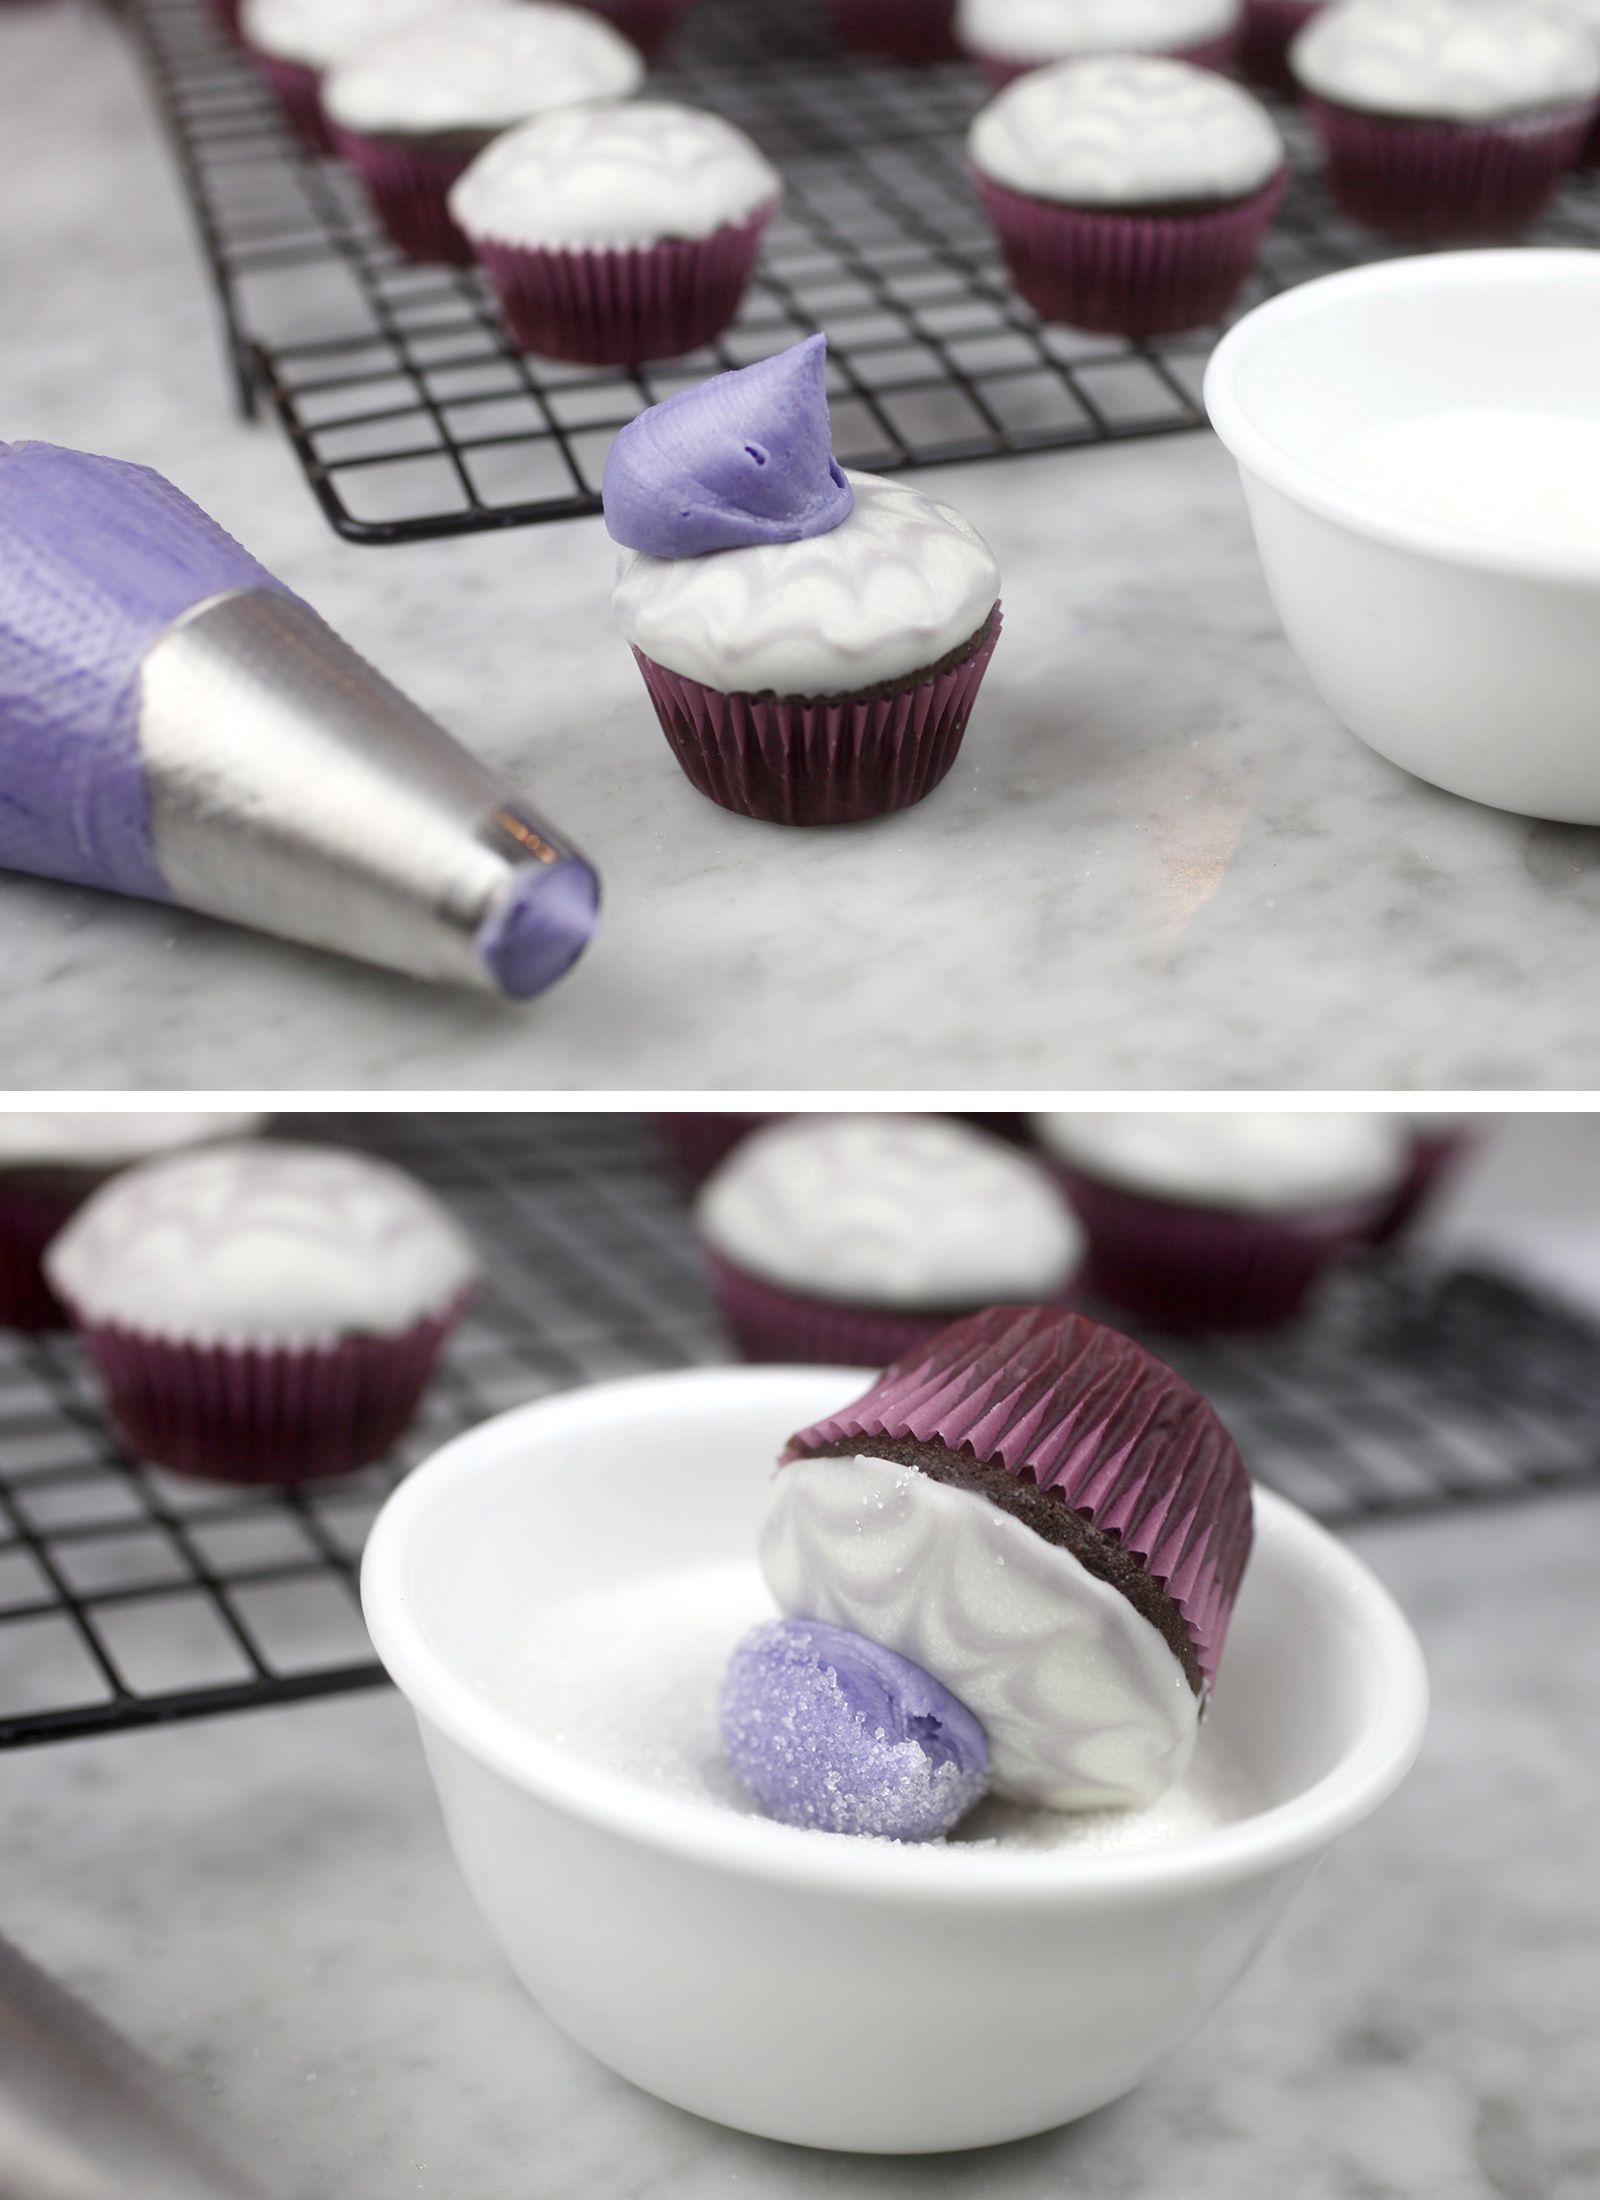
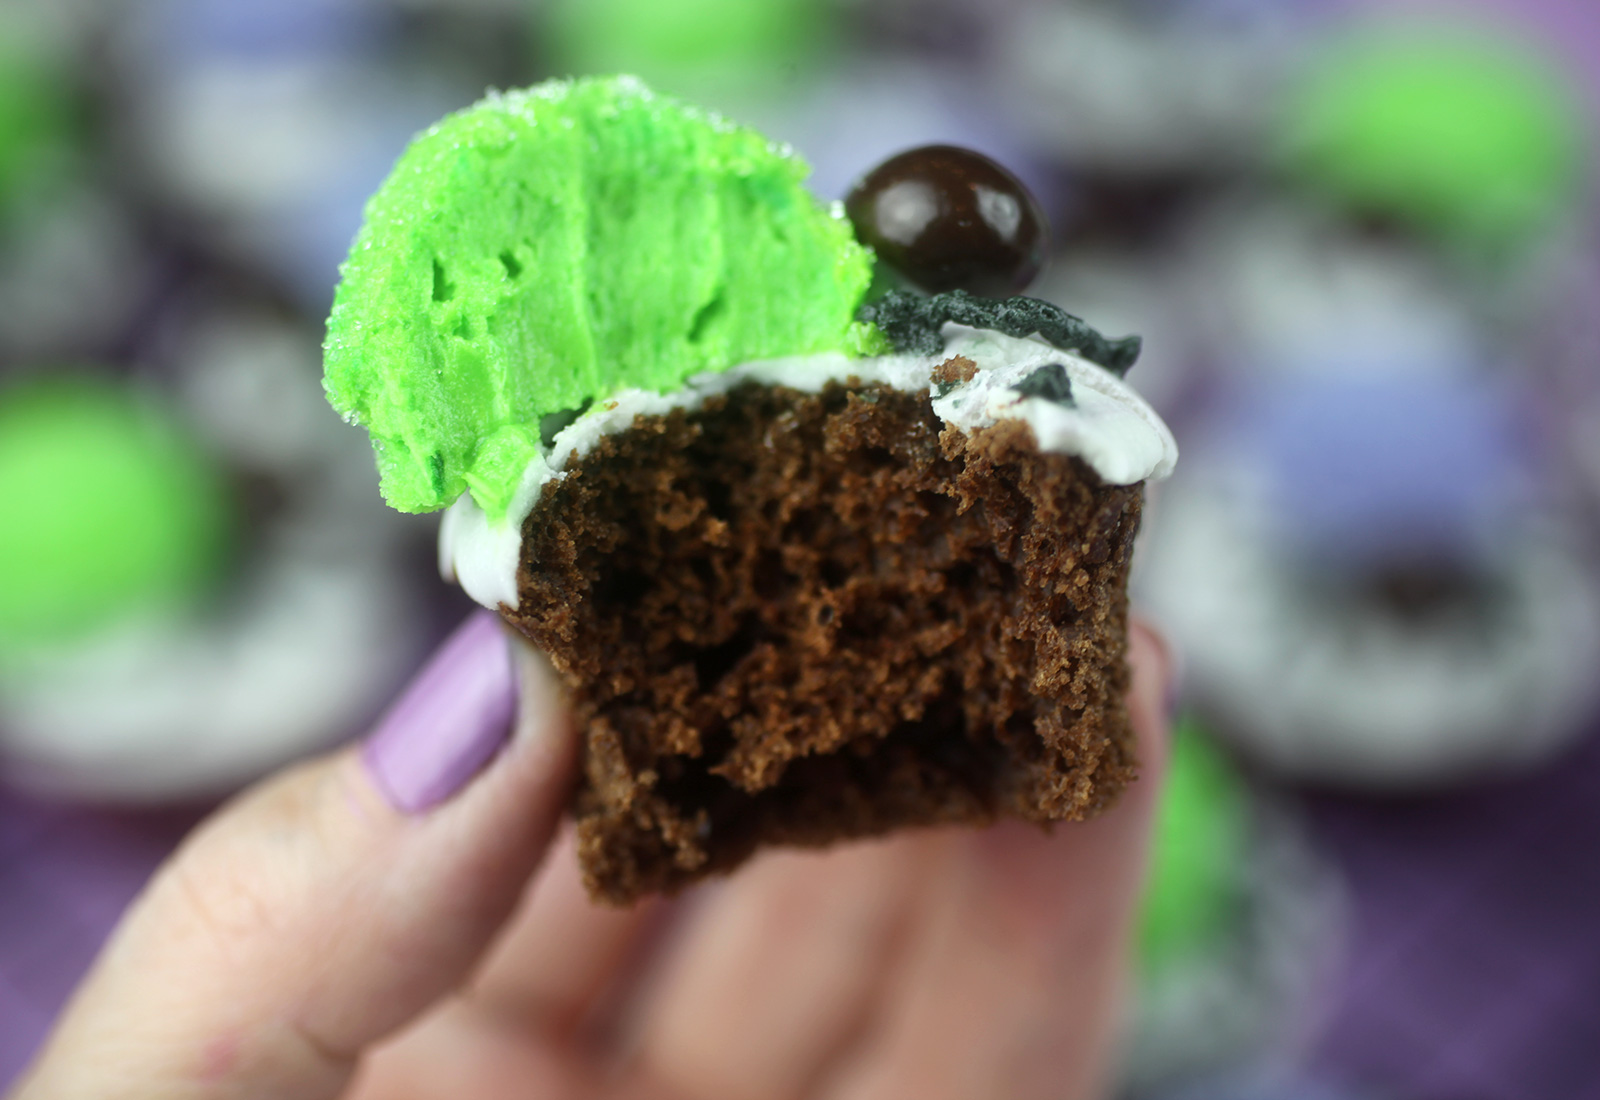
We’re making buttercream bums first! Pipe a decent size dollop of tinted buttercream on one side of the top of the cupcake. I went with purple and green to stay on theme. Then gently press into a small bowl filled with white sanding sugar. Press lightly and rotate to form a ball. You can reshape using your fingers if needed. The sanding sugar creates a barrier to keep things from getting sticky.
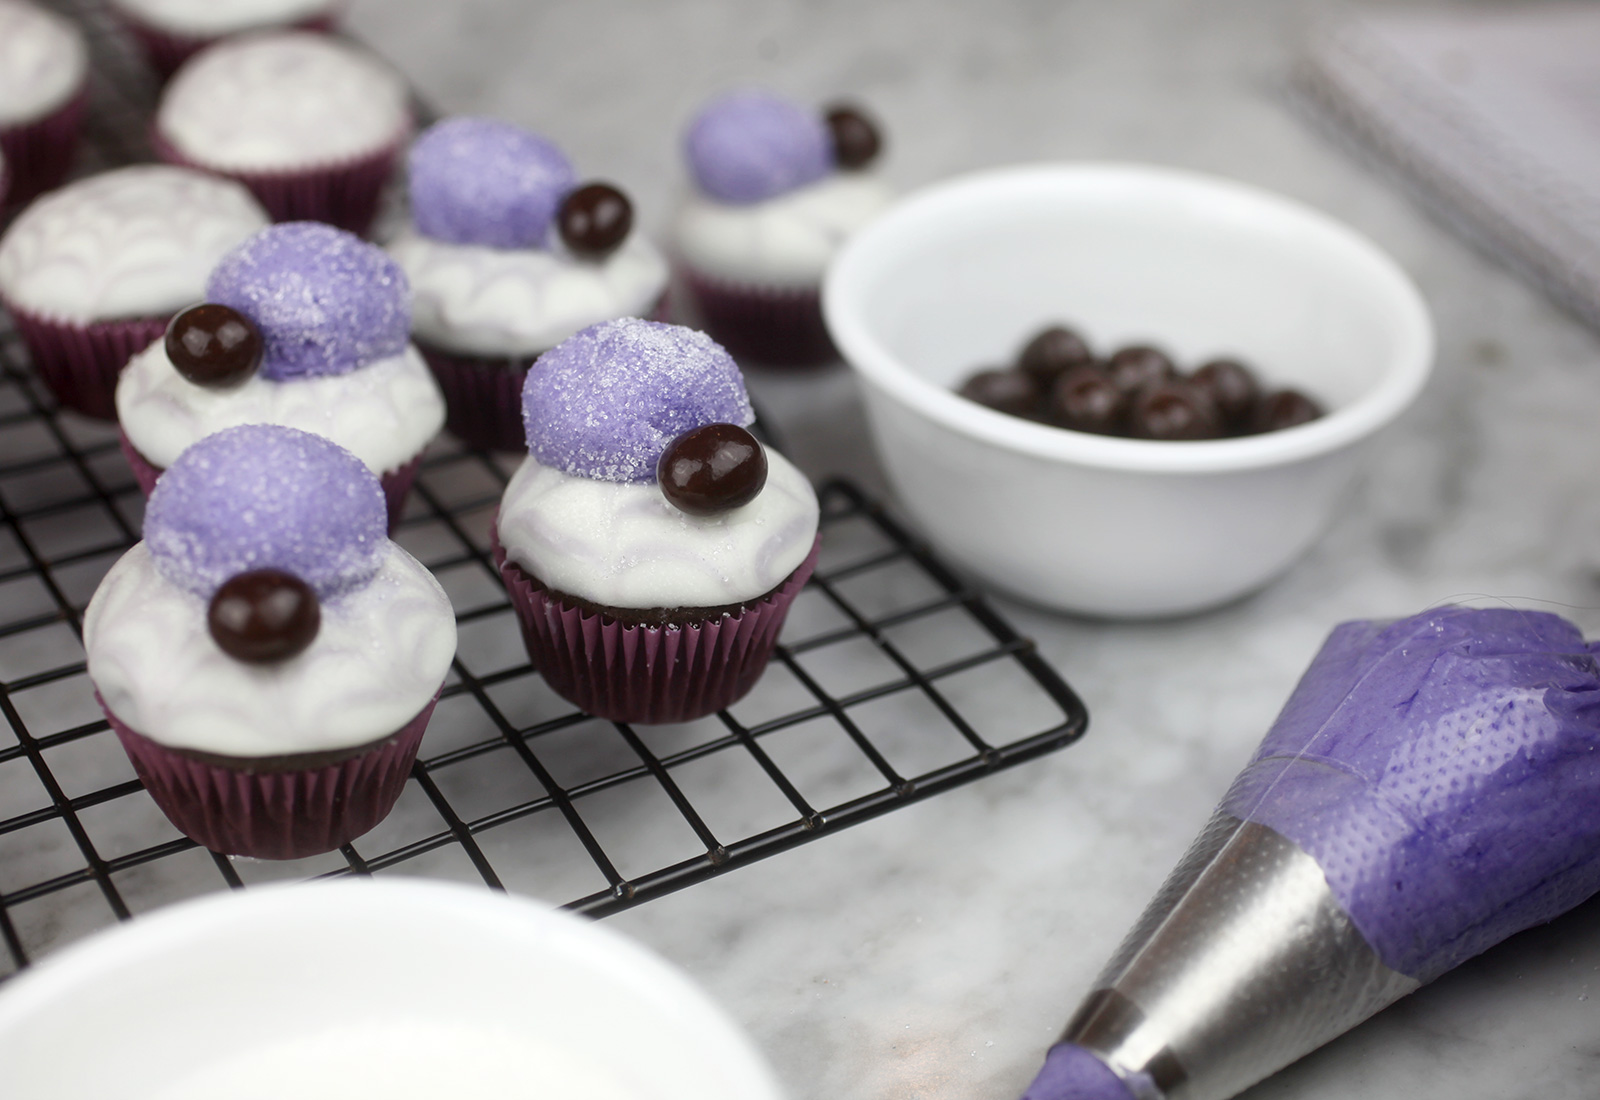
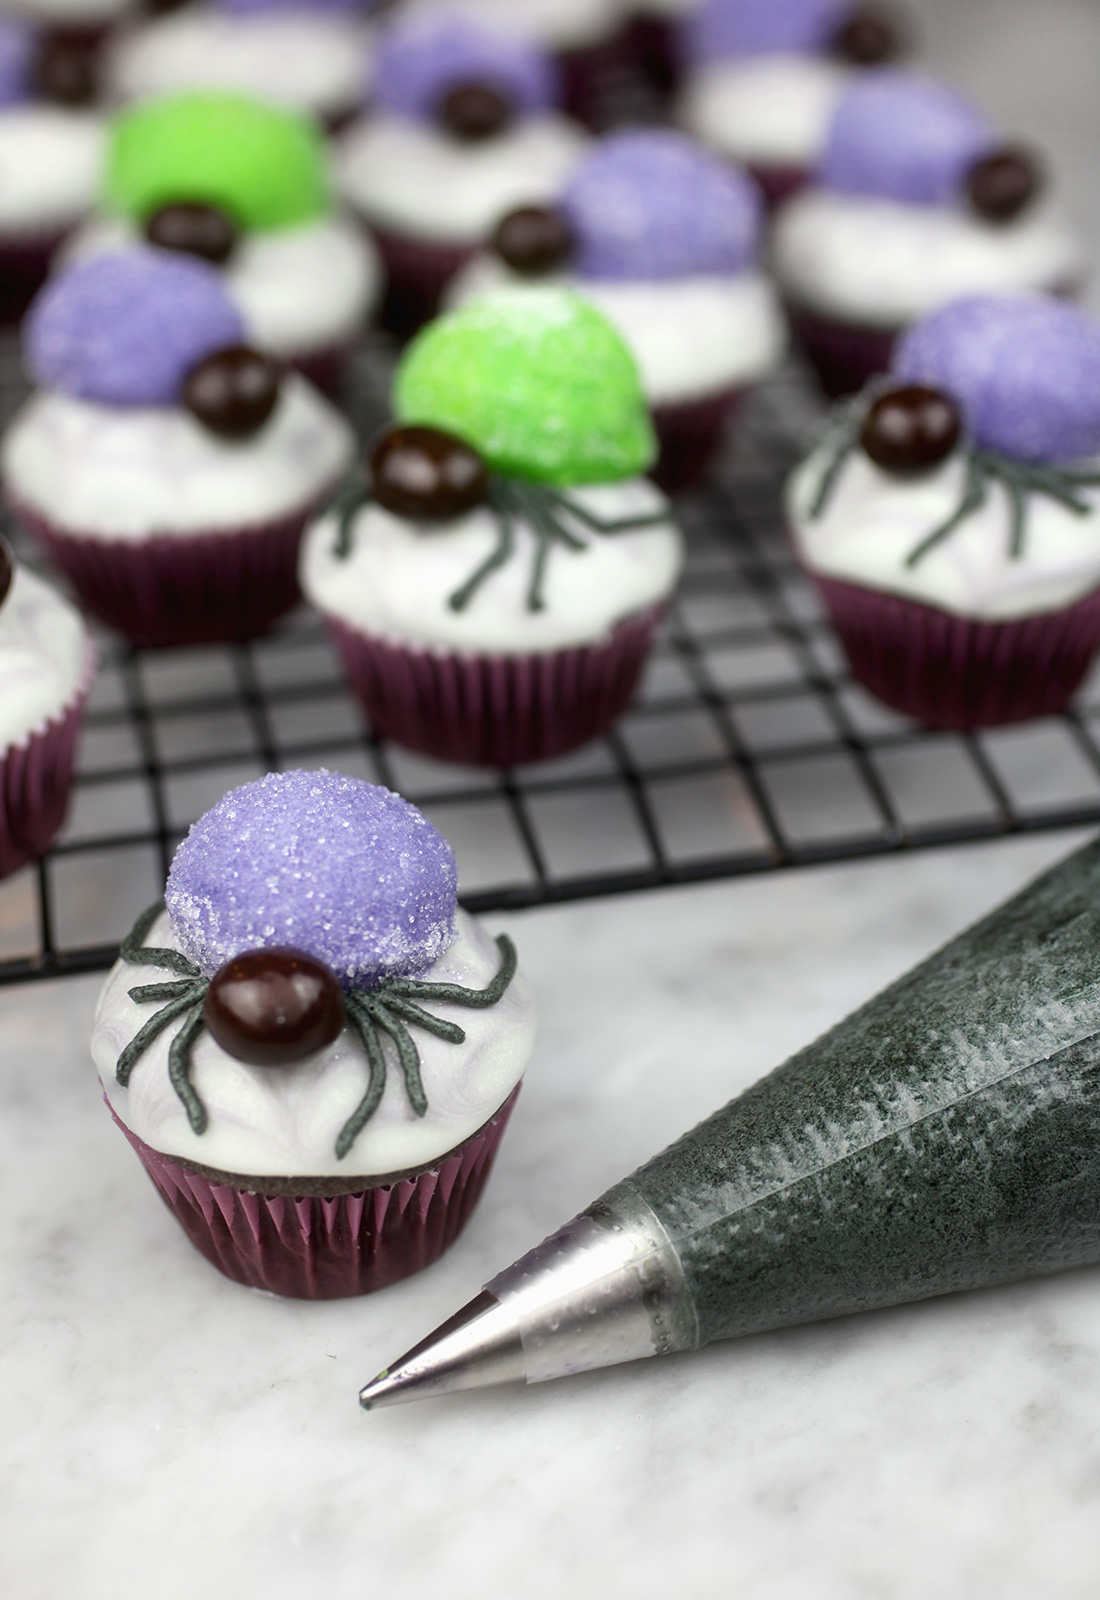
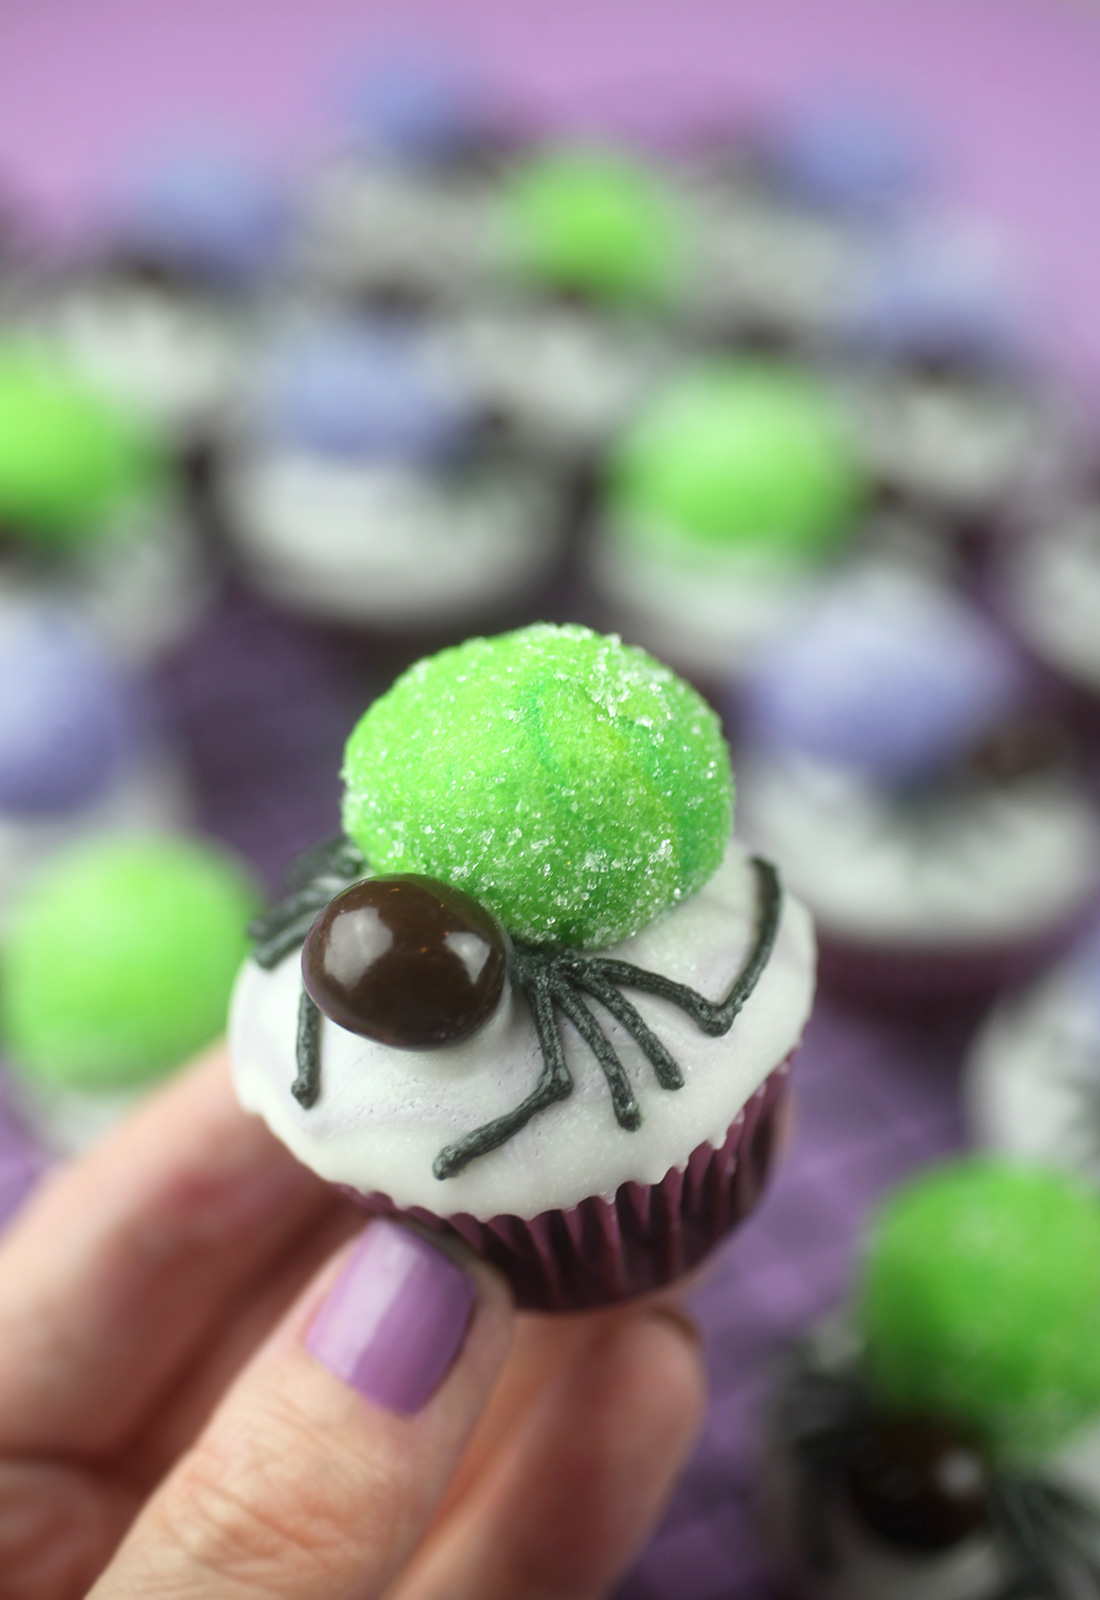
Look at those bulbous buttercream bums! Once piped and shaped, use a tiny dot of melted candy coating to attach a candy piece in front for the spider’s head. I used chocolate covered espresso beans by the way.
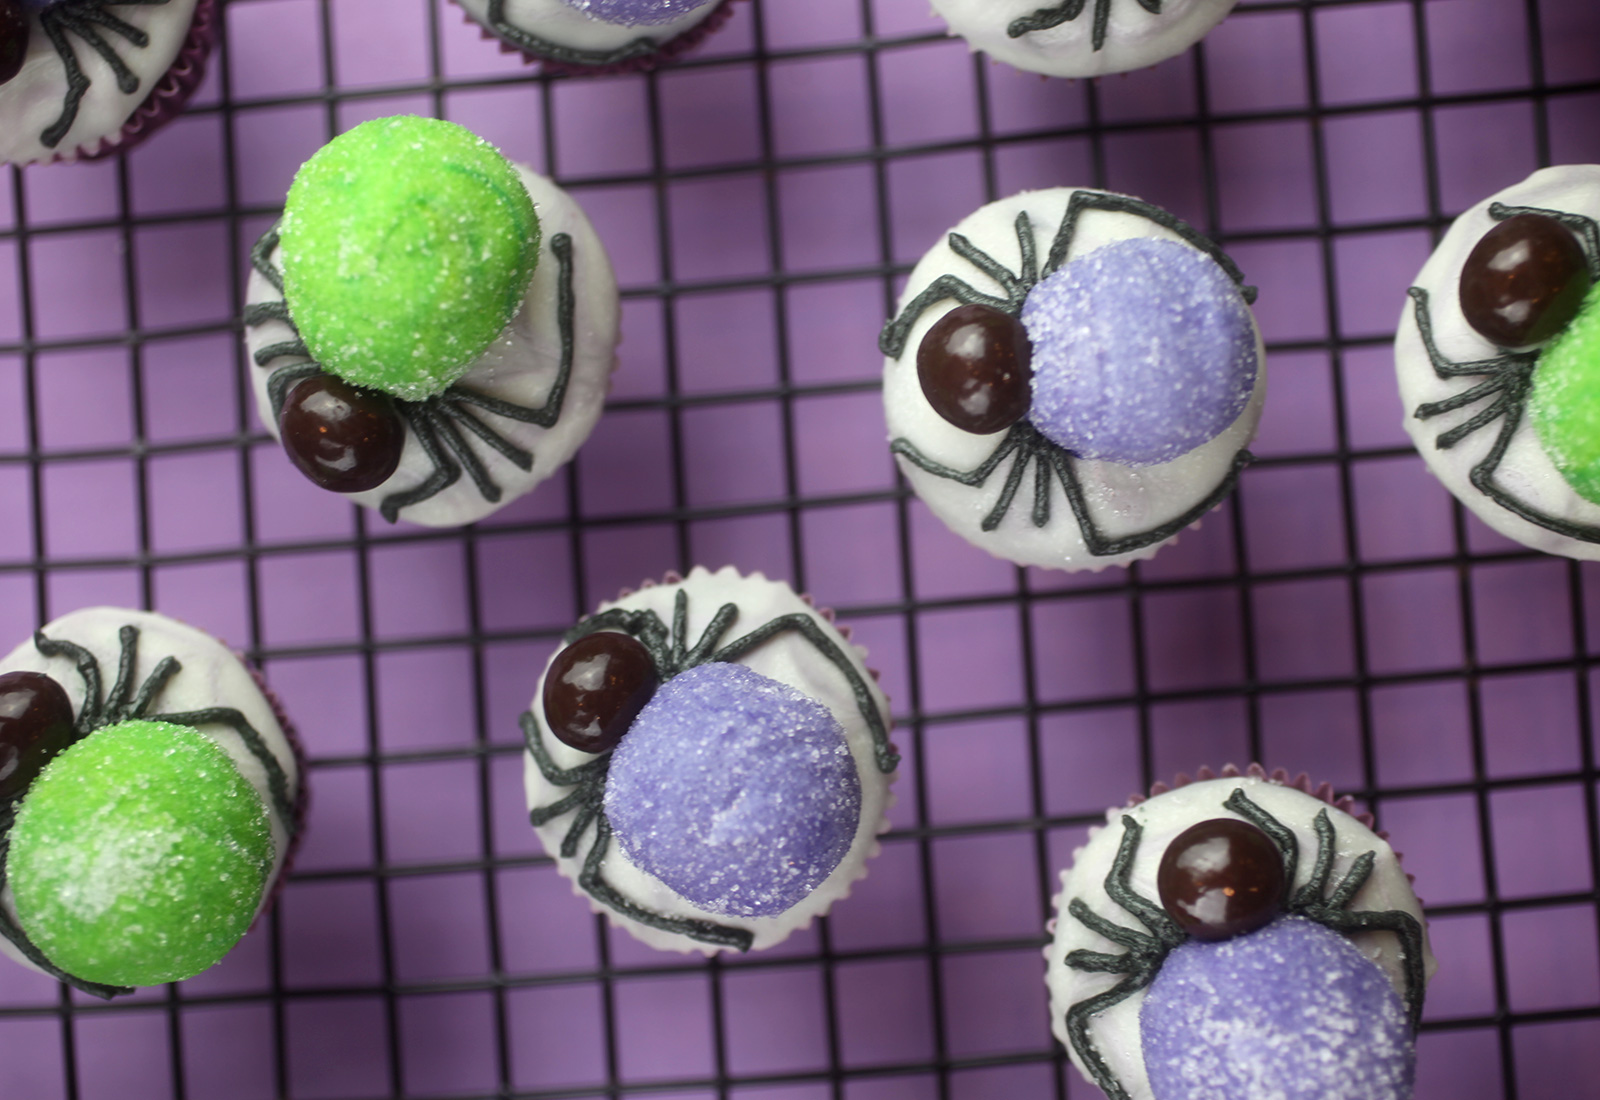
Now all that’s left is piping the legs. Tint some buttercream a black or a very dark color and pipe eight legs. Pipe them generating from in between the candy head and the buttercream body as shown – two in front reaching forward, four shorter ones on the sides and two bigger ones wrapping around toward the back of the cupcake.
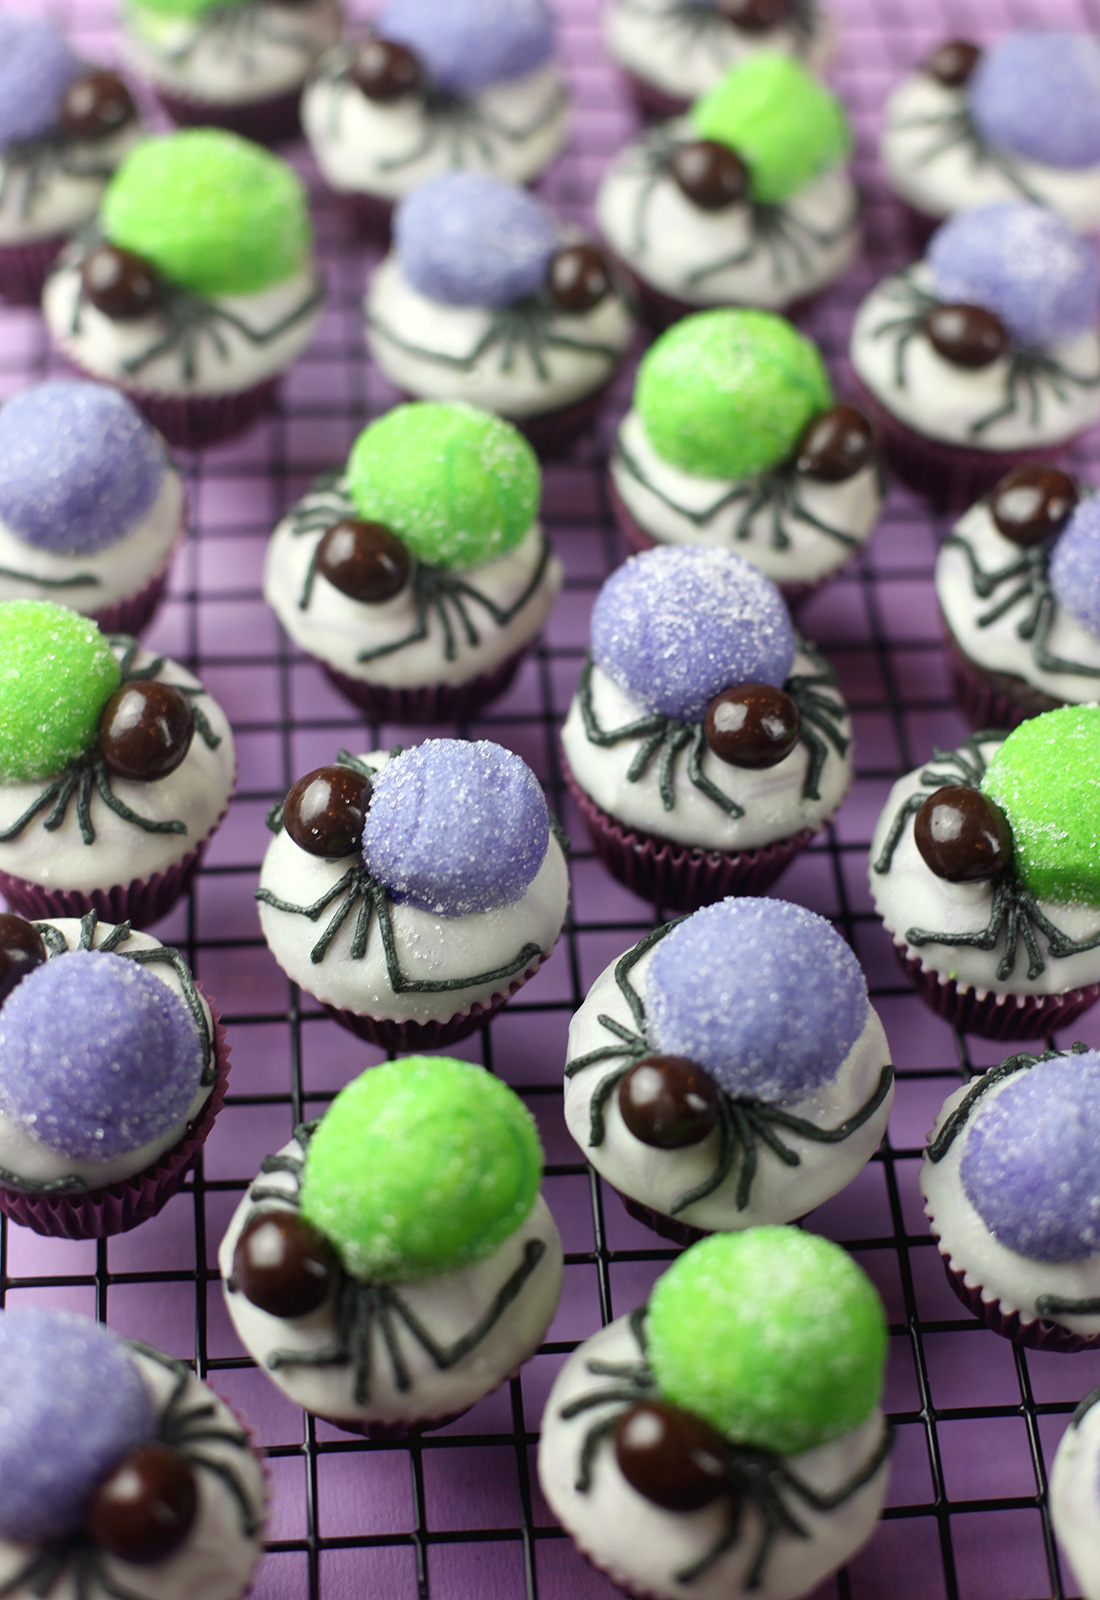
Eeek! So cute.
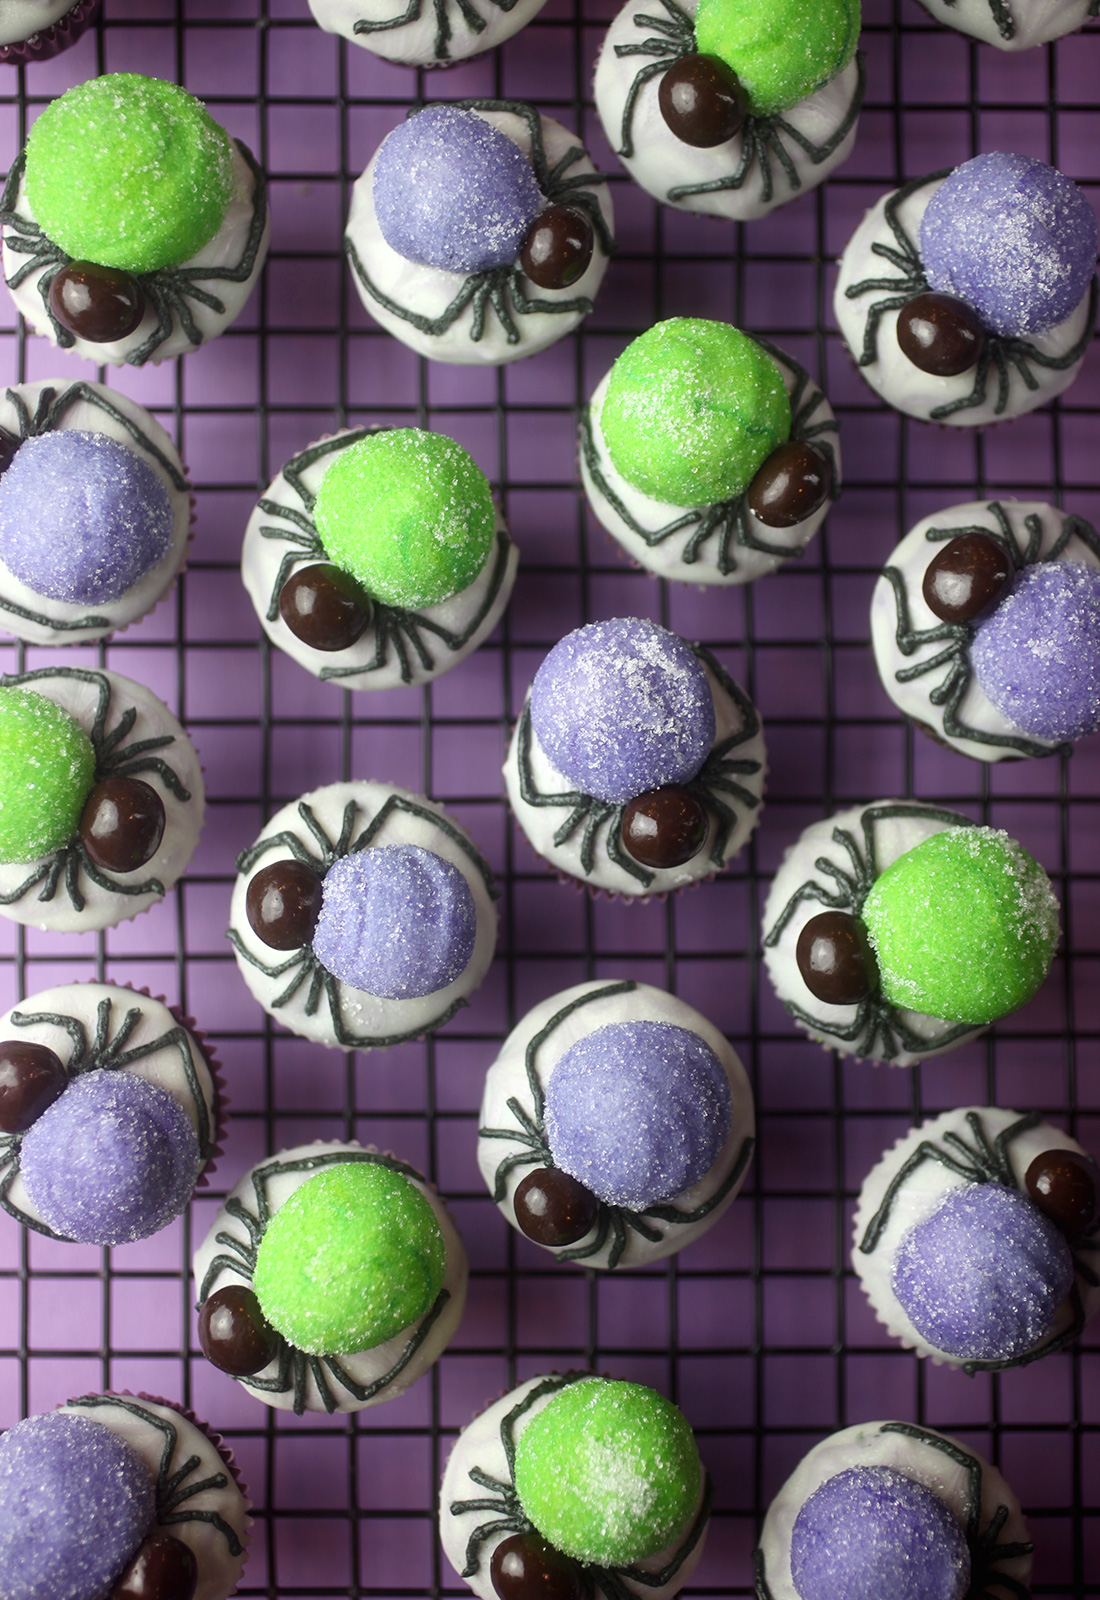
And actually, looking at them in this picture, you could totally turn these into bugs, too. Just shape the bodies a little more oblong and pipe one extra line down the center of the body. You would probably also want to arrange the legs a little differently, too.
So cute and the smooth candy-coated surface helps to keep things from getting wonky. I think my legs would have looked really bumpy if I had tried to pipe them over a buttercream base at this small scale.
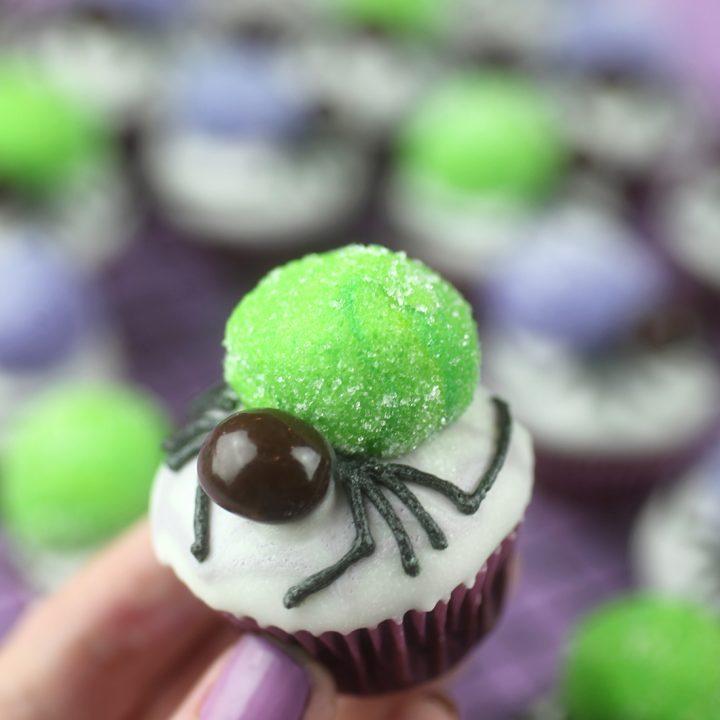
Spider Bites Mini Cupcakes
Ingredients
Mini Cupcakes
Buttercream
Decorations
Instructions
So, see what I mean, the spider webs are not worth the extra effort in this case. And if I had used a darker color for the webs, they would have conflicted way too much with the spider legs and been distracting. The only way I can see webs working at this scale would have been to draw them on with a very thin edible ink pen. But again – totally effective without all that extra work.
Here’s a better idea of the scale of these. Much smaller than a regular size cupcake and a perfect little two-bite treat.
Yumm!
Enjoy sinking your teeth into some spiders this Halloween!






The instructions are pretty straightforward. Love it!
These spider candies look so special, my child would love them if they saw them.
The shape of this cake is extremely suitable for Halloween. My son will definitely love it. Thanks for this great idea!
Wow, that looks so cute!
Ohhh! wow looks cute though.
These turned out adorable, in a scary spider kind of way! Thanks for sharing the detailed instructions and your gorgeous photography with us!
Bite me! These are so cute and yummy .