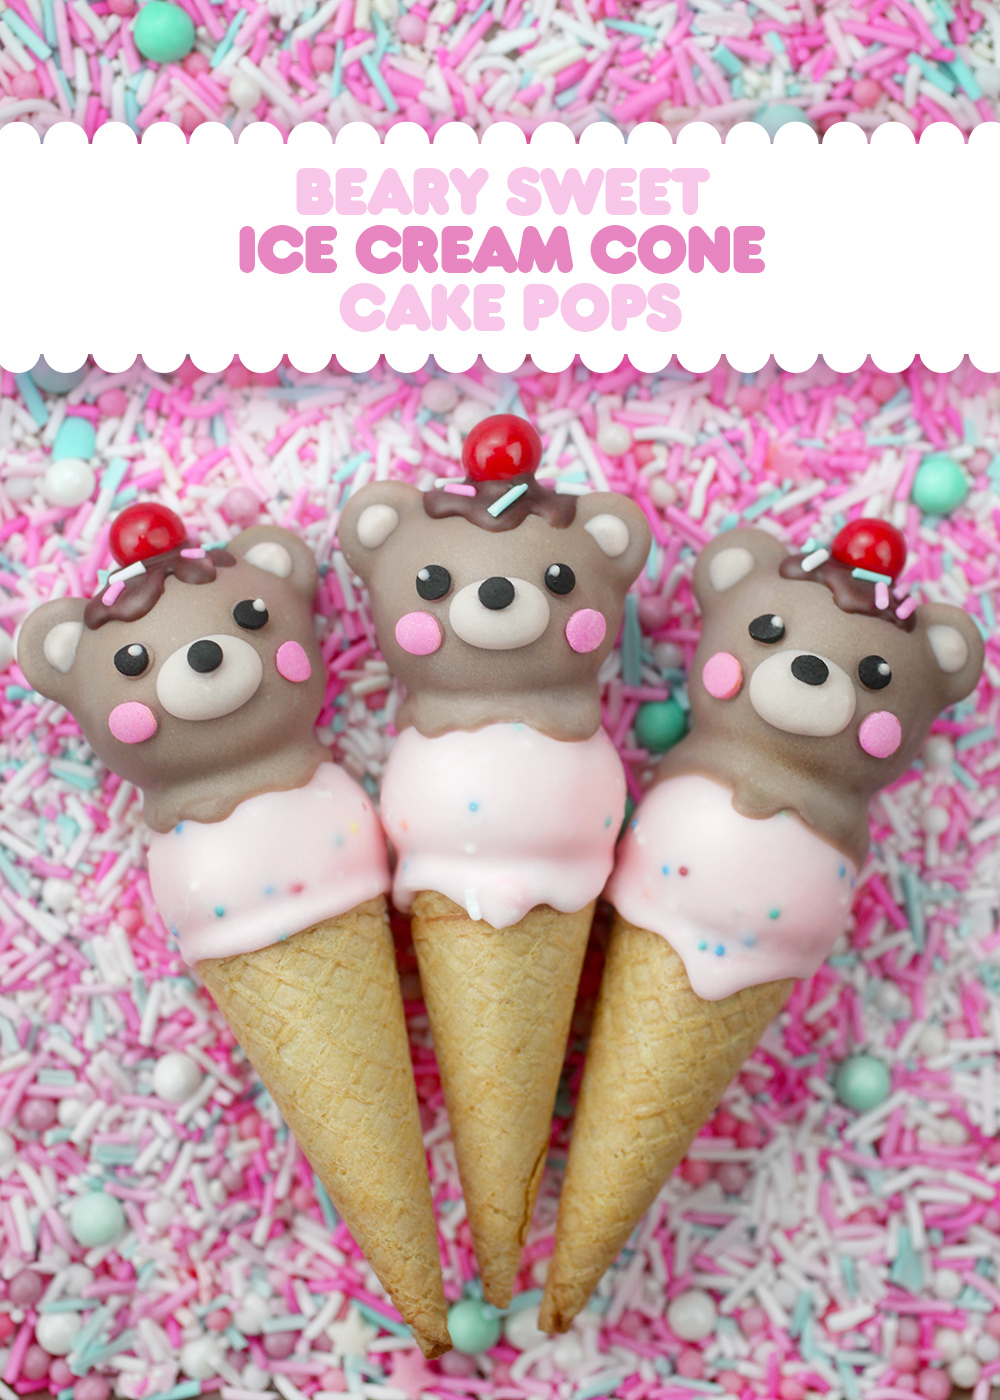
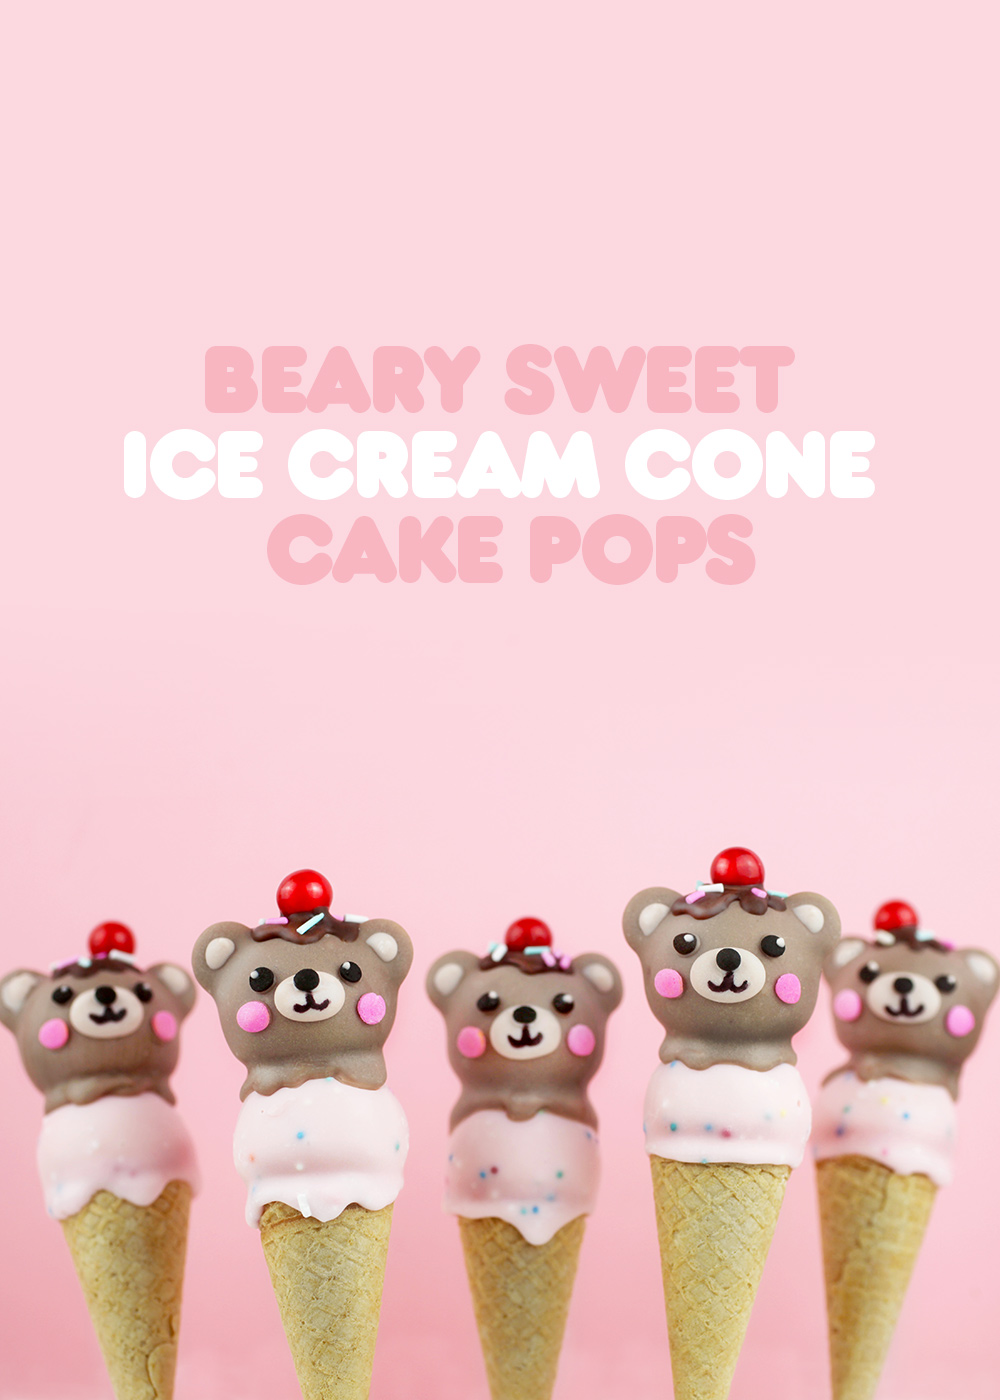
It’s the sweetest time of the year. And these adorable ice cream cone bears will surely brighten your Valentine’s Day.
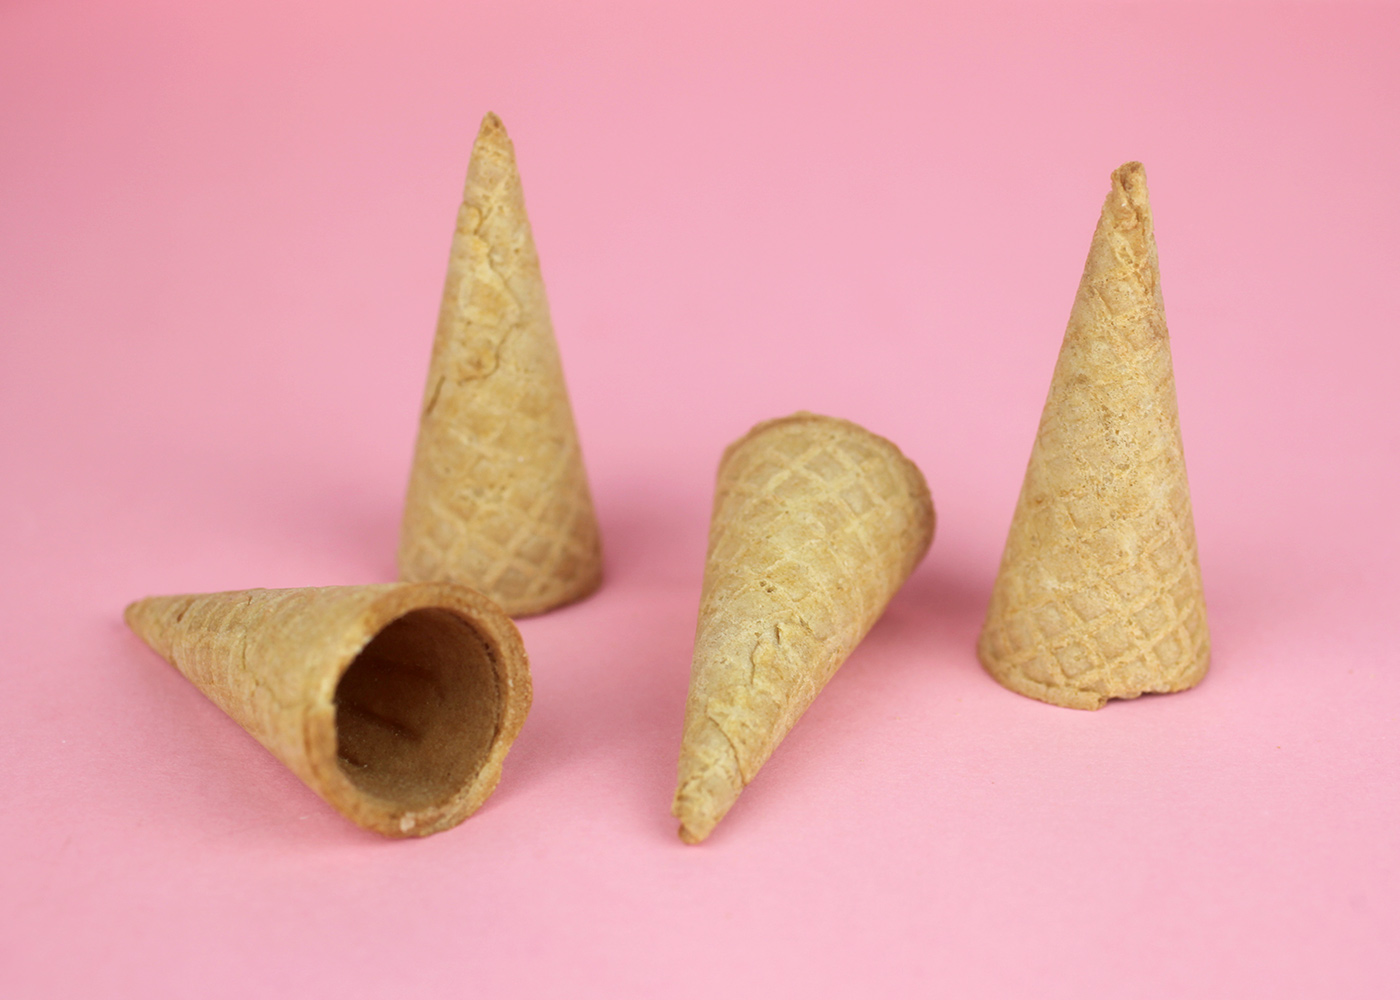
I love these tiny cones! They make ice cream cake pops a lot easier. I usually just saw the ends of regular size ice cream cones off with a knife to get them small enough for pops. Like I did here. But no need with these. They are the perfect size. My friend Cupcake Julie found them in California at a store called Cake Box on Main.
Speaking of size. Here’s a visual to give you an idea how small they really are.
When rolling your crumbled cake and frosting together to make pops, the balls should only be around 1 inch in diameter to fit the nicely on the cones.
Here are my basic cake pop instructions if you need them. And instead of dipping with a lollipop stick, you can follow the instructions below.
Let’s go.
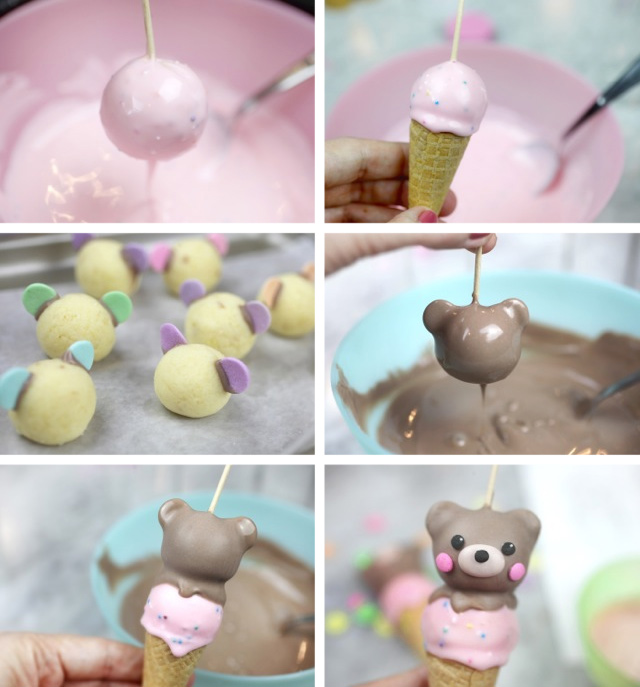
- First, prepare a styrofoam block to use as a stand for the cones so they can dry. You can use a lollipop stick to make a hole for them to fit into. Just stick into the styrofoam and rotate it in a circular motion to form an upside down cone shape for the cones to rest in.
- For the first scoop, I used melted pink candy coating mixed with multi-colored nonpareils – but you can keep them solid pink, too. Also, for a lighter shade, I melted white candy wafers with the pink and mixed together.
- Use a toothpick inserted into the ball to dip into the melted coating. Allow most of the excess to drip off and then place on top of the ice cream cone to dry in the prepared styrofoam block. When dry, gently remove the toothpick by twisting it out.
- For the second scoop, insert jumbo confetti sprinkles into melted chocolate coating (I made a lighter shade here as well by mixing in white candy wafers with regular chocolate wafers) and place them into the top and side of the rolled balls for ears. Let dry.
- Dip the second scoop into melted lighter color chocolate coating using a toothpick. Shake off the excess and place on top of the first scoop. Let dry completely and remove the toothpick.
- When dry, use a toothpick to draw on an even lighter chocolate shade of melted candy coating for a nose and let dry. You can also fill in the ears with the same shade.
- For the faces, attach black confetti sprinkles for eyes and pink confetti sprinkles for cheeks using a toothpick dipped in melted candy coating.
Finishing touches. Dot the eyes with the lightest chocolate coating used for the nose and ears. Use regular chocolate coating to add drips to the very top and cover up the toothpick hole. While the coating is wet, attach red sixlets for cherries and sprinkles for well, sprinkles. : ) You can draw on mouths with a black edible ink writing pen.
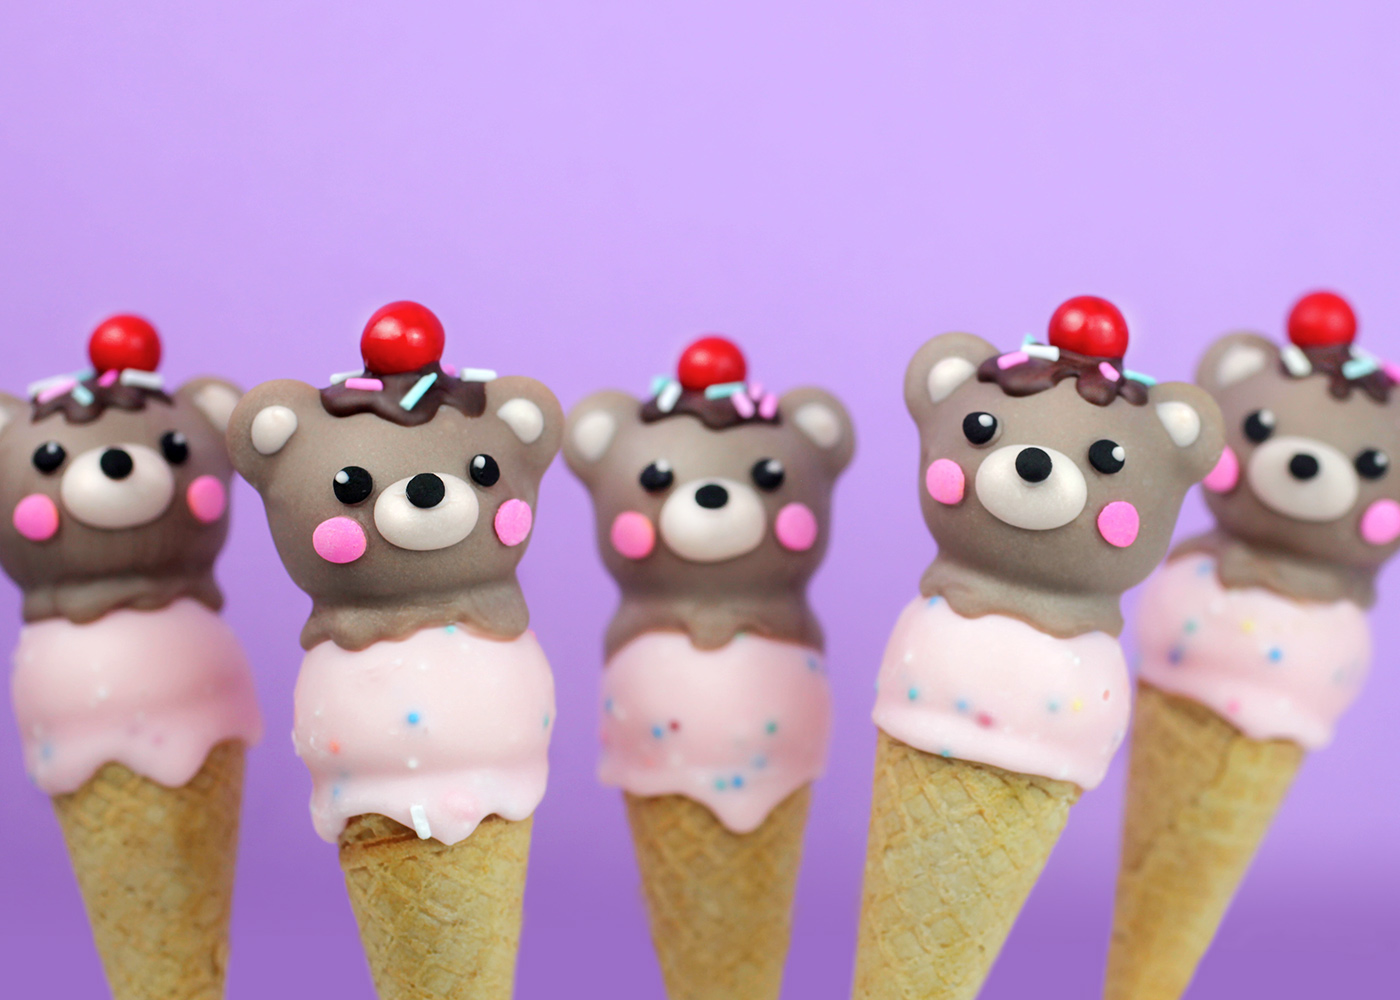
They’ll be beary cute! But now to figure out how to gift them to your sweetie.
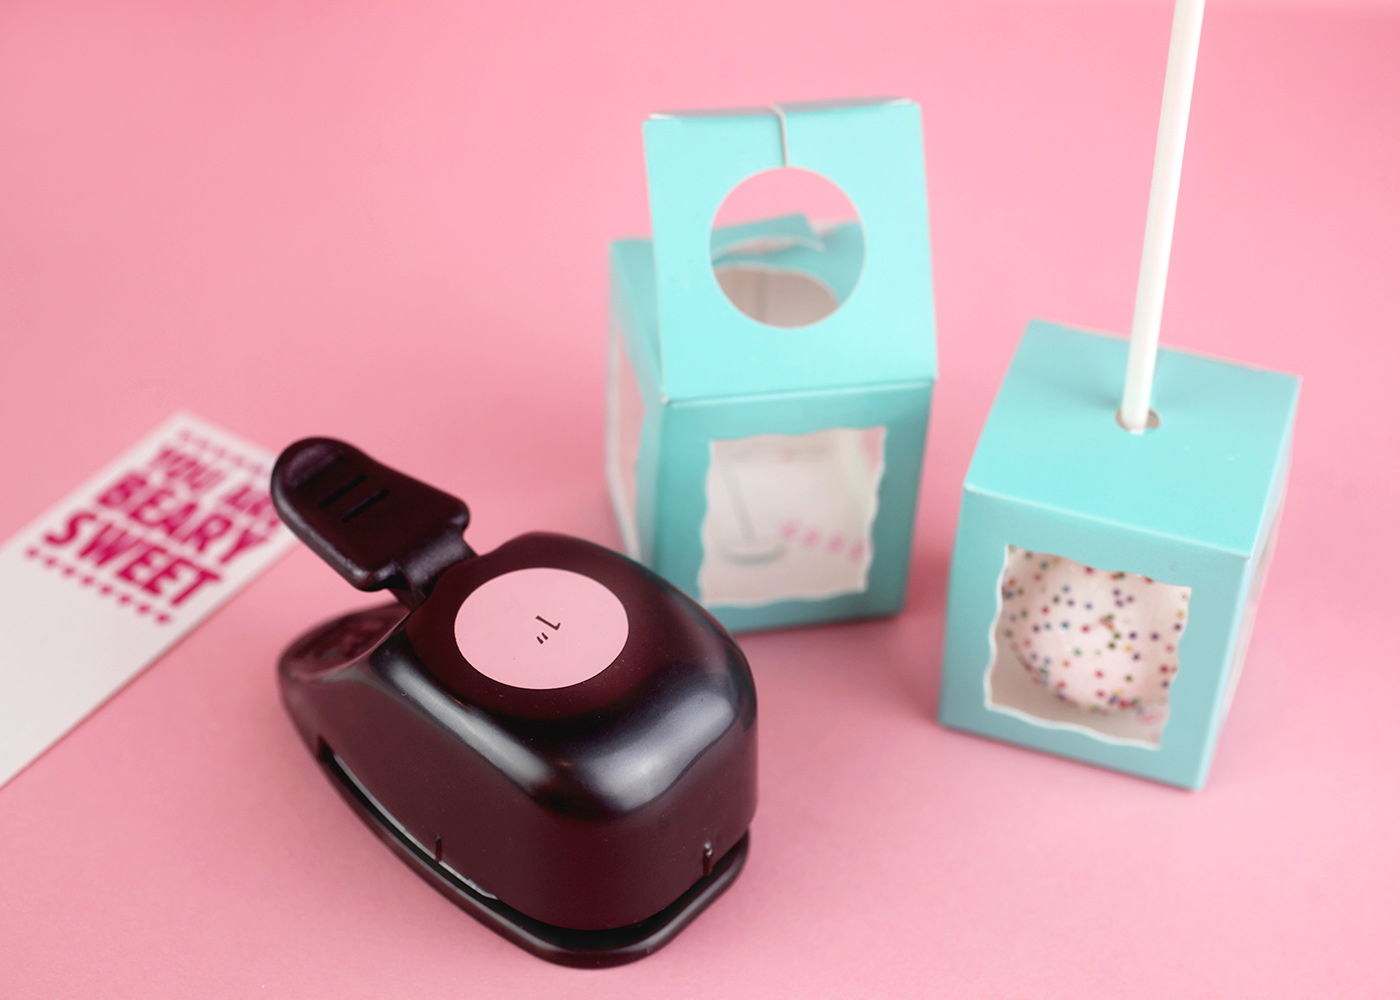
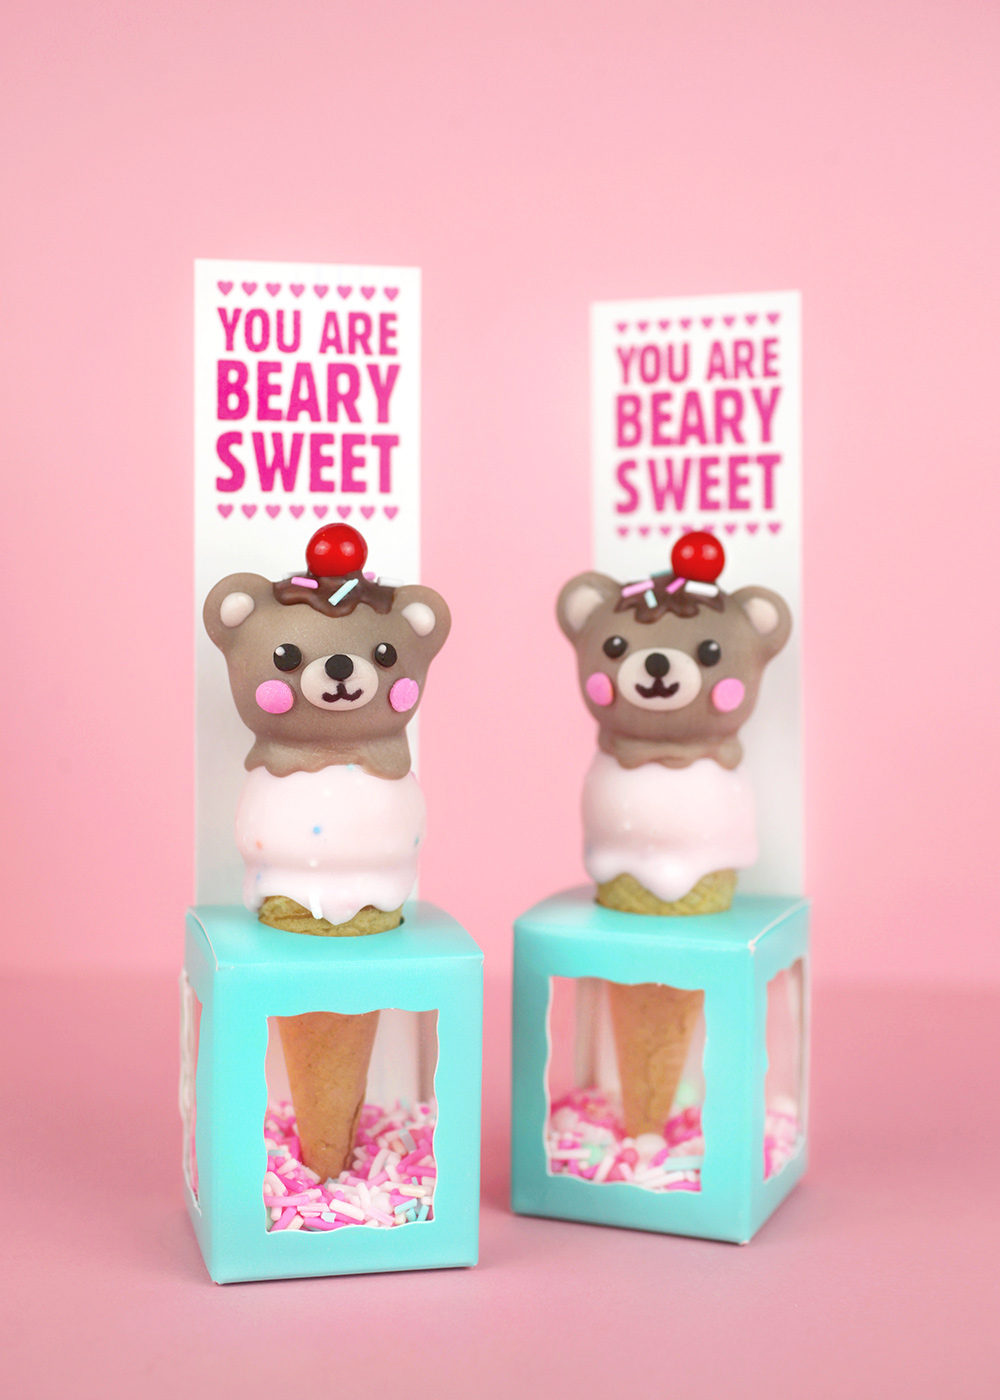
I had these tiny cake pop boxes meant for displaying upside down. They are from BRPBoxShop and they’re so freaking cute. They seemed like a perfect way to display individual ice cream cones. Just use a 1-inch punch to remove circles from the top of the box so you can rest the cones inside.
Then fill the bottom with more sprinkles and insert a tall rectangular card into the box with your Valentine message. Beary cute! Beary Sweet! I like … or love you beary much! They all work. I just printed the messages on card stock or smooth bristol board and cut out the tall skinny rectangles (1 5/8 inch X 6.5 inch) with an x-acto blade.
Keep in mind the two scoops are a little top heavy so be careful transporting. Or simply make single scoop bears. They’ll still be un-bear-ably cute!!!
And tasty too. I used the same cake and frosting mixture for these as I did for my recent birthday cake pops. But… if you decide to make some, you should totally use chocolate cake for the top scoop and strawberry cake for the bottom for maximum effect.
Hope you enjoy and have a Beary Sweet Valentine’s Day! xoxo














Wow, these look amazing. Adding these to my favorites.
our sweets are true works of art
The best treat for kids..I’m sure they’ll love this…
I love how you always bring something new to cakepops!
Again I say, you are incredible. Great job Bakerella.
These are so adorable! I love your creativity!
Oh my how cute are these!!! So pretty and perfect for kids ?