I hope you have chocolate chips handy
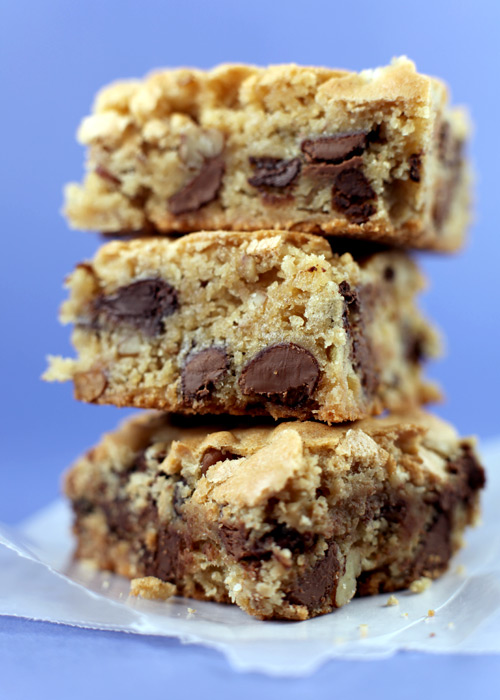
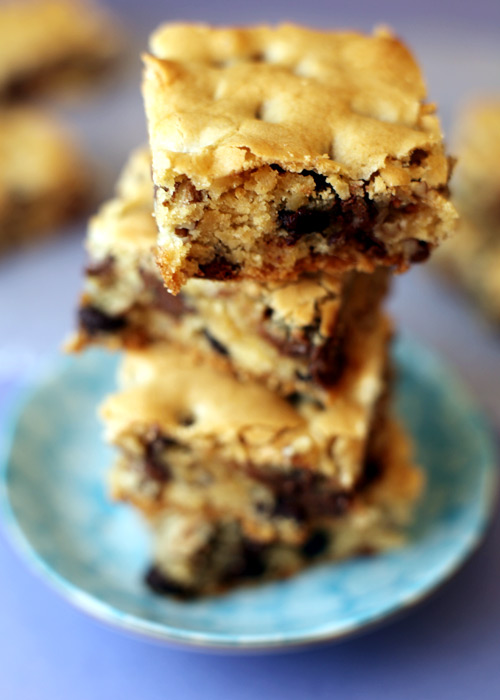
They’re cookies. They’re brownies. They’re brookies. Whatever you want to call them they’re good. They combine the taste of a chocolate chip cookie and with the texture of a moist brownie. The best of both worlds. Actually, they do have a name. They’re called Congo Bars. Wait… I think I just heard a bunch of you go “oh, yeah … I’ve had those before.”
Well, I had them for the first time the other day. My friend Lori gave me one to try and I subsequently held her hostage until she gave me the recipe
Sometimes I wonder where I’ve been and how I could have gone this long without tasting easy treats like this. What else am I missing out on?
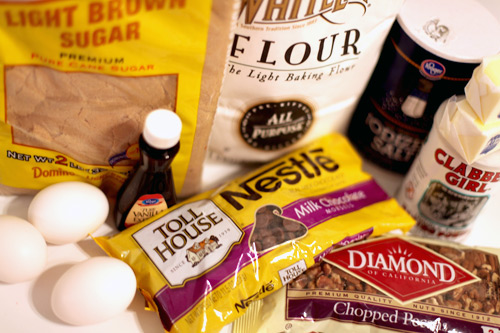
Here’s all the ingredients. Simple stuff.
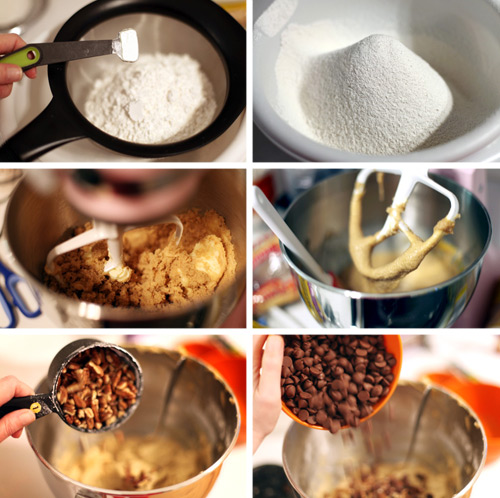
If you follow the directions in the recipe, you combine everything by hand, but I decided to use my mixer and let it do all the work. They were yummy, but not completely the same texture as Lori’s. So I made them a second time the very next day and did it her way. I like how they came out when stirring by hand better, but either way they’re really good.
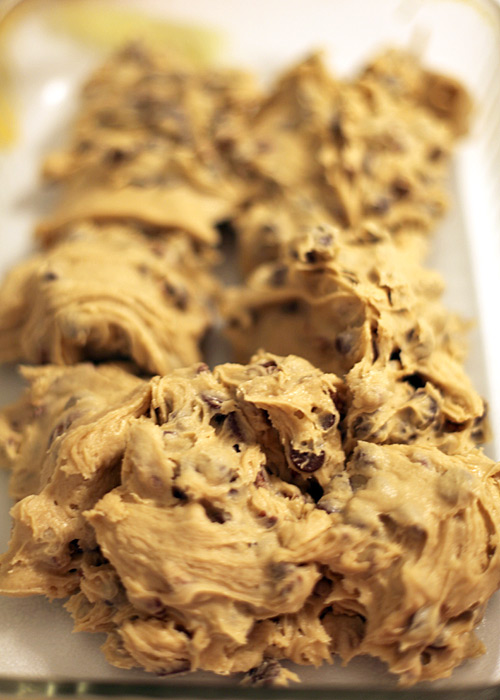
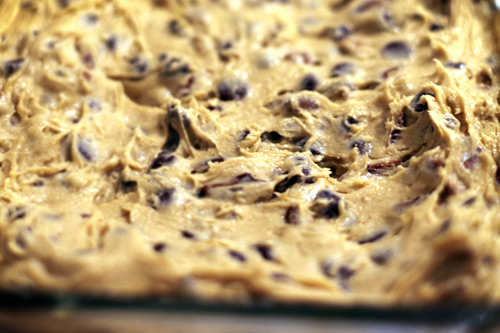
Look at that beautifully thick batter.
Spread it all out in a 13 X 9 pan and bake for about 30 minutes.
Cool and cut.
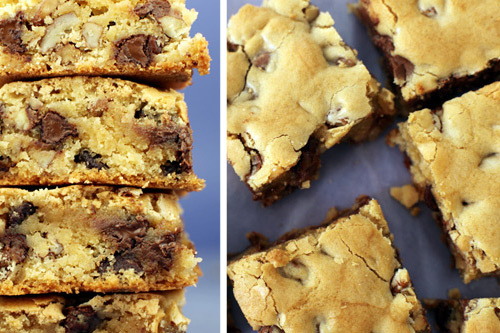
These are from the first batch. You can’t really tell by the photos, but the texture is different from the ones below.
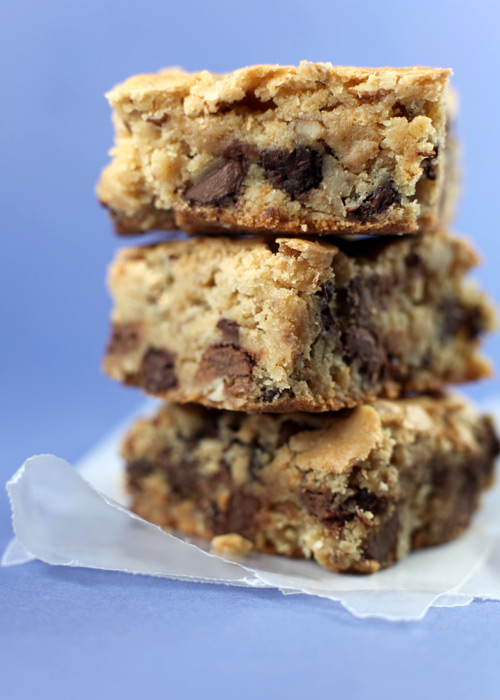
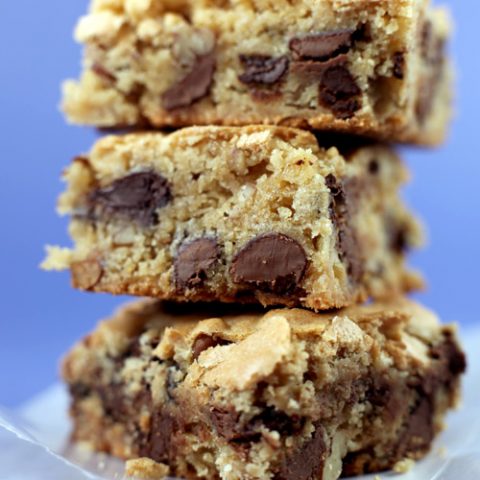
These are from the second batch and slightly… just slightly, more cakey when you sink your teeth in.
At first I thought it was just a difference in baking time, but Lori also made a batch using a mixer without knowing that was how I made mine and both of ours came out the same.
She likes the mixing by hand method better, too. Again, this is a subtle difference, just thought I’d share.
The great thing about these bars is that you can mix in different additions if you want.
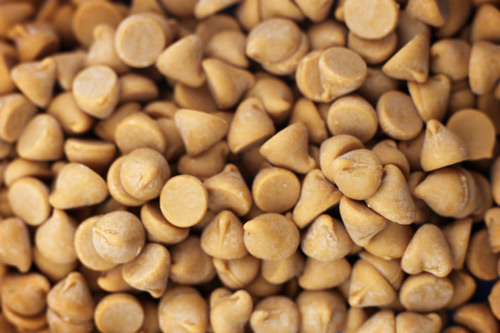
How about butterscotch or peanut butter chips?
M&M’s maybe.
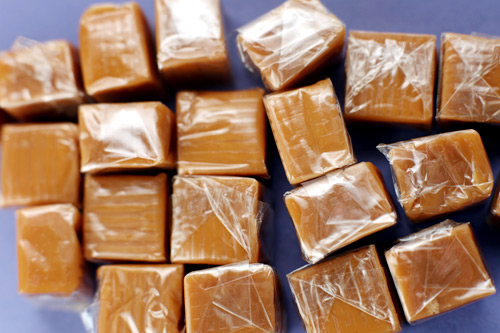
You could even cut up a few caramel candies into small pieces if you wanted a chewy surprise inside.
Customize, baby.
Here’s the recipe Lori uses. She’s tried several, but settled on this one she found somewhere on the internet. If you google Congo Bars, you should find a bunch of variations to play with.
Congo Bars
Ingredients
Instructions
UPDATE: Hey guys. Seems some of you are having mixed results. Most find these awesome, but some say they’re not done at 30 minutes. I’m starting to think my oven runs hotter than most. So, if the bars aren’t done at 30 minutes and the tops feel like they are getting too brown, then place a sheet of aluminum foil on top and bake a little longer. Use a toothpick to insert and check for doneness before removing from the oven. Also make sure you sifted the dry ingredients and used room temp butter, not melted. The batter should be thick like the photo above.
URLs in this post:
[1] Image: http://www.flickr.com/photos/bakerella/4602244325/
[2] Image: http://www.flickr.com/photos/bakerella/4602857748/
[3] Image: http://www.flickr.com/photos/bakerella/4602244463/
[4] Image: http://www.flickr.com/photos/bakerella/4602857908/
[5] Image: http://www.flickr.com/photos/bakerella/4602243439/
[6] Image: http://www.flickr.com/photos/bakerella/4602858148/
[7] Image: http://www.flickr.com/photos/bakerella/4602244603/
[8] Image: http://www.flickr.com/photos/bakerella/4602858768/
[9] Image: http://www.flickr.com/photos/bakerella/4602244069/
[10] Image: http://www.flickr.com/photos/bakerella/4602243963/
[11] Image: http://www.flickr.com/photos/bakerella/4602858386/
[12] Image: http://www.flickr.com/photos/bakerella/4602858270/
